Using a simple salt dough recipe make a handprint keepsake to last forever. Salt dough crafts are easy to make using only 3 ingredients and children can be involved in the making and painting process.
Take a look at all our salt dough crafts.
You will need: (affiliate links)
- Salt dough
- Acrylic Paint
- Mod Podge Sealer (UK link / US link)
Handprint Keepsakes
To make these handprint keepsakes we mixed up some salt dough using this simple salt dough recipe.
Roll the salt dough into a ball and press it down. Make sure you have a circle of salt dough big enough for each child's hand. Help your child to press their hand firmly into the salt dough. Once you are happy with the handprints leave the salt dough to dry out.
These handprints were quite thick so I left them in the oven (at 100 degrees) for about 4 hours and turned them over half way through that time.
(If you're wondering why our salt dough is pink it's because we had some left over after making our coloured salt dough birds and I didn't want to waste it.)
We wanted to put our handprints in a frame, but if you want to hang them with ribbon don't forget to make a hole at the top before baking them.
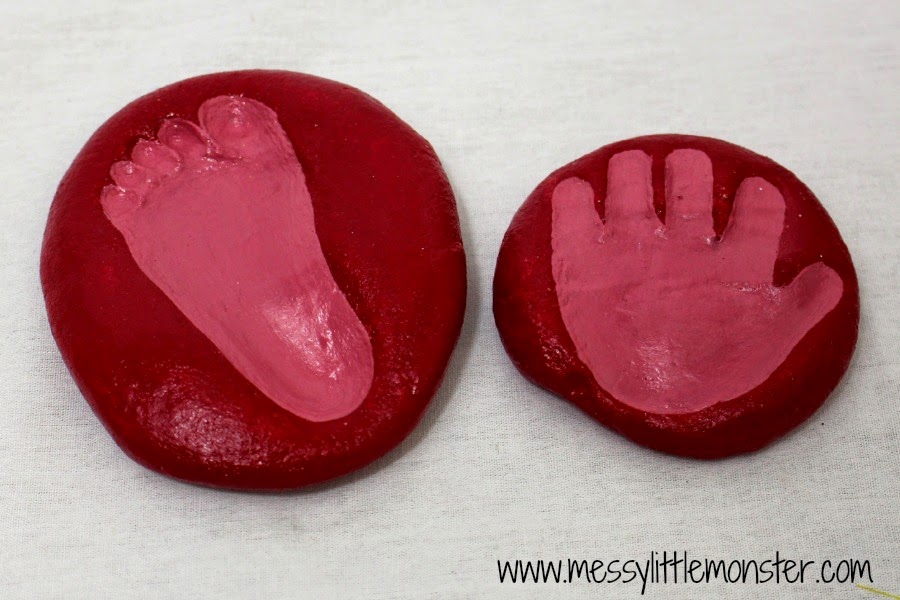
Once our handprints had dried out harry painted the salt dough using acrylic paint. He painted his handprint dark blue and Daisy's handprint using a dark pink that I had mixed up.
I added some white to each of the paints we had used to make a lighter shade. I used the lighter colours to paint inside the handprints to make them stand out.
We completed our handprints by varnishing and sealing them with mod podge sealer (UK affiliate link) (US affiliate link). We had enough salt dough left to make Daisy's footprint too.

I super glued the handprints into a box frame and hung them on the wall. Its lovely to be able to capture a moment in time in this way as the children won't stay this small for long.

Harry: Age 3
Daisy: Age 4 months


No comments