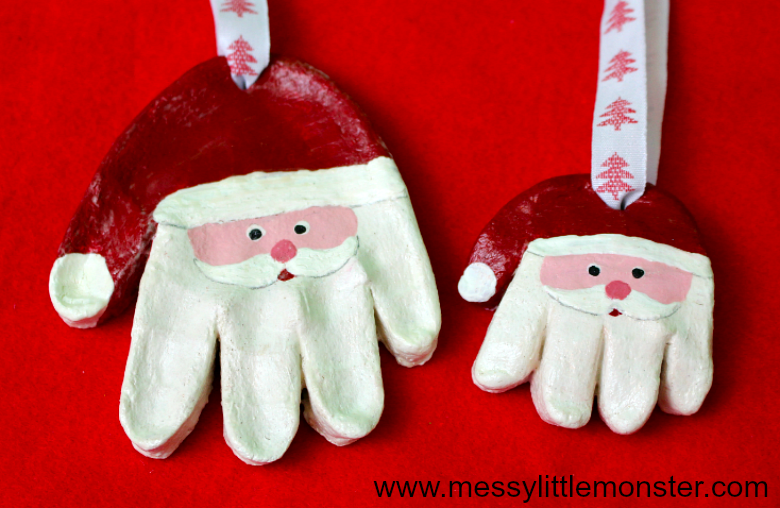
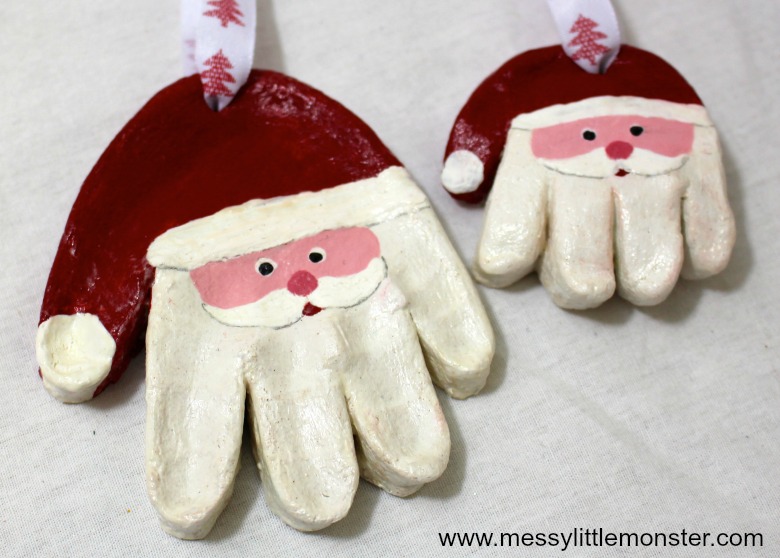
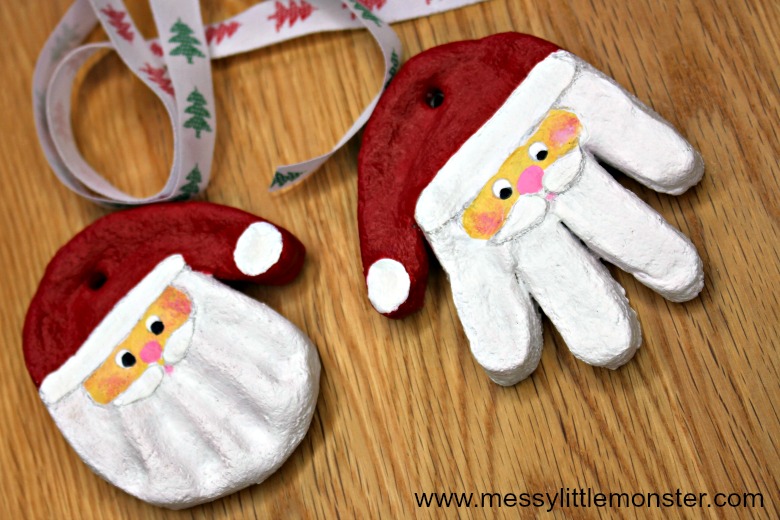
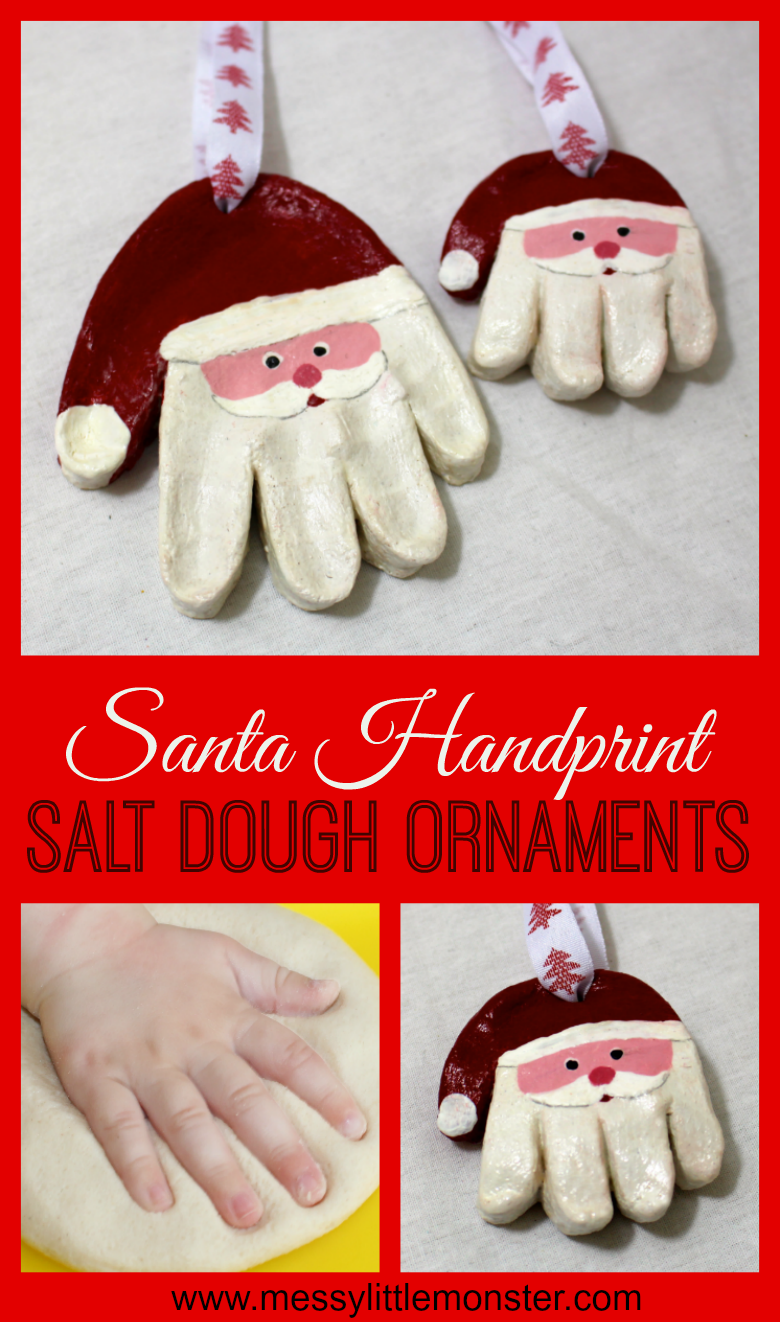
Santa salt dough handprint ornaments are the perfect Christmas craft for kids! Making Christmas salt dough ornaments couldn't be easier using our easy salt dough recipe and these salt dough Santa handprint ornaments make adorable Christmas keepsakes to bring out year after year.
We love salt dough ornaments! As with all salt dough handprint ornaments this Santa craft for kids would make a beautiful gift to give to parents or grandparents and the ornaments look stunning hanging on the Christmas tree.
A saltdough Santa handprint ornament is a great Christmas craft for babies, toddlers and preschoolers to make. A handprint father Christmas makes a truly adorable homemade first Christmas ornaments! Children grow so quickly, so its nice to capture a permanent reminder of how tiny the children's little hands are. Making salt dough ornaments is such a fun way to do this!
SCROLL DOWN FOR OUR SALT DOUGH SANTA HANDPRINT INSTRUCTIONS
We love making salt dough crafts for kids (well with the kids!) Do check out all our other salt dough craft ideas, we have everything from salt dough ornaments, to salt dough keepsakes and even salt dough crafts for toddlers and preschoolers to play with!
These Santa handprint salt dough ornaments do have to be one of my favourites though, especially when they are hung side by side on the Christmas tree. You will find step-by-step instructions to make a salt dough Santa ornament for kids below. Here are a few of my other favourite salt dough crafts.
If you are looking for more fun keepsake crafts to go alongside your salt dough Father Christmas have a browse through our ever growing collection of DIY keepsake craft ideas or our handprint Christmas cards. You might also like to take a look at all our homemade gifts kids can make as there are some great ideas to make for a loved one this Christmas.
Salt dough crafts are quick and easy to make using our easy salt dough recipe. You only need 3 ingredients that you will already have at home, salt, plain flour and water and once you have made your salt dough craft you can air dry it, dry it out in the oven or dry it in the microwave. If you seal your salt dough and store it correctly in an air tight container your salt dough crafts should last forever!
Our Latest Videos
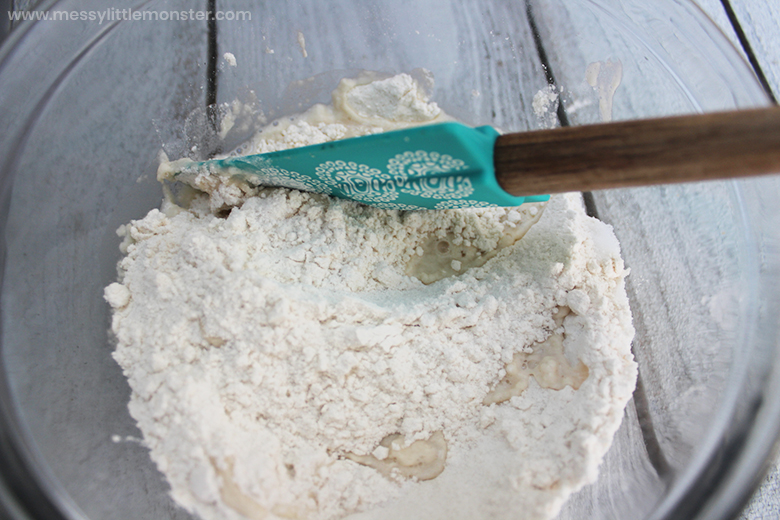
For making your easy salt dough recipe you will need:
- Plain flour or all-purpose flour (2 cups)
- Salt (1 cup)
- Water (up to 1 cup)
Easy Salt Dough Recipe
Take a look at our full post on making salt dough for tips on baking salt dough, sealing salt dough, varnishing salt dough and storing salt dough.
To make a Santa salt dough handprint ornament you will need:
See our recommended salt dough supplies
- Salt dough (click here for the full salt dough recipe and tips)
- Acrylic paint
- Mod Podge sealer (There is also a spray sealer that you can use if you prefer)
- Ribbon
Salt Dough Santa Handprint Ornament
Watch our Santa handprint video instructions
STEP 1: Make your salt dough
Take a look at our easy salt dough recipe full of tips and tricks to help you make salt dough, dry out salt dough, seal salt dough and store salt dough!
STEP 2: Roll out the salt dough
STEP 3: Make a handprint in the salt dough
STEP 4: Cut around the salt dough handprint
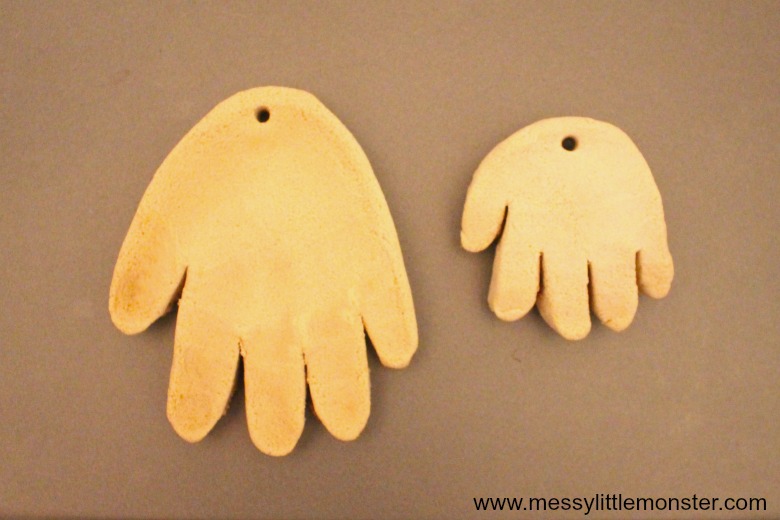
Carefully cut around the salt dough handprint using a sharp knife. Take your time doing this as this will make the shape of your salt dough ornament. Look really carefully to make sure you get the exact shape of your child's hand. Once you are happy with the shape of the handprint run a finger gently around the edge of the handprint to make sure that there is a smooth edge.
Alternatively you could leave the salt dough as it is with a handprint in the centre.
STEP 5: Make a hole for hanging your salt dough ornament
TIP: If you make your salt dough handprint on a baking tray covered in baking paper you will be able to put the salt dough ornament straight into the oven without loosing the handprint shape as you try to move it.
STEP 6: Baking salt dough
Now you have created the shape for your salt dough ornament you need to dry out the salt dough. We have found that the best way to do this is to place the salt dough in the oven for a few hours (until the salt dough has completely dried out) at about 100 degree (celsius). It helps the drying out process if you turn your salt dough handprint once or twice during the drying out process.
Alternatively you can leave the salt dough to dry out in a warm room, but it will take several days as these salt dough handprints are quite thick or you can dry them out salt dough in the microwave.
Take a look at our salt dough recipe and tips for more details.
STEP 7: Paint salt dough white (optional)
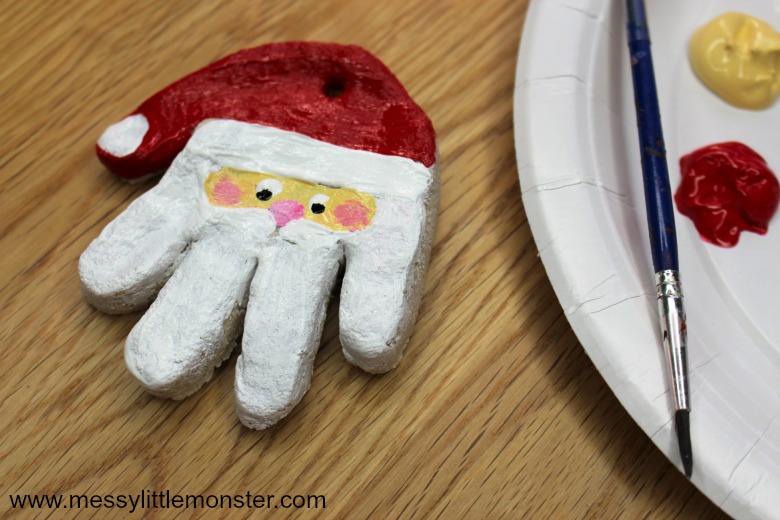
Paint the dried out salt dough with white acrylic paint. This will give you a good base colour to begin painting your santa design onto the handprint ornament.
(This step is optional. The first time we made a set of Santa handprint ornaments we painted the salt dough white before adding Santa's details, but for the second set of salt dough ornaments (in the video above) I painted straight onto the salt dough.)
STEP 8: Paint Santa's face onto the salt dough handprint
Once the white paint has dried it is time to turn the salt dough handprint into your Santa craft! I would suggest drawing Santa's face onto the salt dough with pencil first to make sure you are happy with it before you start painting. You need to draw lines to represent Santa's hat (including the white trim), Santa's face shape, moustache and facial features.
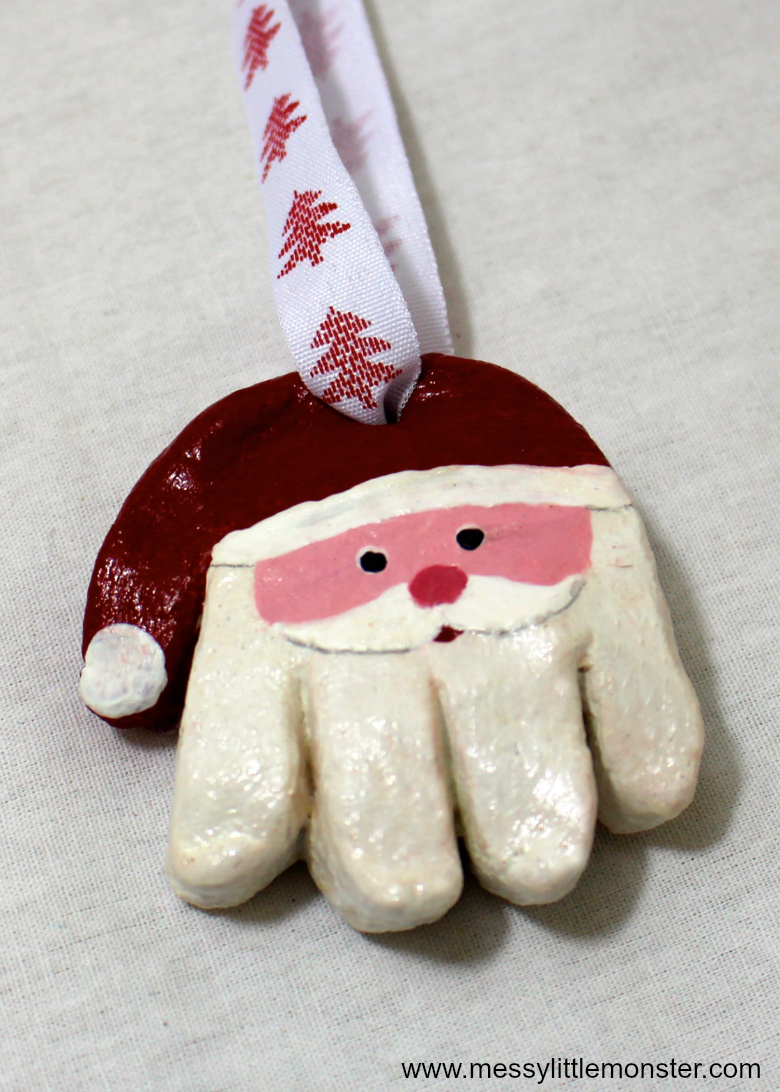
Once you are happy with the way your pencil drawing looks begin painting Santa's face. Start by painting Santa's hat. The hat is made up of the thumb and carries on across the the palm of the handprint. Then paint the face shape making sure that you leave room for the trim of Santa's hat and his moustache. You will then need to leave these paint colours to dry before painting the rest of the Santa handprint.
Once the paint on the face and hat have dried add face details, a trim and bobble for the hat and a moustache. Leaving the pencil line can look effective as it helps the features on your santa handprint ornament to stand out.
STEP 9: Sealing salt dough handprint ornaments
It is really important that you varnish your salt dough ornament as if any moisture gets inside the salt dough it will make it go soggy. We use Mod Podge sealer or PlastiKote to seal all our salt dough crafts.
STEP 10: Add ribbon to your Santa handprint ornament
Once the sealer is fully dry thread some ribbon through the hole you made in your salt dough at the top of your Santa handprint. We found some Christmas ribbon filled with Christmas trees that look lovely with the Santa handprints. Your salt dough Santa handprint ornament is now ready for hanging on the Christmas tree!
Related: Handprint Santa Craft (Christmas card or gift bag)
If you are looking for Santa crafts for kids I would definitely add these Christmas tree decorations to your list!
We love these Christmas crafts for kids and they are even more adorable when made with babies, toddlers or preschoolers handprints!
If you love these Santa salt dough handprint ornaments you are going to love all our other salt dough ornaments too! We have so many adorable Christmas tree ornaments for kids to make.
So what are you waiting for! Get a copy of our easy salt dough recipe and have a go at making your own salt dough Santa handprint ornaments to hang on the tree this Christmas!
If you love these Santa salt dough handprint ornaments you are going to love all our other salt dough ornaments too! We have so many adorable Christmas tree ornaments for kids to make.











So you do the Modge Podge before you bake it, right?
ReplyDeleteNo you back, paint, then use it.
DeleteYou need to bake it first and then once the salt dough has completely dried out you paint it and varnish it. I use the modge podge as a varnish and sealer. I hope that helps :-)
ReplyDeleteI love these! What temperature do you set the oven and leave them in for how long before turning it off? Thank you!
ReplyDeleteIt said 150 degrees. This would be cute too do; with your grandchildren as well.
Deleteme too :-) I was really pleased with them. I put them in at a low temperature (about 150 degrees) and I think I left these ones in for about 3 hours. Then I left them in a warm room overnight to make sure they were completely dry before I painted them. It won't do them any harm being in the oven longer though (I have even accidentally left salt dough in the oven overnight before and it has come out fine (Luckily!) You can leave them to air dry in a warm room or near a radiator but it takes a few days.
ReplyDeleteI think they are adorable!!. I have 9 G-kids. I would put their names across the fur on his hat and their ages on the back before sealing it.. Just an idea..��
ReplyDeletePutting a name on the fur of the hat is such a lovely idea. I put the kids names and ages on the back but I think I like your idea better!
DeleteI used did this and the Reindeer footprint ornament at the same time and put them on a cookie sheet while they were in the oven and the bottom side didn't dry out, so then this morning I took them off of the cookie sheet and just put them on the oven rack to cook them longer, but the bottom side is just not drying out :(
ReplyDeleteWhat should I do?
Maybe they need a bit longer Tina? How long they take does depend on the thickness of the salt dough. I would put them back i the oven for another hours or two and turn them over half way through. They can take a while sometimes but they will dry out. Even left next to a radiator they will dry out it just takes longer.
Deletehow many ornaments will this recipe make? I'm going to do this for my mother-in-law for Christmas. I have been doing family ornaments for her (12 total) every year for the last 5 or 6 years. I'm going to have my boys do the kids ones (3 or 4) and then I'll do the adult ones (8). This is a great idea! Thanks for sharing.
ReplyDeleteA few but I tend to make up a big batch of salt dough so couldn't say exactly. Have fun, it sounds like you are going to be busy.
DeleteAdorable, Is there a cinnamon dough variation?
ReplyDeleteThis comment has been removed by the author.
DeleteYou can actually use cinnamon and apple sauce to make a dough. A lot of cinnamon and a little bit of apple sauce for the dough. I always left mine sitting out for several days to dry, instead of baking them.
DeleteSo cute!! The hat trim and mustache look like they stand out from the regular white base coat, did you do something different there?
ReplyDeleteI painted them on afterwards so the paint is a bit thicker and I drew a pencil line underneath which helped it stand out a bit. Hope that helps.
DeleteI have done 3 hands and 2 feet off a 6 month old baby and 2 dog paw prints, dough was quite thick X
ReplyDeleteIs it 150 degrees Fahrenheit or Celsius? They look fab by the way, can't wait to try making them.
ReplyDeleteFahrenheit. I just completed three sets of reindeer feet. It does take a while to dry out. Once I was satisfied that the top was dried out I flipped them and put in the oven at 200 degree s F. Took me three days total to complete. But I also have a 5 mth old so no free time!
DeleteThese are such a wonderful idea made then as Christmas presents this year just perfect. Made some for ourselves too.Thanks for sharing
ReplyDeleteHow thick do you roll out your dough. How many santa hands can you get from 1 batch. Do you have to work quickly with the dough? I would think not since it takes so long to dry. I cant wait to do this with my grand kids. However my grandson is 16 mos and I dont think he will put his hand in the dough for me.
ReplyDeleteThese are so adorable!!! I have seen others similar on other sites, but these are the cutest!! Thank you for sharing!!
ReplyDelete