MORE: Paper crafts for kids
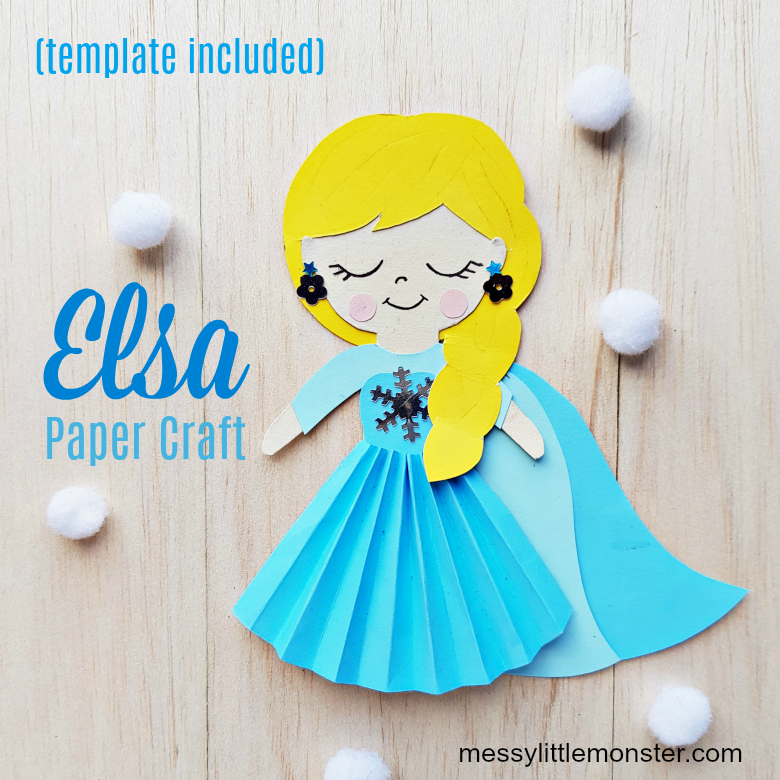
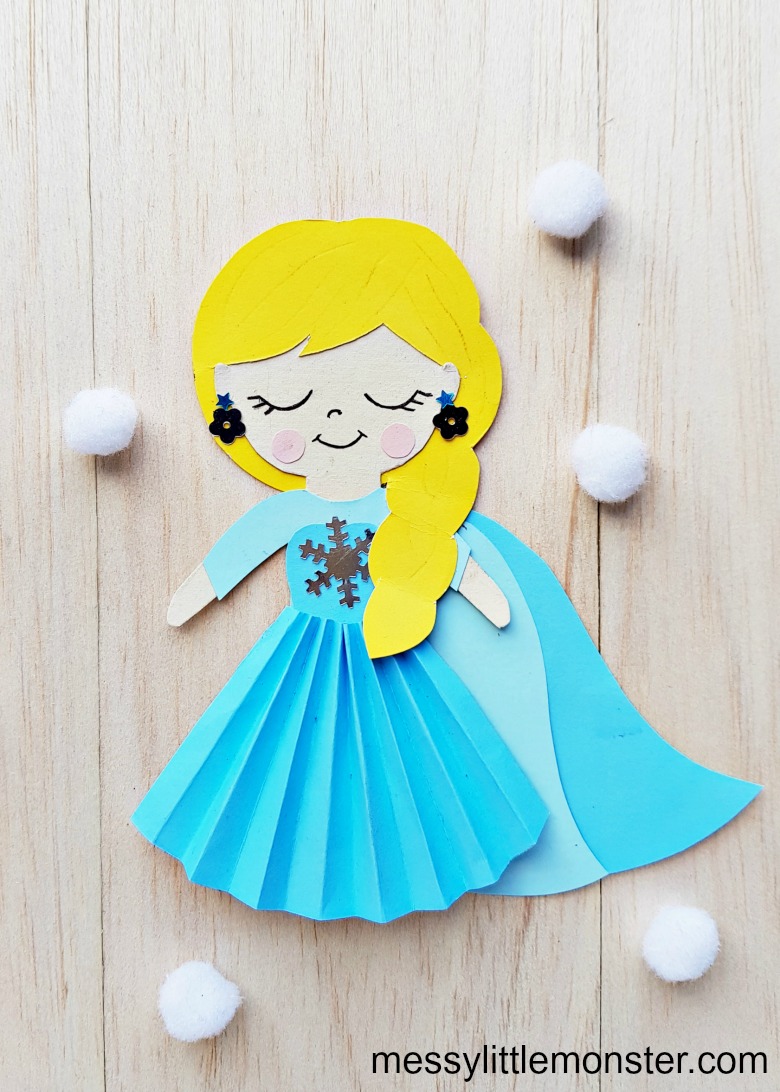
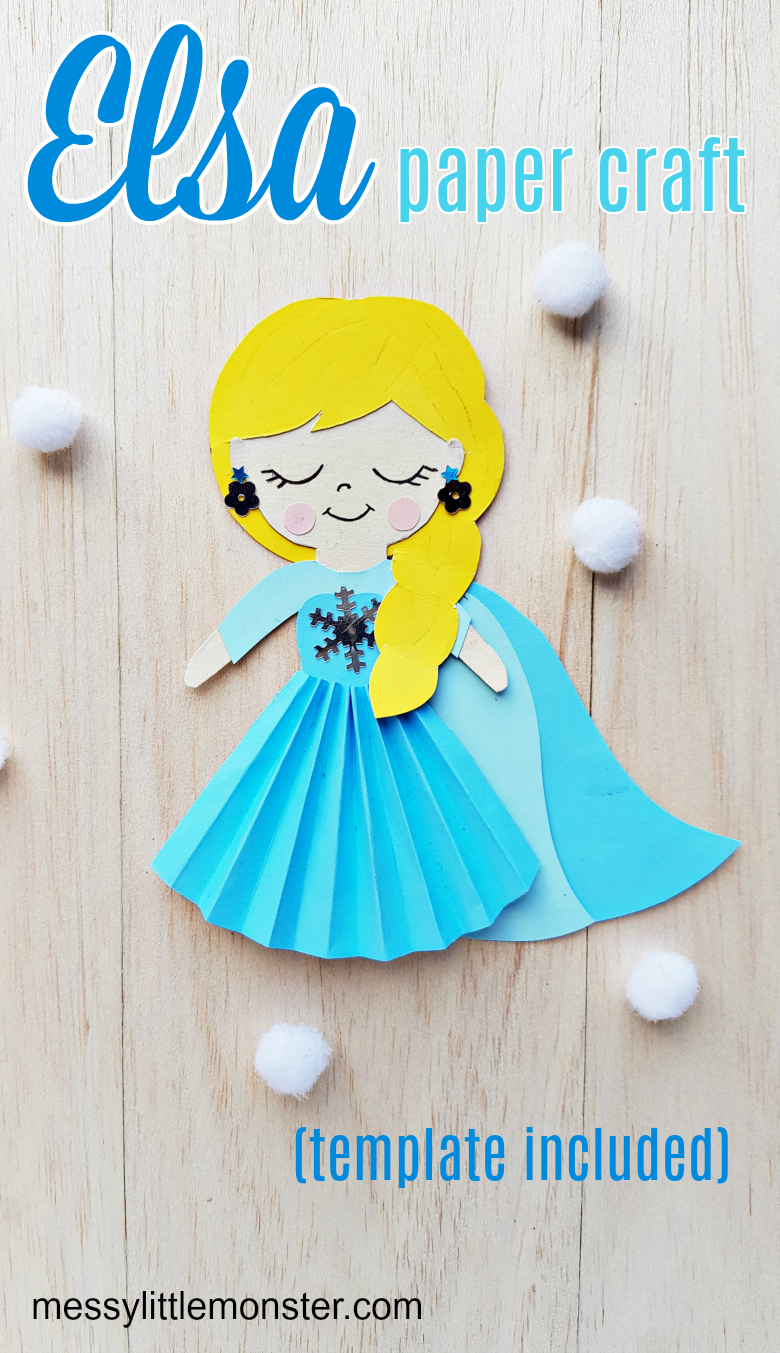
This Elsa paper craft would make a brilliant ornament if you added ribbon to the top, or a fun stick puppet if you added a craft stick to the bottom!
So what other fun frozen crafts could you make as well as this adorable paper doll Elsa? A frozen themed Elsa wand would be fun, as would making paper snowflakes!
Younger children may need a little help with this paper doll craft, but they will be so proud of their paper Elsa doll when it is finished and they will love playing with it or displaying it for all to see! It would be so much fun to make this Elsa craft after watching the new Frozen movie.
Frozen Inspired Craft - Elsa Papercraft Doll
Elsa Craft Supplies:
- Coloured craft papers
- Sequins
- Pencil
- Pen
- Scissors
- Craft glue
How to make an Elsa paper doll
STEP 1: Prepare your craft paper
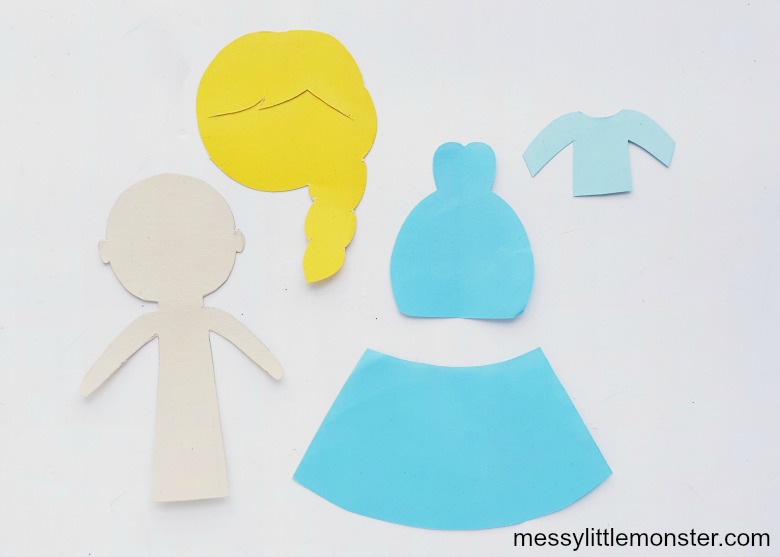
For this Elsa craft you will need the paper doll template available at the bottom of the page. Print out the template and use it to prepare all the pieces to make your paper craft.
You will need yellow craft paper for the hair, baby blue and a lighter shade of blue for the different parts of the dress; and cream coloured craft paper for the body.
Trace the patterns from the template on the selected craft papers. Cut out the traced patterns (as shown below). For younger children it would be a good idea to prepare all the cut out pieces in advance.
STEP 2: Prepare Elsa's hair
Take the hair cutout and the template. Trace the red pattern marked on the hair template onto your hair cutout. Cut a slit along the pattern, making sure to keep the hair cutout intact on both sides of the slit. Adults will need to do this step for younger children.
STEP 3: Add Elsa's hair
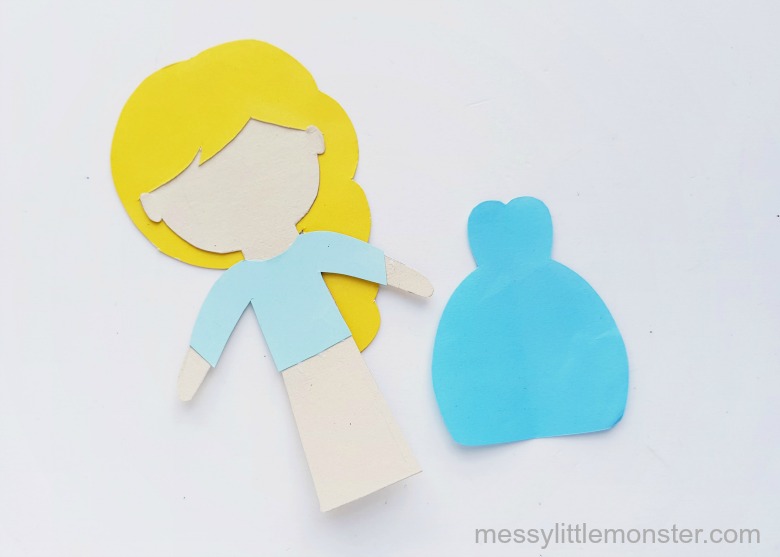
Grab the body cutout and slide the top end of the head through the slit on the hair. The bottom side of the hair should remain on the back and the top side of the hair should be placed on the front of the head part. (see image below)
STEP 4: Make Elsa's dress
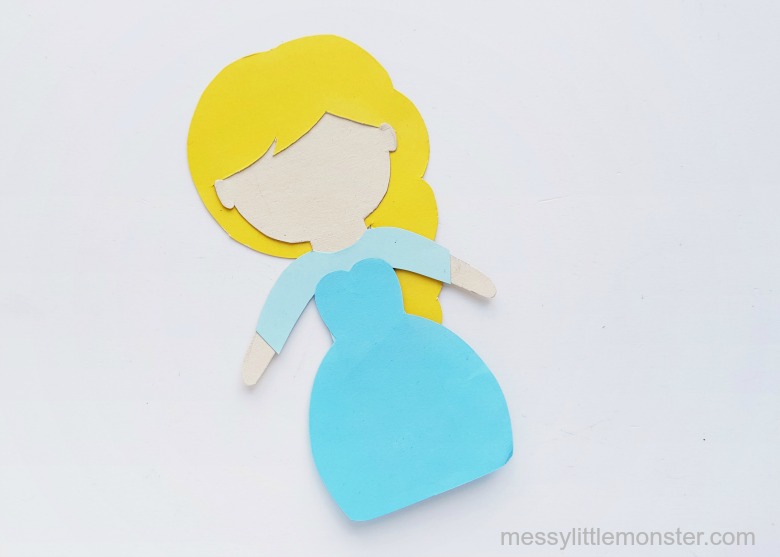
Time to put the pretty clothes on! Attach the top part of the dress on the top side of the body cutout.
Then attach the paper dress to the Elsa body cutout.
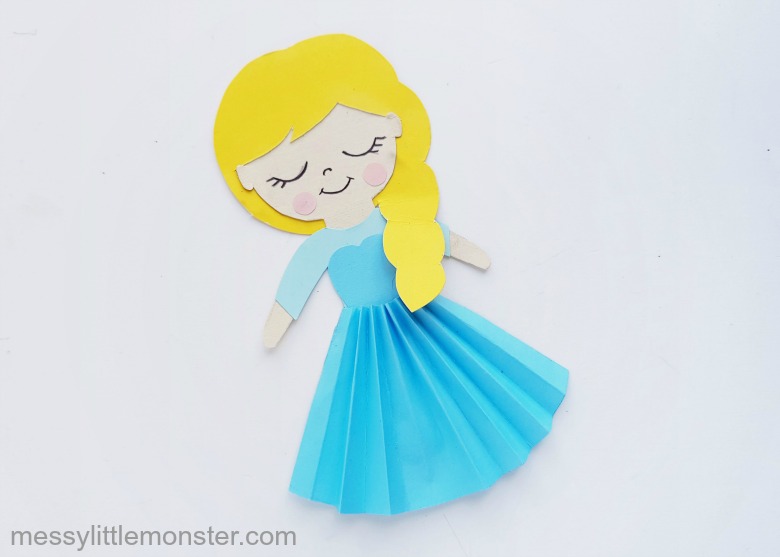
To finish Elsa's dress take the bottom part of the dress and create accordion folds on it.
Adjust the width of the top (smaller side) side of the accordion folded paper to the width of the Elsa paper doll's waist. Attach the accordion folded pattern on the paper Elsa doll.
STEP 5: Draw Elsa's face
Take a fine black marker and draw on Elsa's face. You might want to draw her facial features in pencil first to check you are happy with them before tracing over them with your marker. Use pink paper to add cheeks.
STEP 6: Make Elsa's cape
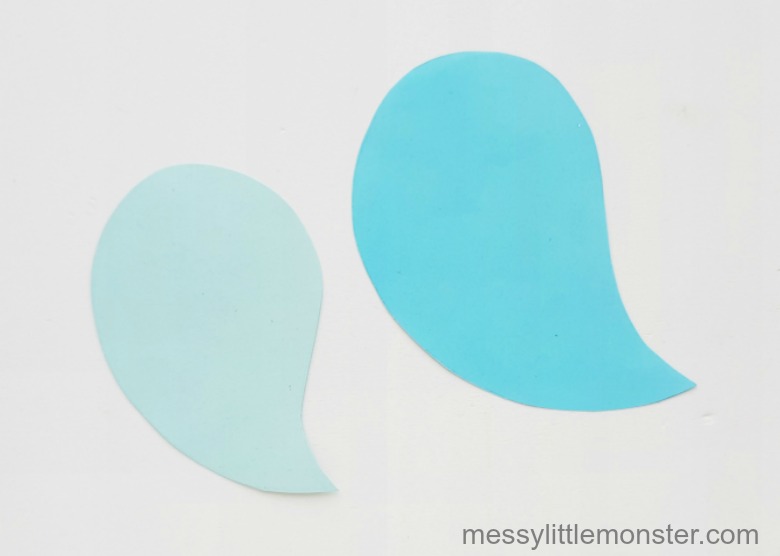
Trace and cut out the teardrop patterns from blue craft papers. These will make the cape for Elsa’s dress.
Glue the small teardrop shape on the front of the big teardrop shape. Attach them on the back side of the Elsa papercraft doll.
STEP 7: Finalise your Elsa craft
Your Elsa paper doll is now complete, but adding sequins, faux pearl beads or any kind of decorative craft item will add to the fun and make your papercraft doll look prettier!
DOWNLOAD THE ELSA PAPER DOLL TEMPLATE BELOW
To download this Elsa template for free click on the link below and use the discount code: paperdoll. For personal use only. Not for redistribution. All images are copyrighted.
We hope you have fun making this adorable Elsa craft using our paper doll template. Kids of all ages will love making their own Elsa paper craft! Have fun!








No comments