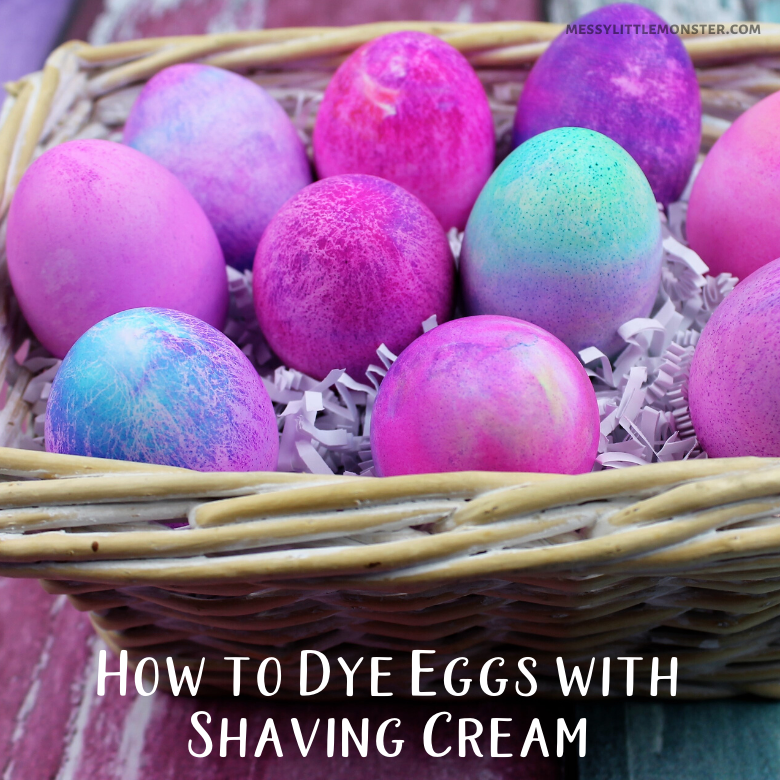
How do you dye eggs with shaving cream, you ask? This tutorial will walk you step by step through how to colour Easter eggs with shaving cream and food colouring in a fool-proof and fast way. Dying Eggs with Shaving Cream is such an awesome and fun way to decorate Easter eggs. Kids will have a field day with this mind-blowing shaving cream Easter eggs activity!
Dying eggs is such a fun Easter activity for kids of all ages! Here are a few more fun ways to dye Easter eggs:
Decorating Easter eggs is one of our family's most adored activities to do with the kiddos at this time of year! It's so fun to play with different colours and try new hacks each year. Dying eggs with shaving cream is such a fun and easy way to dye eggs using ingredients you are sure to have in your house; shaving cream and food colouring! I LOVE the bright colours used for making these shaving cream Easter eggs.
Dying Eggs with Shaving Cream
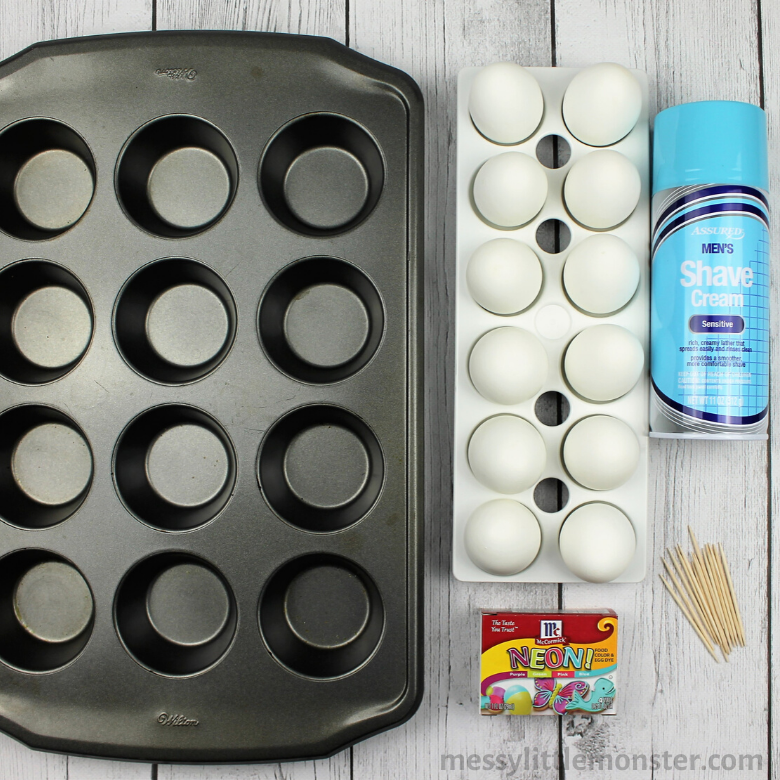
Shaving Cream Easter Egg Supplies:
- 12 boiled eggs
- Shaving cream
- Large muffin pan
- Neon or primary food colouring (for this project we used neon)
- Toothpicks
- Plastic spoon (not pictured)
- Pan or container lined with a paper towel
- Optional: plastic gloves (not pictured)
How to Dye Easter Eggs with Shaving Cream and Food Colouring
STEP 1: Prepare shaving cream
Start by squirting a thin layer of shaving cream in each muffin cup. Older children can try doing this themselves, its a great workout for their little hands!
Use the plastic spoon to even out the shaving cream in each muffin cup.
Use the plastic spoon to even out the shaving cream in each muffin cup.
STEP 2: Add food colouring
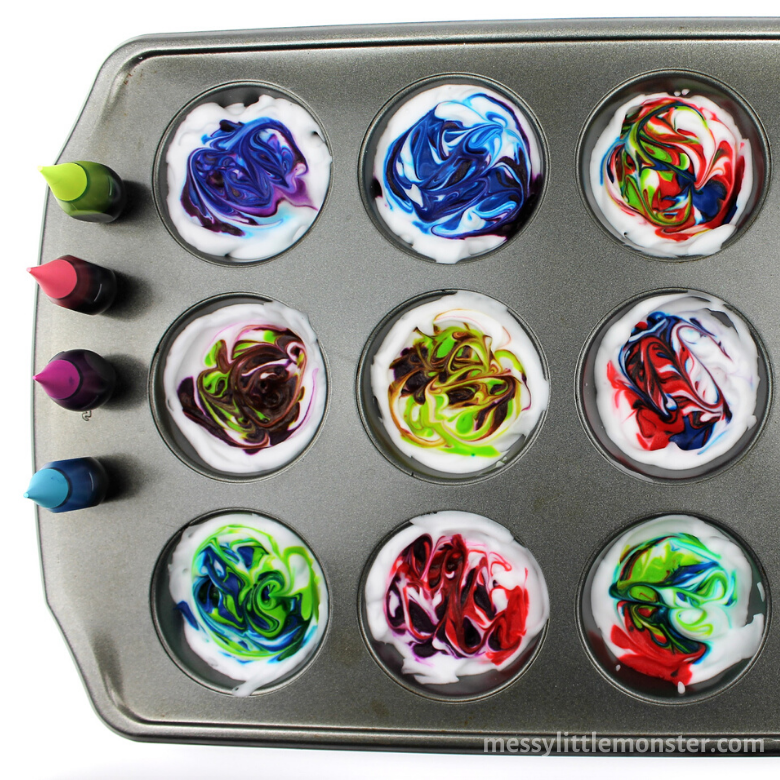
Drop 5-10 drops of food colouring in the colouring of your choice into each cup. You can have fun creating and experimenting with different colour combinations!
STEP 3: Create a tie-dye effect
Use a toothpick to swirl the colours around in each cup, creating a tie-dye effect.
STEP 4: Dip each egg in the shaving cream
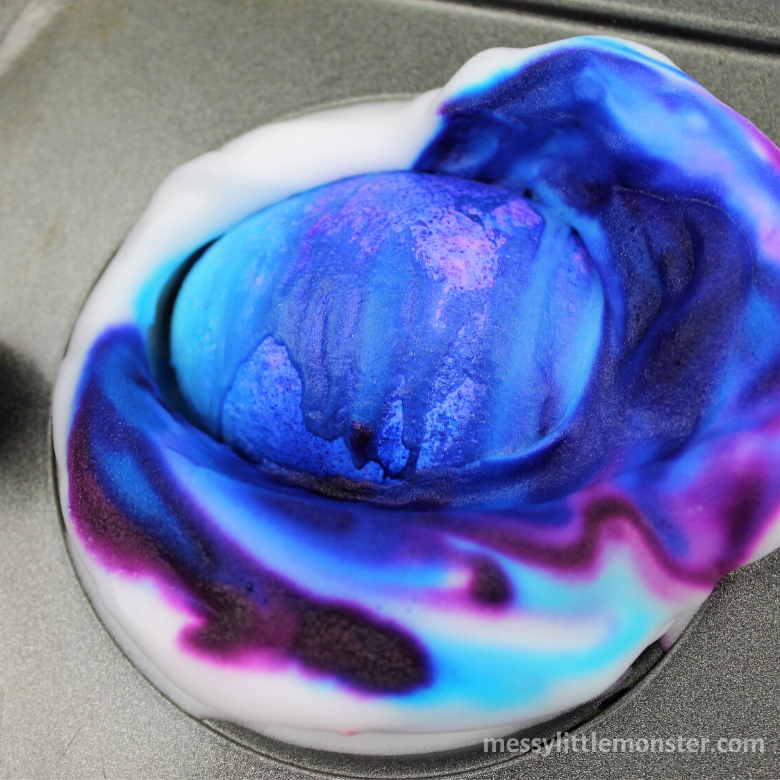
Put your gloves on! This is optional but it will avoid you ending up with brightly coloured hands! Carefully place an egg into each muffin cup and rotate the egg in the muffin cup, covering the whole egg. Repeat this step for all 12 eggs to create the tie-dye pattern.
STEP 5: Leave and then rinse
Allow all the eggs to sit in the shaving cream and food colouring mixture for 10-15 minutes and then rinse each egg off under cold water. Carefully place the eggs to dry on a lined pan or container.
And there you have it, I think that you will agree that these Easter eggs are amazing to look at! I LOVE the striking colours! Dying eggs with shaving cream is such a fascinating technique to try. A total winner activity for kids in our book! We hope you enjoyed making these shaving cream Easter eggs.












No comments