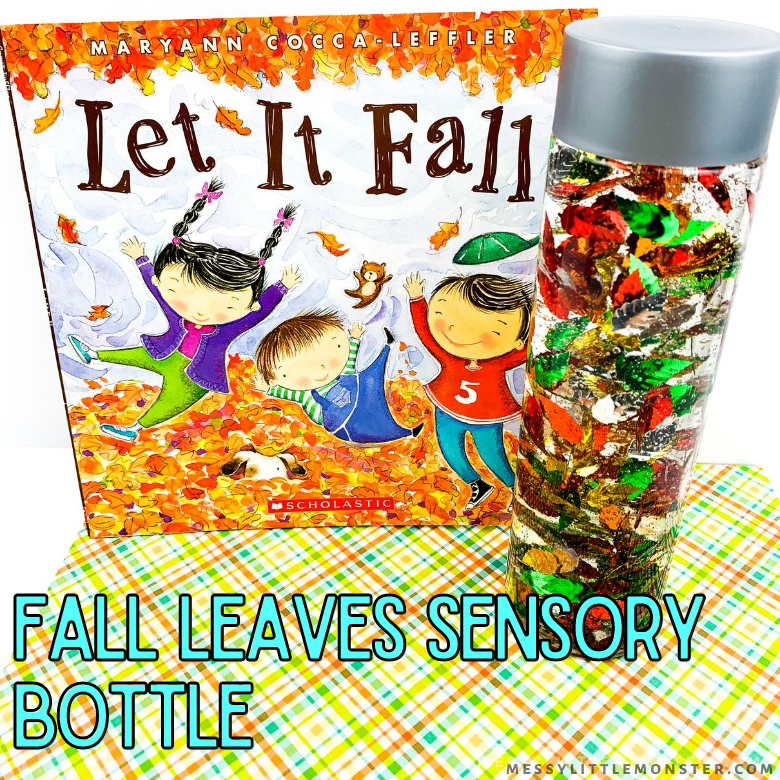
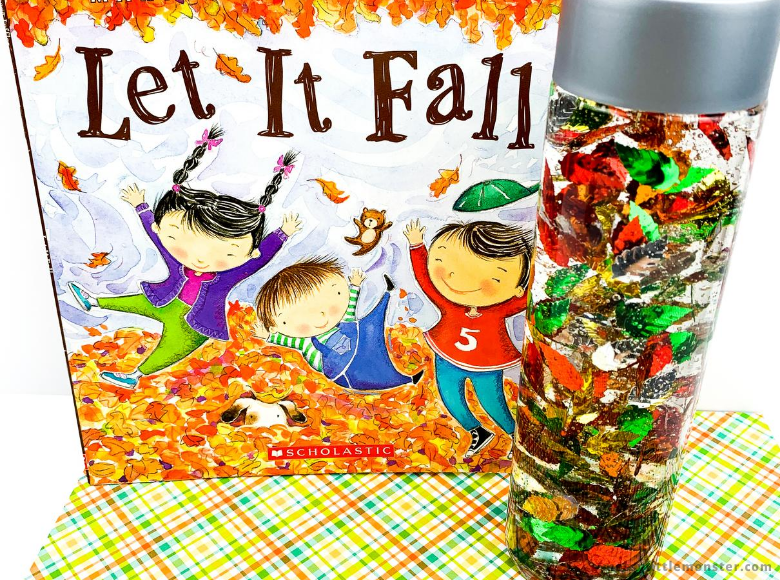
This fall-themed sensory bottle is great for this time of year as we head into autumn. It could lead onto discussions about how the leaves fall from the trees or about all the different colours leaves can be. Not only that, it goes brilliantly with the book 'Let It Fall' by Mary Ann Cocca-Leffler.
How to make a simple and stunning Fall Leaves Sensory Bottle at home
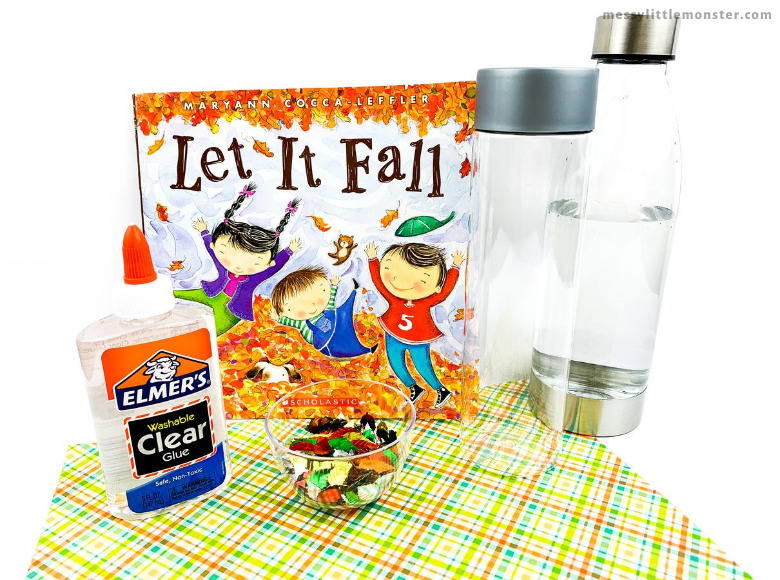
Fall sensory bottle supplies:
- Sensory Bottle
- Leaves confetti
- 1 5oz. Bottle of clear Elmer’s Glue
- Water
- Book: Let it Fall!
- Tape or glue to secure lid (optional)
Fall sensory bottle instructions:
STEP 1: Gather your supplies.
Let's start by gathering all the materials you'll be using. Any bottle can be used as a sensory bottle. My personal favourite type of bottle to use is the plastic voss water bottles. They are flat on both ends which is great for toddlers and preschoolers who want to stand it up and tip it over and they roll well which is good it you are using them with babies who want to roll them along the floor.

Once everything is ready, take the sensory bottle you've chosen and then, pour the glue in it.
STEP 2: Add the confetti.
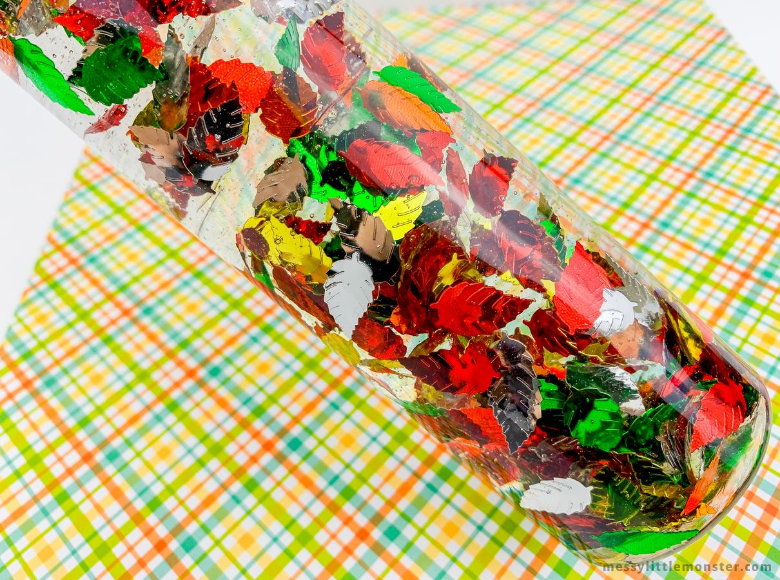
Gently, start adding the confetti leaves inside the sensory bottle.
STEP 3: Add water.
Now, fill the bottle with water until it is full.
STEP 4: Secure it.
Make sure to secure the bottle's lid using tape or glue to keep the mixture locked in and to avoid any spills.
STEP 5: Shake it up!
It's time to test it! Take your new leaf sensory bottle and start shaking it until all the content inside starts to move around smoothly. Your fall sensory bottle with leaves is ready to be used!
These special calming bottles work wonders on toddlers but can also help to calm down older kids, so it's worth a try.
Whether you are making this fall sensory bottle as a calm down tool or as a fun activity as part of a autumn, fall or leaves unit we hope you have fun.


No comments