When first getting started with sensory bins, they can seem incredibly overwhelming. Where do you get all those supplies? What about the bins? What activities should I do? The questions start filling your head and before you know it - you've given up. I'm here to tell you that it is incredibly simple once you understand how to set them up. In this post, I'll be explaining how exactly to get started.
Sensory bins are huge in our home since they provide so many sensory play benefits. They allow children to explore the world around them and develop language as they dive deep into imaginary play (for themed bins). They are a GREAT way to introduce different concepts, too.
Setting up sensory bins is a great way to provide toddlers and preschoolers with opportunities to learn through play and explore new things, but I have found that a lot of sensory bins are popular with older children too, especially the themed sensory bins.
You might be wondering how exactly we got started. I remember how hard getting started was and I want to help make the process a bit easier for you. (You might also want to read our article on sensory play for babies)
Scroll down for our full list of sensory bin ideas
What is a Sensory Bin?
The first question to answer is what exactly a sensory bin even is. The short answer is that a sensory bin is a plastic tub filled with a variety of materials to help stimulate the senses.
Sensory bins helps to simulate a child's:
- Sense of touch
- Sense of taste
- Sense of sound
- Sense of smell
- Sense of sight
They can explore touch with a bin filled with rocks, or taste with spaghetti, or sound with bells, or smell with scented moon sand, or sight with brightly coloured rice. Sensory bins are a GREAT opportunity to explore the 5 senses within the real world around them.
Sensory Bin Containers
The first step in getting started with sensory bins, is your BINS. These are the plastic tubs you purchase to pour things into. There are a variety of options for this depending on your needs. You'll want to grab a few different sizes for different purposes.
Click on the links in the list below to see examples of different containers you could use, but before you go spending a fortune have a search around the house to see what you already have! (Some links are affiliate links which means if you purchase through the link I will earn a small amount at no cost to you)
Sensory tables: If you have the budget and space for them, sensory tables are AMAZING. Children can stand at a table that includes 2-3 bins for them to play in. While you can purchase them commercially, they can also be built from PCP pipe and other materials.
Long containers: The "under the bed" style plastic storage containers work BRILLIANTLY as sensory bins. We love these for adding lots of toys or letting multiple children utilise the bin without crowding each other. They are easy to store away too!
"Small" storage containers: Traditional food storage containers work brilliantly for small scale sensory bins. Small containers are great for traveling or to keep things simple. These also work well if you want to make individual sensory bins for a group of children.
Dish pan containers: Containers the size of a dish pan work great for individual children sitting at a table. You can grab these from the dollar store or use a baking dish/bowl you already have at home. You could even use a cardboard box as long as you use dry fillers!
Small trays or baskets: Vary the type of bin you use for sensory activities by using trays and baskets of different shapes and sizes. Again these are great if you are making individual sensory bins for different children.
Tuff trays: These are huge plastic trays that are large enough for children to sit in! They are great for children that like to be right in the middle of things and they work well for a group of children.
This is just to give you an idea! See what you already have lying around and think about how you can utilise it for a sensory bin.
Sensory Bin Fillers
The next part of setting up sensory bins is your FILLERS. This is the stuff you "pour" into the bottom before adding any tools or toys. The idea with these is to create the texture. Consider any themes you are trying to setup when selecting these. For example, a "construction" theme might want something brown coloured to imitate dirt.
Some ideas for bin fillers include:
Honestly the options are endless! There are SO MANY different things you can use. Use your imagination and see what you can come up with! Consider new textures your child may not have a lot of experience with OR choose ones you know they love. Whatever feels right to you.
Sensory Bin Tools + Toys
After you have your bins and fillers, it's time to move onto different tools and toys. This is where things get REALLY fun (and expensive if you aren't careful!). The good news is that a lot of these can be found at the pound shop or dollar store - or Amazon if you prefer that option.
Some sensory bin tools + toys to have on hand include:
Much like the fillers, there are so many things that can be used as a tool in sensory bins. We have also used small stuffed animals and a variety of toys that we have laying around the house in our bins. See what you can come up with!
Sensory Bin Ideas
A really easy way to get started is to setup a "pouring station", a soapy bin, or something else really simple.
For a pouring station simply add water and a few small containers to a large bin, you could add a little colour to the water if you like or add a few tools like scoops or pipettes. Turn it into a soapy bin by adding some bubbles and a few sponges. Maybe add a few toy animals for children to wash.
Honestly, simple is often the best and children can have hours of fun with these simple set ups. But when you're ready to try some more advanced setups or themed bins, we have quite a few here on the blog for you to browse through!
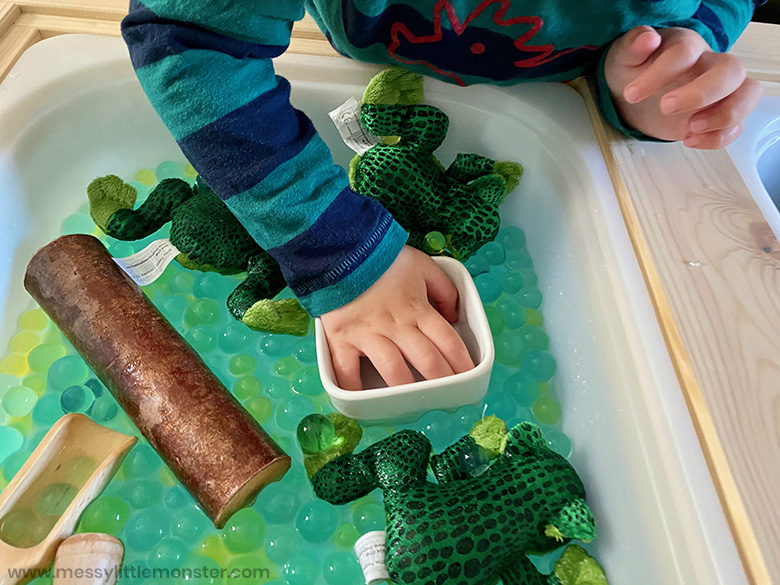
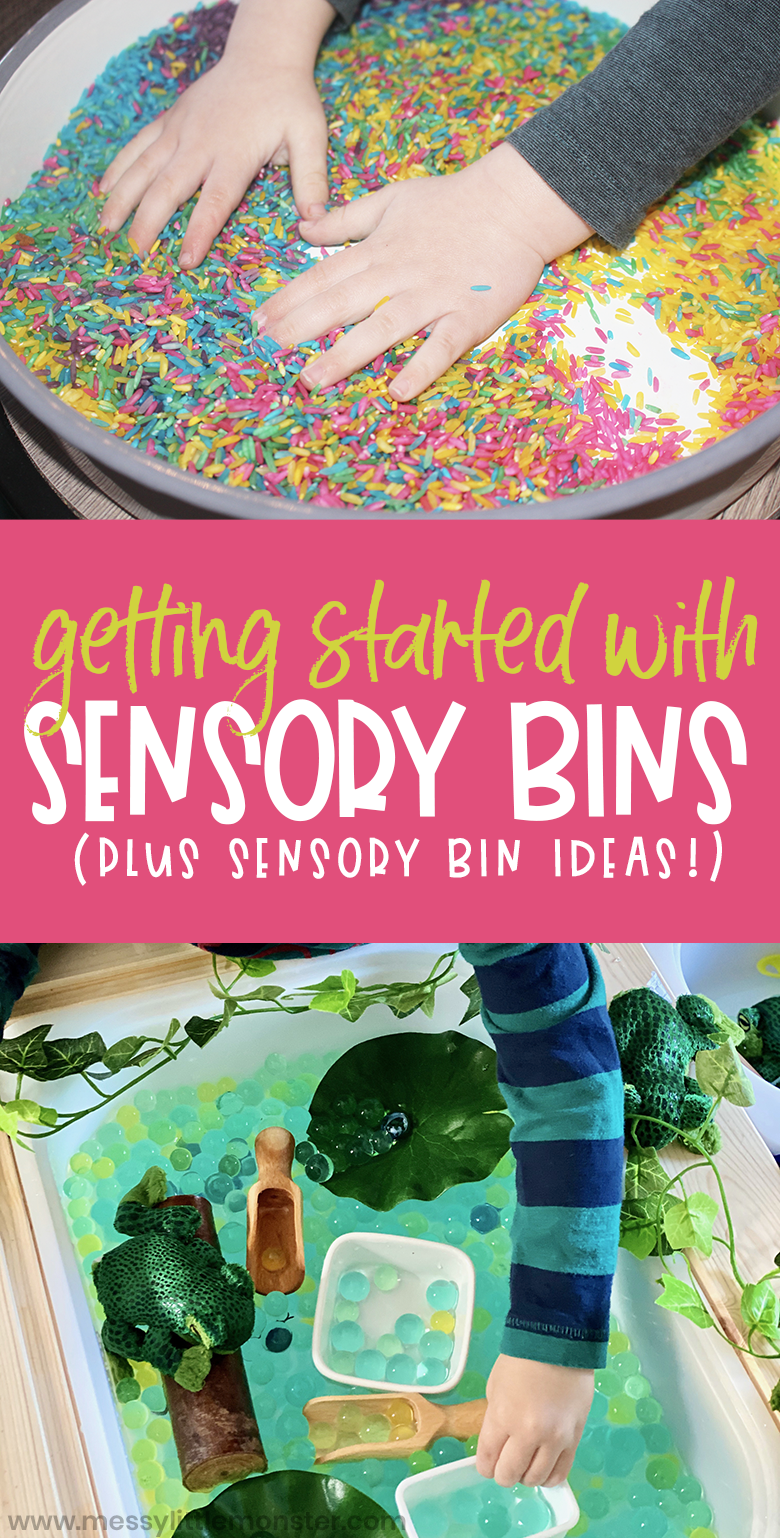
Frog Pond Water Bead Sensory Play: This one uses a sensory table with water beads to mimic the water. We also used frog stuffed animals, scoops, lily pads, logs, and a few other supplies.
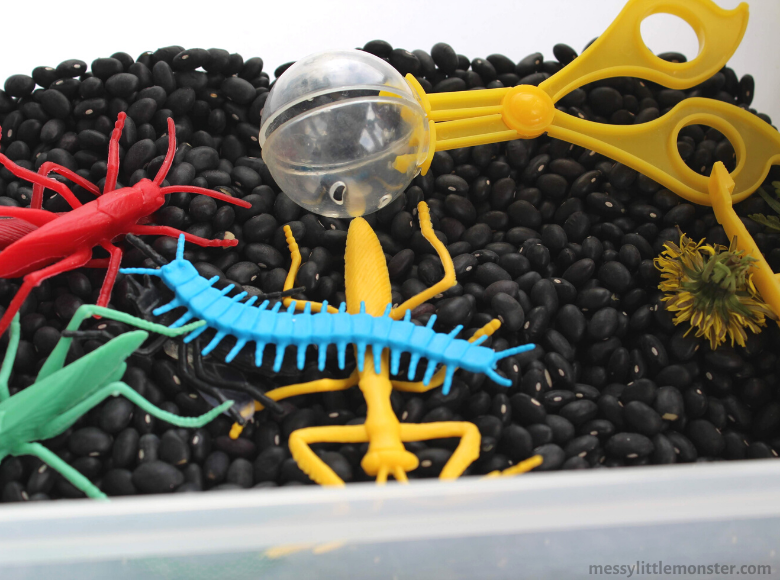
Bug Sensory Bin: For this one, we used a small storage bin along with black beans, plastic insects, a discovery kit, and a few other things. It's pretty simple to do and a lot of fun!
Dinosaur Sensory Bin: This is another pretty simple bin that we have loved. It uses sand, water, dinosaurs, rocks, fake plants, and a few other supplies and is set up in a large plastic container. Great for kids who love dinosaurs!
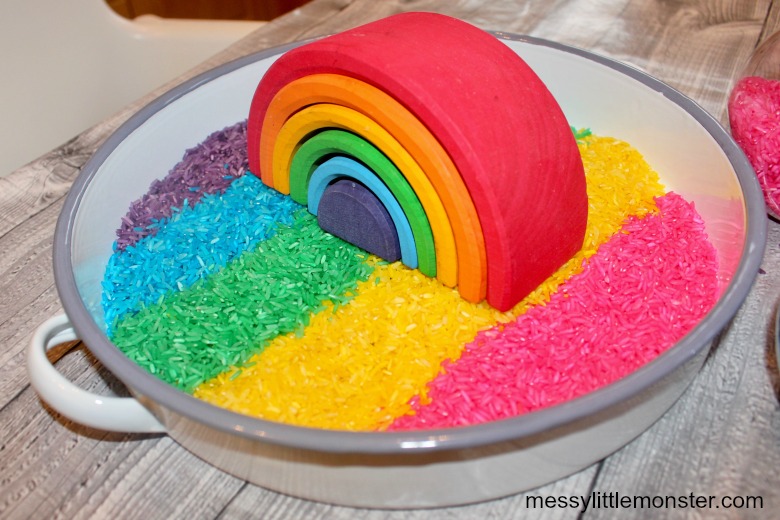
Rainbow Rice Sensory Bin: This bin is GREAT for practicing colour along with texture. You just need rice, food colouring, and vinegar to make the rice. You can also include accessories like rainbow toys, scoops, funnels, or anything else you'd like to throw in there!
Construction Sensory Bin: This one is so simple that you might not even need to get anything for it! Throw some cereal into a bin, find some toy cars laying around, and provide a few scoops! You also use road signs or other construction related toys. This was set up in a tuff tray on the floor.
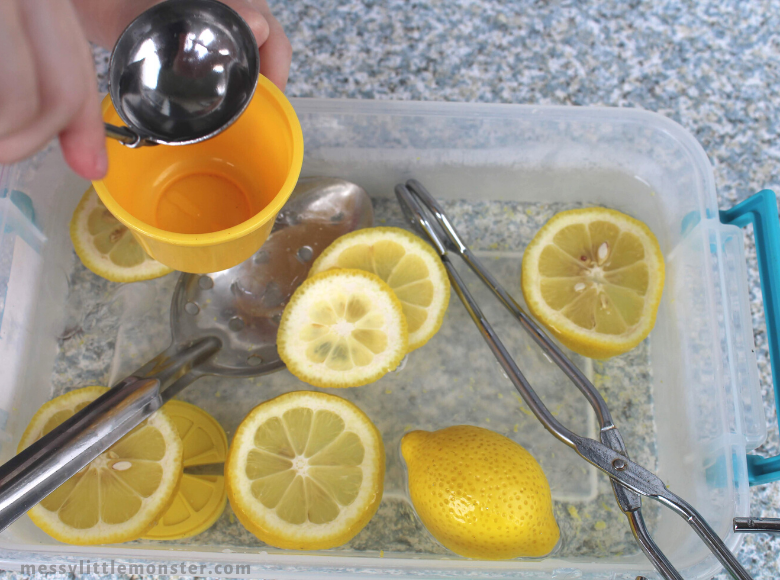
Lemon Sensory Bin: Here is another REALLY simple sensory bin. For this lemon sensory bin all you need is some sliced lemons, water, ice and a few scoops! This one was set up in a small storage container and is a great one to do outdoors on a hot summers day.
Zoo Animal Sensory Bin: Have fun washing muddy animals! All you need is a few toy zoo animals, some muddy water and some clean soapy water. Try it with farm animals or pets too!
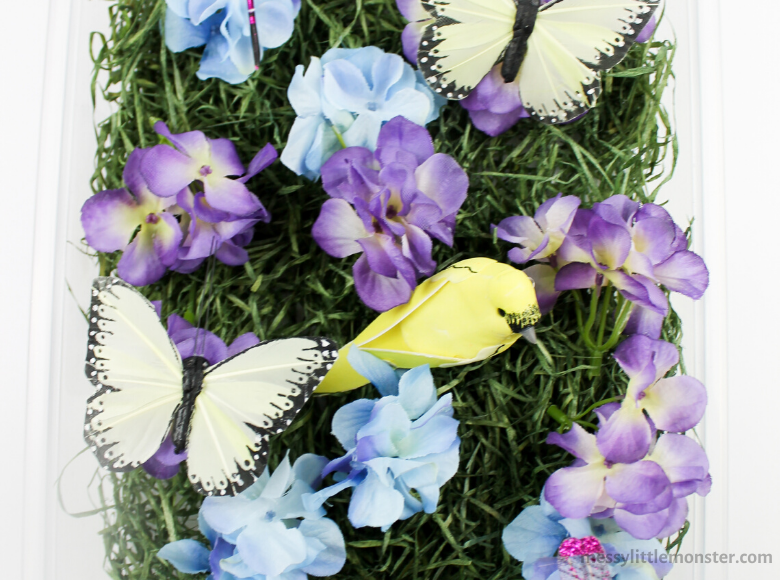
Spring Sensory Bin: It can be fun to make season themed sensory bins. For this spring sensory bin we used a plastic container, we added artificial grass as the base and then added spring flowers, birds and butterflies.
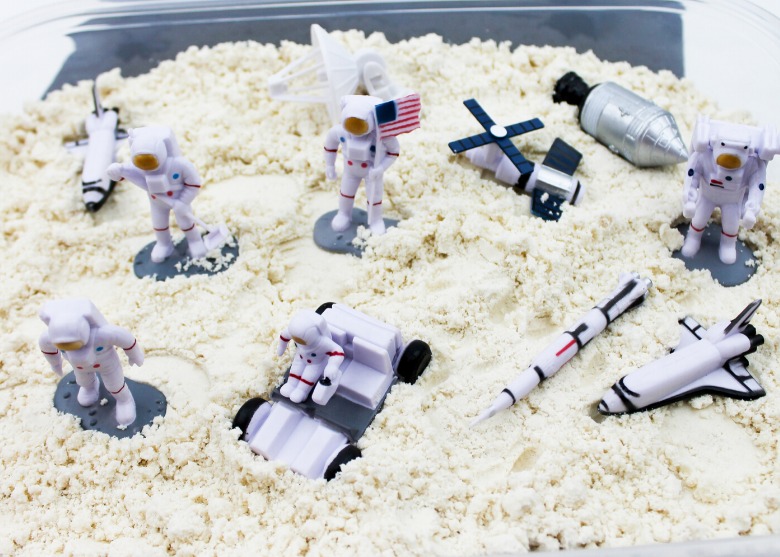
Space Sensory Bin: Any children that love space will have the BEST time with this moon dough space sensory bin. Moon dough is easy to make using just flour and oil and provides children with a new texture to explore. This one can get a bit messy so you might want to take it outdoors!
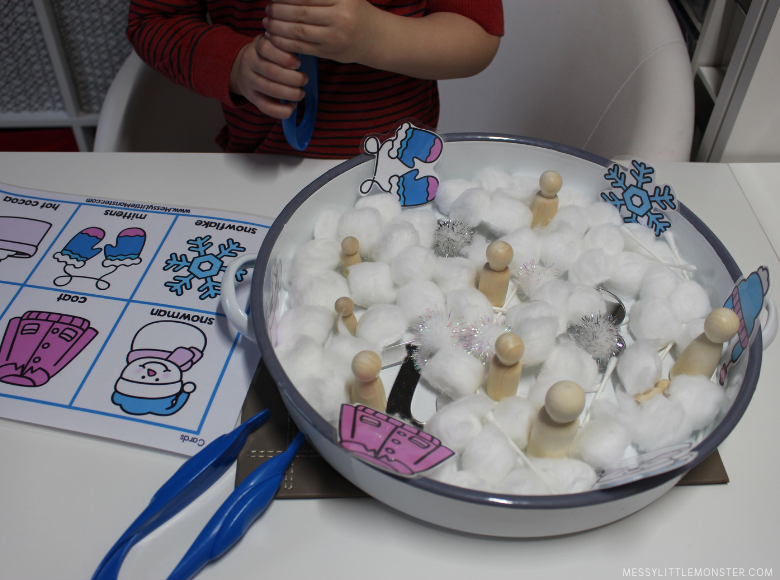
Winter Sensory Bin: If you want a sensory bin that is easy to put together you might like our sets of sensory bin printables. Here you can see our winter sensory bin version that we filled with cotton balls and other winter items before adding our winter images to create a matching game. These images are great for sparking interest and discussion.
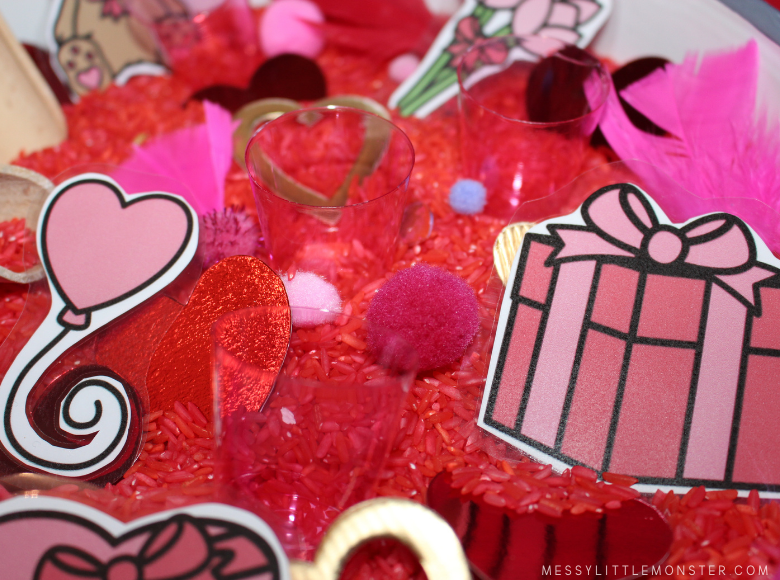
Valentine's Day Sensory Bin: This Valentine's Day sensory bin again utilizes our sensory bin printables, but this time uses rice as a sensory base. Adding an old chocolate box for toddlers and preschoolers to work on their pouring skills in a nice added touch.
Sand Foam Sensory Bin: Sand foam is really easy to make and such an interesting texture to explore. Add a few construction vehicles or a small set of sand tools and see how much fun your little one can have!
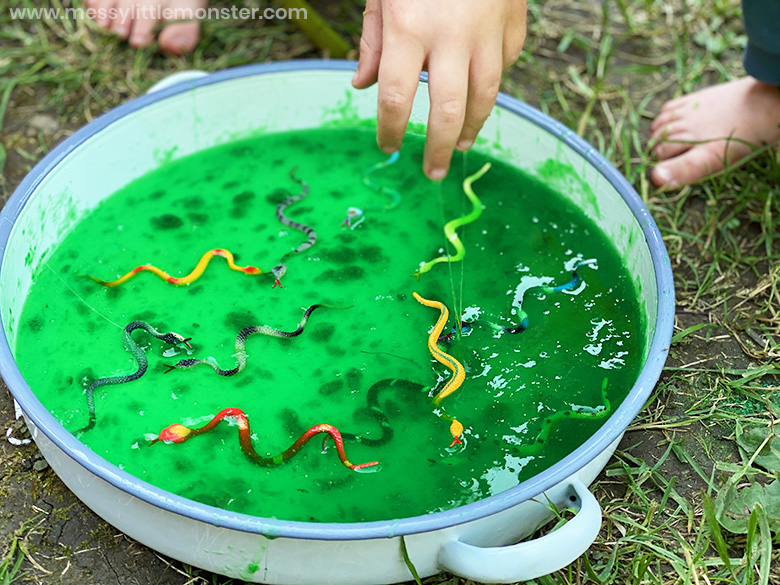
Slime Sensory Bin: Have fun and get messy with this fun snake swamp. Definitely one to try outdoors, the kids will have loads of fun playing in this swamp filled with snakes and made from slime.
Spider Sensory Bin: Work on fine motor skills as you rescue spiders from this fun spider sensory bin.
Halloween Sensory Bin: Get ready for halloween with this fun and spooky halloween sensory bin. Using our printables and waterbeads this is easy to set up and the kids are sure to have some spooky fun.
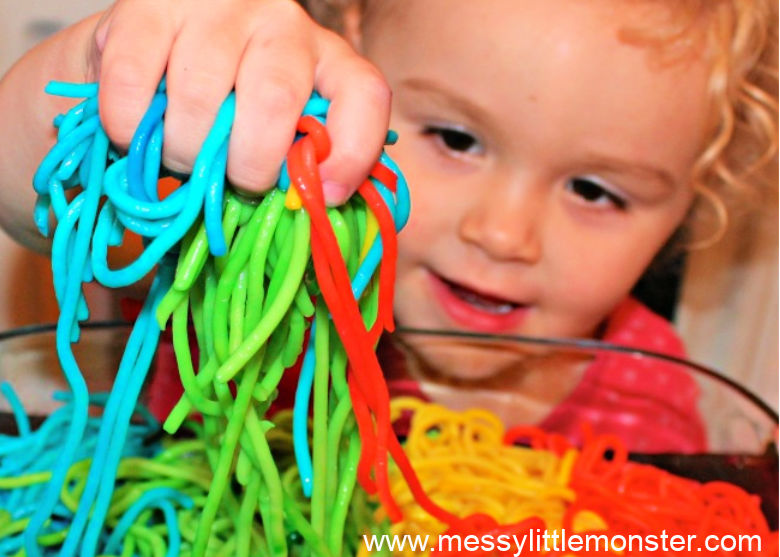
Rainbow Spaghetti: This edible sensory bin filler is easy to make and fun for little ones to explore. Add kitchen utensils or small toys for even more fun.
Fall Sensory Bin: Have fun hunting for fall-themed images hidden in oats. This is such a fun way of introducing toddlers and preschoolers to a new season.

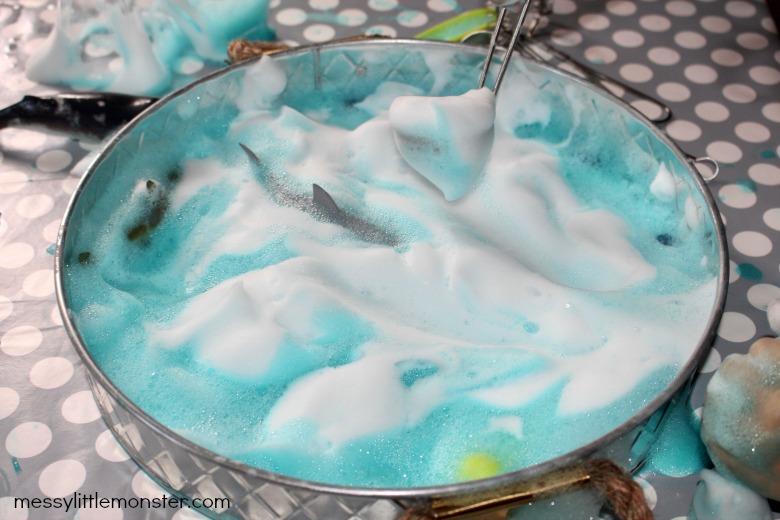
Soap Foam - Whizz up a batch of soap foam and watch your little one explore a new texture. Try making a variety of different colors to create rainbow soap foam or add small toys to create a small world.
Farmyard Sensory Bin: Grab a collection of farm animals and some yummy cereals and use them to create an edible farmyard. This sensory bin is perfect for babies and toddlers likely to put things in their mouth.
Edible Mud: Playing in mud is always fun, but this version is edible! Add mud to a farmyard sensory bin, or simply fill your sensory bin with edible mud and have fun making animals jump around in it.
Spring Sensory Bin - Grab our spring sensory bin printables and have fun setting up and playing with this cute spring sensory bin. Using shredded paper as a base you can have lots of fun hiding fake flowers and then finding them and making them 'grow'.
Human Body Sensory Tray - Preschooler interested in the human body will love this fun human body sensory tray. It comes complete with water beads, pom poms, buttons and a printable that includes several body parts.
Homemade Snow Sensory Bin - Sensory bins don't always need to be huge. Have fun making homemade snow and using it to create a small sensory bin for your toddlers or preschoolers to play with.
Real Snow Sensory Bin - Another fun way to make a winter sensory bin is to use real snow. For children that find being out in the snow too cold this is the perfect alternative.
Leaf Sensory Bin - Have fun playing with leaves with this easy-to-set-up leaf sensory bin. Use real leaves or fake leaves along with red rice and our leaf printables.
Ocean Sensory Bin - There are several different ways to make this ocean sensory bin, but they all involve using toy sea creatures and lots of imaginative fun!
Easter Sensory Bin - Keep things simple with this hatching chick sensory bin created using plastic eggs and little chicks.
Summer Sensory Bin - Get ready for summer with this fun summer sensory bin idea. Fill your sensory bin with kinetic sand and blue gems to represent the beach and then fill it with summer themed items. You could use out sensory bin printables too!
Taste Safe Under the Sea Sensory Bin - If you have young children that put items in or near their mouth then you will love this under-the-sea taste-safe sensory bin. Follow the step-by-step directions to make taste-safe sand and coral using everyday ingredients.
Final thoughts
Sensory bins are such a GREAT activity for kids! They have an array of benefits as children get to explore all their senses as they play.
When first getting started, focus on getting a bin and then adding fillers and toys. By following that rule of thumb, you will be less likely get overwhelmed.
I hope this post on getting started with sensory bins helps. Let us know if you've started using sensory bins with your children!
Follow us on
Facebook,
Pinterest,
Twitter,
Instagram,
Youtube or Subscribe for free email updates!













No comments