If you're on the hunt for a fun, no-stress activity for autumn, our 3D Paper Pumpkin Craft will make your day! This 3D pumpkin craft for kids will spark up little ones Halloween spirit as they create their own unique paper pumpkin, perfect for the Halloween season or as a fun autumn project!

Pumpkin season has arrived, and in today's craft project, we decided to go for this low-on-mess 3D pumpkin craft made with paper!
We included a super handy template you can download for free; it makes the whole process so much easier!
Once your little ones have made their pumpkin masterpiece, they can use it as spooky decor for Halloween night! If you're not celebrating Halloween, not to worry! This pumpkin craft works great as a fall craft or Thanksgiving craft too!
Read on and let's get crafting!

Don't forget to take a look at our other fabulous pumpkin-themed crafts!
Check out this amazing list of Pumpkin Crafts, our Black Glue Pumpkin Craft, our homemade puffy paint pumpkin craft or if you want something to work on those fine-motor skills without the mess, you'll love our line study pumpkin colouring page!
How to make a 3D paper pumpkin craft
There are two options to choose from. The pumpkin template will either make 2 small 3D paper pumpkins or one larger 3D paper pumpkin.
3D Paper Pumpkin Craft - Supplies:
- Orange paper
- Our template
- Pencils, crayons or makers.
- Tape
- Scissors
- Paper fastener.
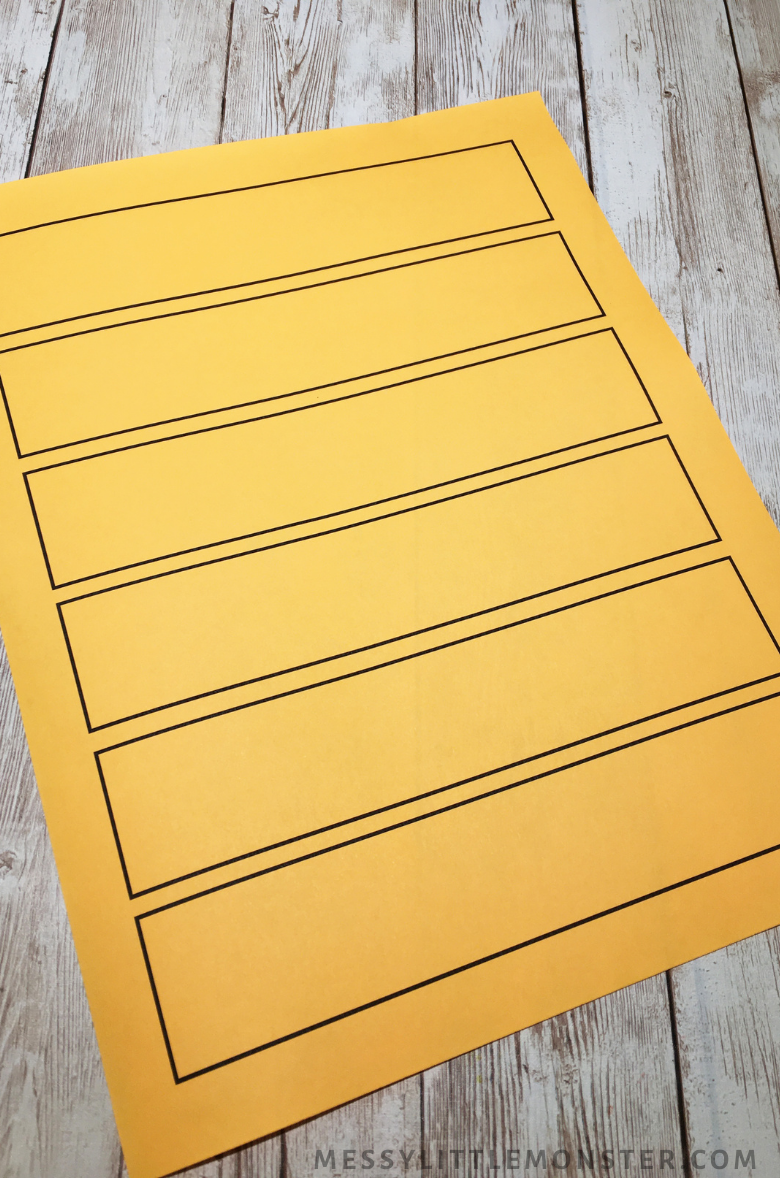
STEP 1: Print out the 3D pumpkin template.
To start making these pumpkins, you need to scroll below and grab our free template. Then, print it out. I recommend printing it on orange paper if you can. If you don't have orange paper, paint or colour the strips.

STEP 2: Draw a pattern.
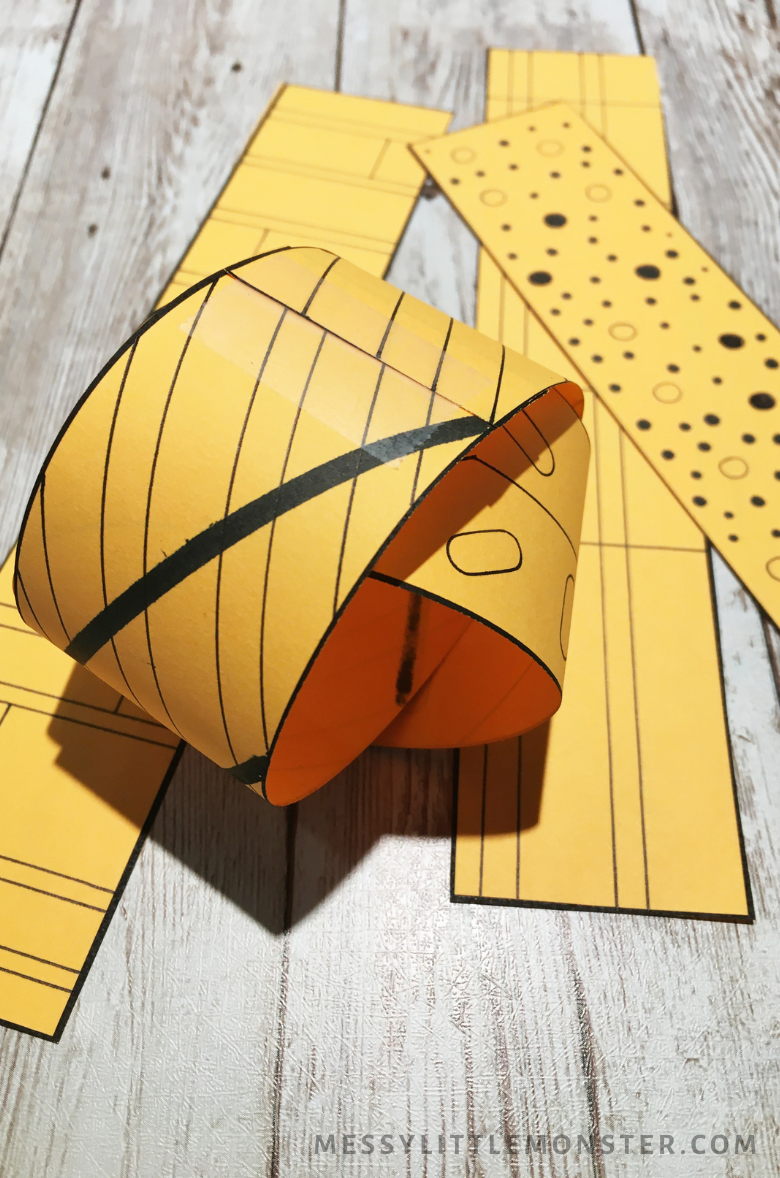
Before you cut the strips, get doodling and make your own zentangle patterns on the strips. You can use a black marker as we did or get out a variety of autumnal colours. Make all the strip the same or all different, the options are endless!


STEP 4: Cut out the paper strips.
When you have finished decorating the 6 strips, cut them out.

How to make a small 3D pumpkin craft
We'll start making our small pumpkin. You will need 3 strips for each of the small pumpkins. For this one, start by making a loop with the first strip and secure it with tape.

Then, do the same again, but this time, the second loop should go through the first one. Use tape to secure it.

Gently flatten the two loops you've created and then add a third loop using another paper strip and tape it. Once this is done, flatten your pumpkin with your hand and look for the centre top.

Using your scissors or something pointy, poke a hole through all three loops and secure it with a paper fastener.


How to make a large 3D pumpkin craft
To make the larger pumpkin you will need 6 strips. Place together the ends of all 6 strips and secure them with a paper fastener.


And there you have it! These paper pumpkins look so cute, we had so much fun making them. Scroll down to grab your pumpkin craft template and get started!
To download this paper pumpkin craft template for free click on the link below. For personal or classroom use only. Not for redistribution. All images are copyrighted. Thank you.


No comments