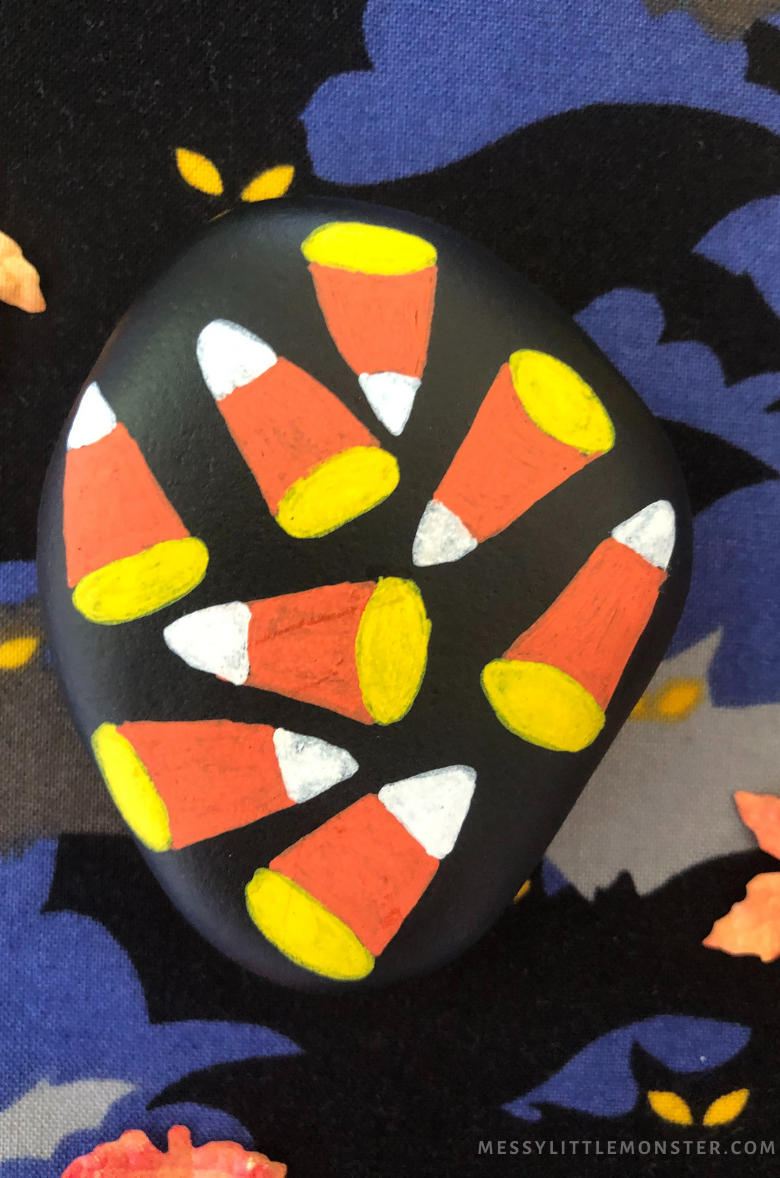
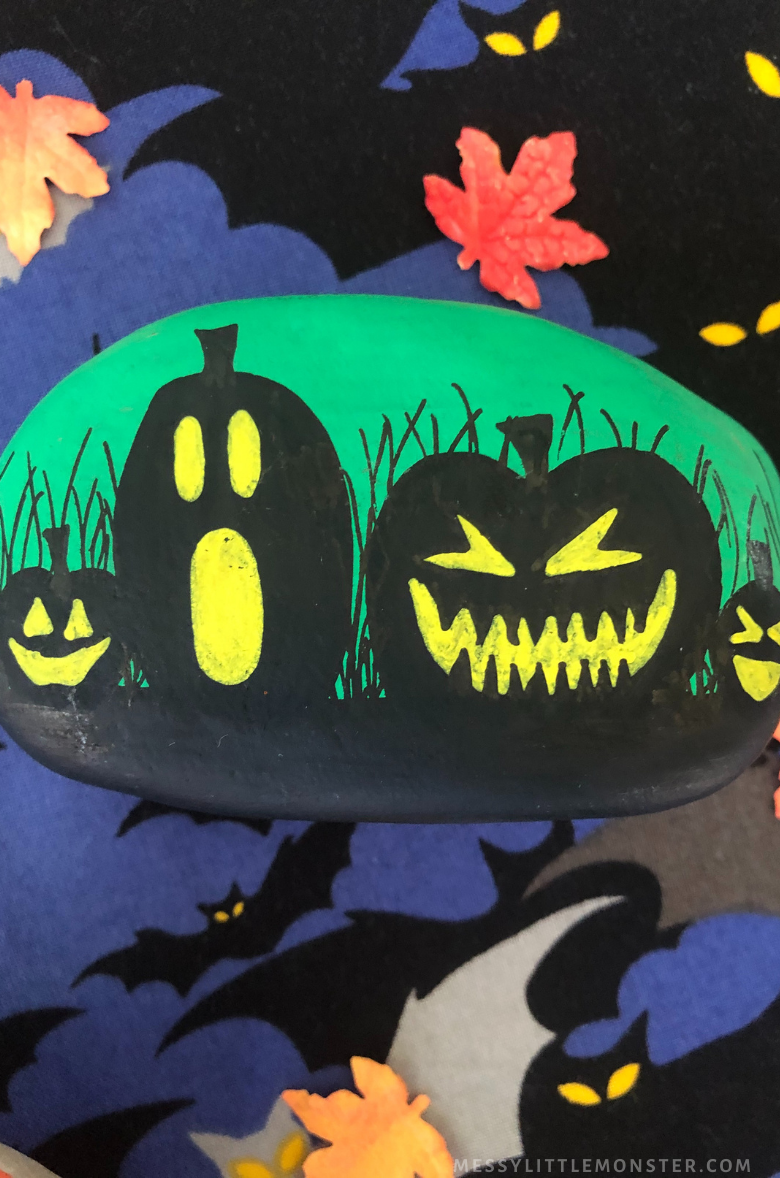
From a ghost to a spider to a witch, turn some simple rocks into not-so-spooky creatures in no time!
If you have been here before, you know we are huge fans of using things we have around the house to make crafts, and this rock painting activity is no different. You'll only need some very basic supplies like pencils, brushes, markers etc and some sealant to keep your designs safe for a long time, oh and.... rocks!
Check out our super awesome list of Rock Painting Ideas for more inspiration!
If you want to try out a few more Halloween Crafts for Kids check out our Halloween Puppet Crafts, Halloween clay Pot Crafts and our Halloween Paper Crafts.
Painting Rocks for Halloween
Halloween Rock Painting - Supplies:
- Rocks
- Pencil with eraser
- Pens
- Paint
- Paintbrushes
- Sealant
- Glue
- Any fun decor that you're gluing
Halloween Rock Painting TIPS:
We have some awesome and time-saving rock painting tips.
We recommend going to find a selection of rocks from outside, but always making sure you're not taking them from protected areas. If you don't have a backyard or access to any parks, you can search for local garden centres or landscaping companies that sell small rocks. Going to Amazon is also a great idea!
If you decide to buy the rocks, try to make sure they're not the crafting smooth river rocks you can find at stores. These are cute, but they come coated, and this will make the painting process super complicated.
When it comes to painting your rocks any acrylic paint or acrylic paint pens will work well. Drawing out your design in pencil first is a good idea, especially if you plan on completing a detailed design. I would recommend going for fine tip acrylic markers if you want to be able to add small details to your Halloween rocks.
If you plan on leaving your painted rocks outdoors it is really important that you seal them to protect the paint.
Halloween Rock Painting Ideas & Instructions:
Scroll down for full rock painting directions and to see close up images of some of our spooky rock designs to give you some Halloween rock painting ideas.
STEP 1: Clean your rocks!
To get the best out of this activity, cleaning the rocks before painting them is crucial. Remove any debris, oil, and dirt with a brush and some detergent or soap. Let the rocks dry before moving on.
STEP 2: Trace your design.
Once your rocks are clean and dry, feel free to trace your spooky design first with a pencil. You can also do this craft freestyle, so it's up to you and your little ones!
STEP 3: Paint your rocks!
Start colouring your Halloween designs. Invite your child to create each Halloween picture using acrylic paint or acrylic markers.
I recommend starting with one base colour of acrylic paint and then moving onto using the different acrylic markers once the paint is dry. Layer up the paint colours, waiting for each to dry before moving on.
Or, alternatively you could paint your details onto your rocks use acrylic paint and no markers - Use whatever you have at home and make the best of it!
STEP 4: Seal your rocks!
Add a coat of sealant to your finished painted rock design. This is key because when you seal it your design will last a really long time and will withstand a variety of weather conditions. Glossy or matte, any sealant will do!


No comments