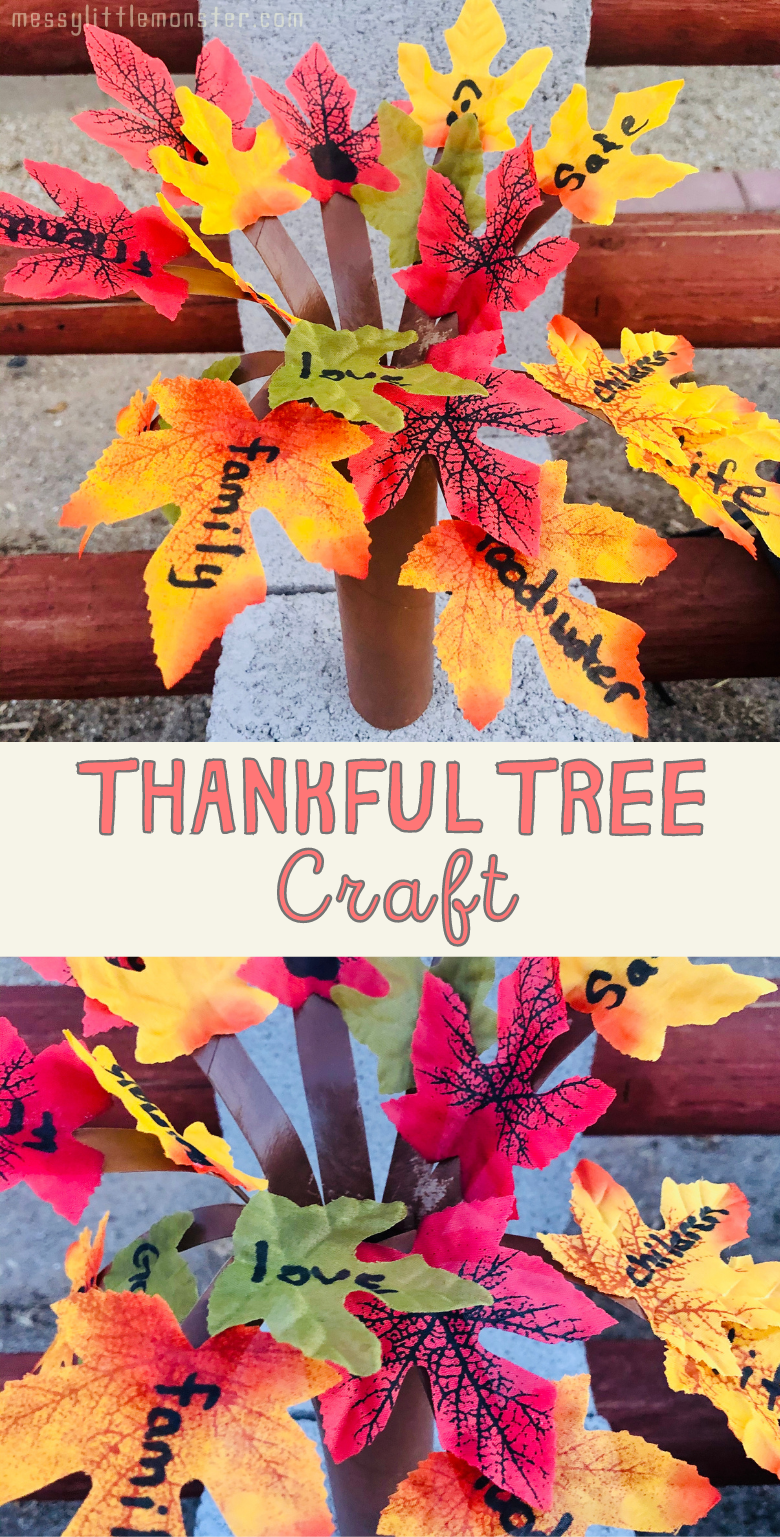
Grab some leaves and make this lovely Thankful Tree Craft! Encourage your kids to appreciate and be thankful for the important things in life with this cute craft!
Today, we're bringing you a special craft that's perfect to have fun with and enjoy some quality time with your little ones. Kids will have a blast, no matter their age! You can even turn part of this craft into a leaf-hunt and get the kiddos moving!
This Thankful tree DIY craft is a beautiful idea to do with the kids as a family project. Read on to learn how to make this Thanksgiving tree craft at home!
Don't forget to check out our Thanksgiving Coloring Page where you can write what you are thankful for on a turkeys feathers or our Thankful Turkey which includes an I am thankful for writing prompt. You could also make our turkey handprint craft and then write what you are thankful for on the feathers once the paint has dried. For more thanksgiving-inspiration check out our collection of Thanksgiving crafts for kids!
If you use silk leaves for this craft and you have any left use them to make a leaf sensory bin.
Related - Tree Crafts
Thankful Tree Craft - Thanksgiving Tree
Thankful tree craft - Supplies:
- Paper towel roll
- Glue
- Scissors
- Brown Paint
- Paint Brush
- Fall craft leaves, natural leaves (or make your own with construction paper)
- Markers in darker colours like black, brown, deep red.
Thanksgiving Tree Craft - Instructions
STEP 1: Prep your craft-station
Gather your supplies, and let's get started! For this craft you can use silk leaves (as pictured), make your own paper leaves or even collect some real leaves.
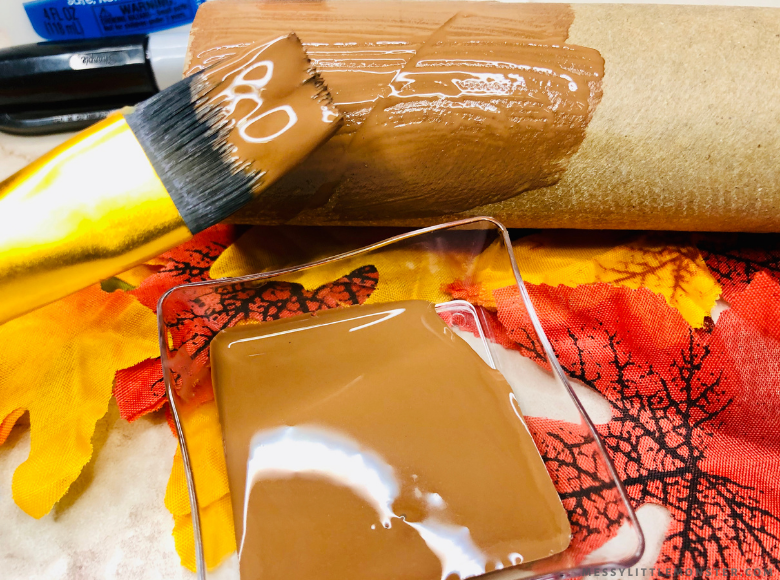
Take your paint and apply it on the outside of the paper towel roll, then set it aside until dry. Now paint 1/3 of the inside of the paper towel roll and let it dry completely before moving on.

STEP 2: Start writing!
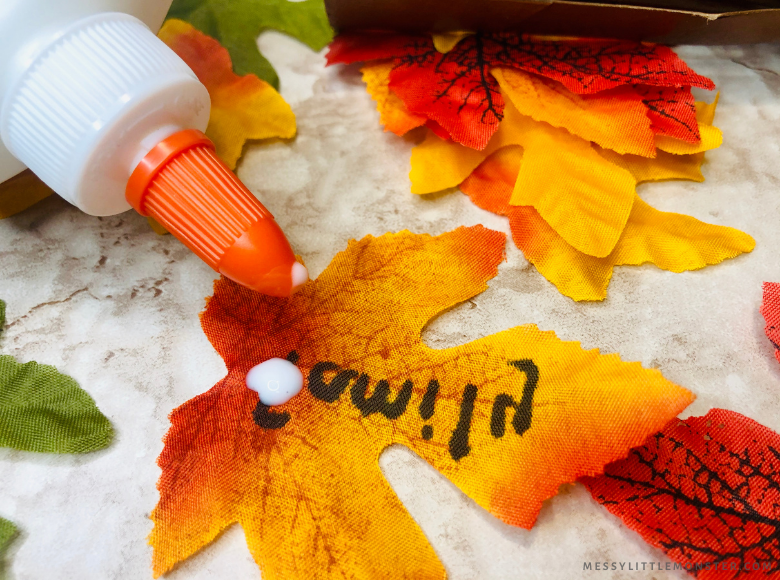
Invite the kids to join you while the paint dries. Using a marker, encourage the kids to write one word on each leaf, representing something or someone that they're thankful for.
This is all about fun and whatever comes naturally to them to be thankful for! There's no need to fill all the leaves either. Leave some empty to fill up all the branches later on.
STEP 3: Make the branches
Start cutting thin strips of different lengths from the top of your painted paper towel roll once it's dry, but remember not to cut any lower than that top 1/3 of the roll we marked out by painting.
STEP 4: Put your thankful tree together
Taking the glue, attach one or two leaves with the words on to the end of the branches and fill the remaining part of the branch with blank leaves.


No comments