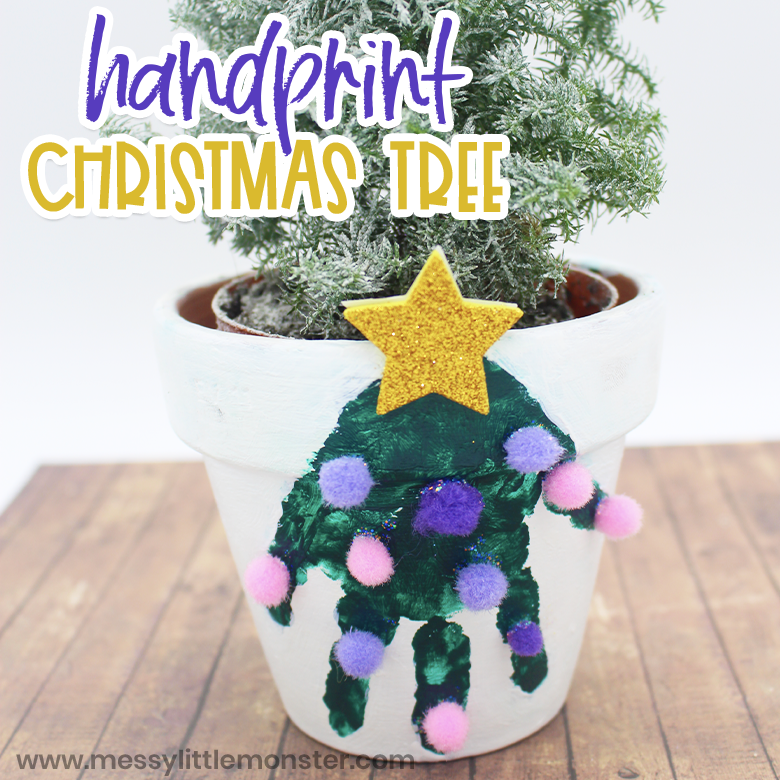
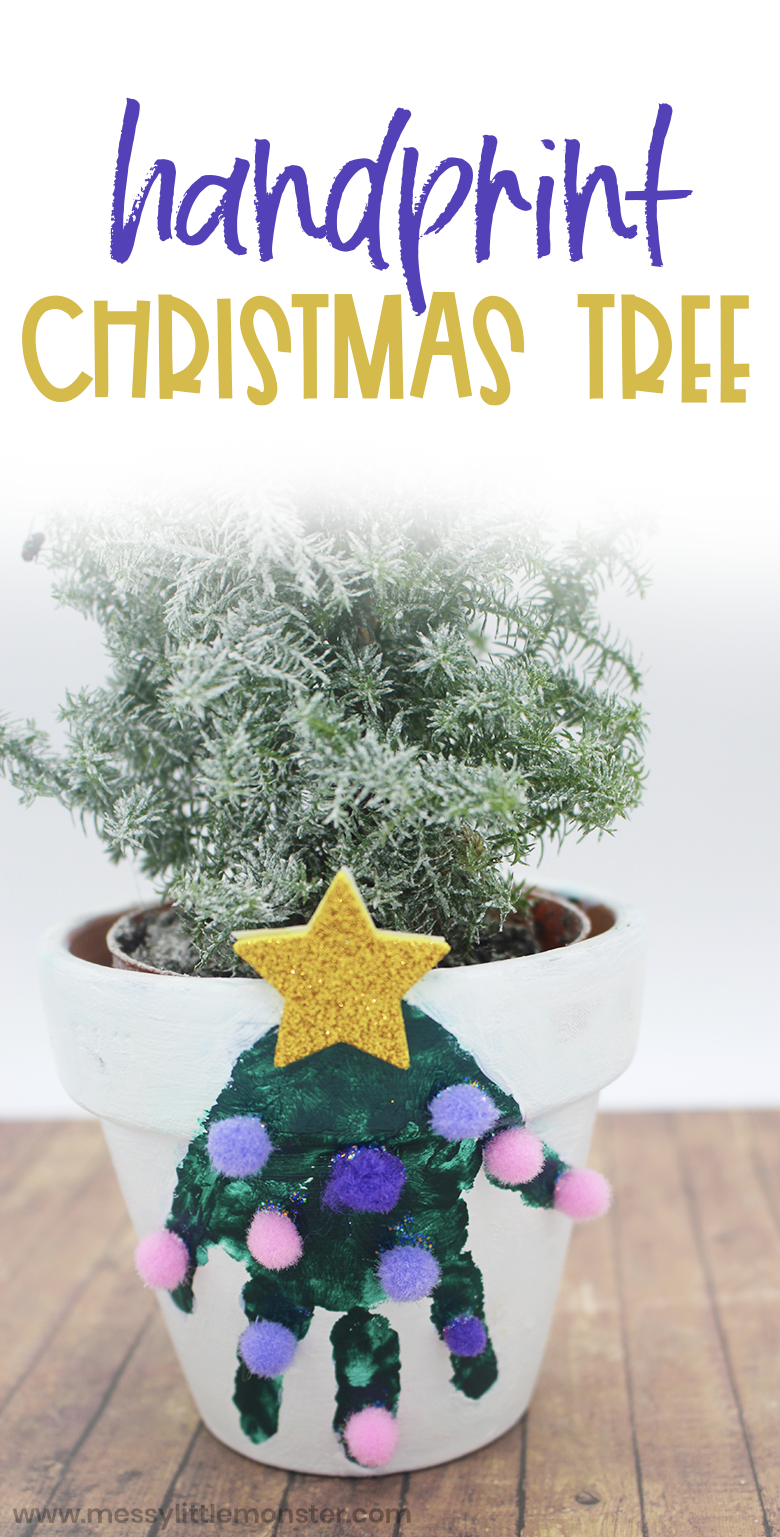
With the holidays sneaking up on us, what better time to make a fun handprint Christmas tree craft? Toddlers and preschoolers will love making this Christmas handprint art project to use for decoration or to gift to loved ones as a sweet keepsake gift. Handmade gift ideas are extra special this year, don't you think? Follow the step by step directions below to get started making your own handprint Christmas tree.
Looking for more Christmas handprint crafts to give as gifts this year? We have an adorable selection of handprint Christmas cards
Check out these Christmas tree craft ideas too:
Toddlers and preschoolers will LOVE this handprint Christmas tree craft during these cold days stuck inside. What's better than getting to play in some paint, anyway? Christmas handprint art can be a great activity to not only get them engaged in a fun activity but also make a great keepsake for grandma or auntie. And the best part - it's super easy to do!
Scroll down below to get started making your own handprint Christmas tree art!
Handprint Christmas tree
Handprint Christmas tree supplies:
- Clay pot (large enough to apply your child's hand)
- Acrylic paint
- Paint brushes
- Pom poms or sequins (optional)
- Foam star
- Glue
How to make a handprint Christmas tree
STEP 1: Gather your supplies
Before you get started, gather up all your supplies! I suggest waiting to pour each paint colour until needed, as you will be waiting for paint to dry several times in this process.
STEP 2: Prepare clay pot
To begin, paint your clay pot in its entirety with white paint and then set it aside to dry. Using a sponge paint brush is recommend if you want to avoid brush marks. Once dry you might need to apply a second coat of paint depending on coverage.
STEP 3: Apply handprint
Once your pot is dry, paint your child's hand green and carefully press it onto the pot so that their fingertips are pointing towards the bottom of the pot. Apply pressure to make sure you get as much of the handprint as possible and then carefully lift your child's hand off, trying your best to avoid smearing.
This can sometimes be harder than it seems! If you end up with any small smudges wait for them to dry and then paint over them with the white paint you used to paint the clay pot.
STEP 3: Decorate handprint Christmas tree
Now it's time to decorate! Glue on pom poms or sequins to resemble ornaments. Alternatively you can apply fingerprints dipped in paint. Have fun and get creative, there is no right or wrong way to decorate your handprint Christmas tree.
To finish off your Christmas handprint art, glue on a gold foam star to the top of the tree. If you'd like, you can repeat these steps on the other side of the pot or write a message on the back in black sharpie. Have fun with it!
We hope you enjoy making this fun handprint Christmas tree! It can be gifted to loved ones as a keepsake gift or used as a decoration around the home during the holidays. Whatever you choose, we hope your toddler or preschooler had lots of fun making their Christmas handprint art. Why not plant a small Christmas tree in your clay pot as a fun final touch!


No comments