It's time to put our creative hats on and celebrate Dr. Seuss's most beloved character with this fun Cat in the Hat craft!
Today, we're diving into Dr. Seuss's universe and making our own version of the adorable Cat in the Hat.
Even during rainy days, this adorable paper craft will make sure your kids have loads of fun indoors. After all, the Cat in the Hat says it himself!
“I know it is wet and the sun is not sunny, but we can have lots of good fun that is funny.”
This super fun craft inspired by the classic children's tale is a wonderful and interactive addition to your reading sessions.
So, if you're thinking about reading the story to the kids (or you are doing it right now), this craft is the perfect activity to follow along!
Now, let's jump in, shall we?
Want some more crafts to celebrate Dr. Seuss's special characters? Have a look at this other Dr Seuss Cat In The Hat craft, this Put Me In The Zoo craft, this Thing1 and Thing 2 craft and these Dr. Seuss-themed activities!
How to Make an Easy Cat in the Hat Craft
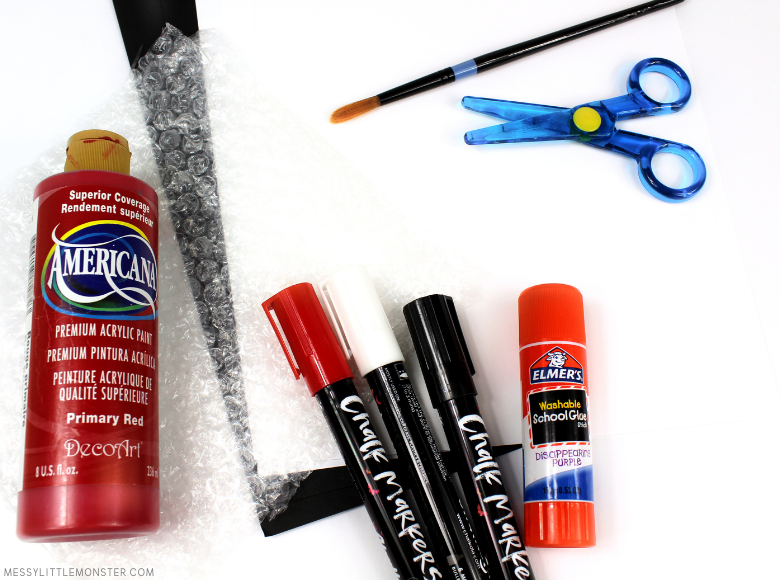
Cat in the Hat craft - Supplies:
- Cardstock
- Chalk Markers (optional for detail)
- Red Paint
- Paint Brush
- Bubble Wrap
- Newspaper (or something else to cover your surface)
- Glue
- Scissors
Cat in the Hat Craft - Directions:
STEP 1: Get your printable Cat in the Hat template.
Scroll down below and snag our free printable Cat in the Hat template! You need to print it in one of the steps below, so just make sure you have the file downloaded.
STEP 2: Prep your workstation.
Before continuing, remember to cover up the surface you'll be working on with newspaper to protect it. This may get messy! Get all your supplies ready.
STEP 3: Paint your bubbles wrap!
Start by taking the bubble wrap and placing it on your covered surface, bubble side up. Then, paint it with a brush with red paint.
Take the painted bubble wrap and place it gently onto the white cardstock you've chosen for this craft.
STEP 4: Stamp your paper.
Carefully press the painted bubble wrap onto the card. Remember not to press too hard, or it'll leave smudge marks.
Lift the bubble wrap carefully and let the paint dry thoroughly before continuing with the next steps.
STEP 5: Let it dry.
You need to make sure the red paint is completely dry before this step as we'll be using the printer and if the paint is still not dry it may damage the machine.
STEP 6: Print the template.
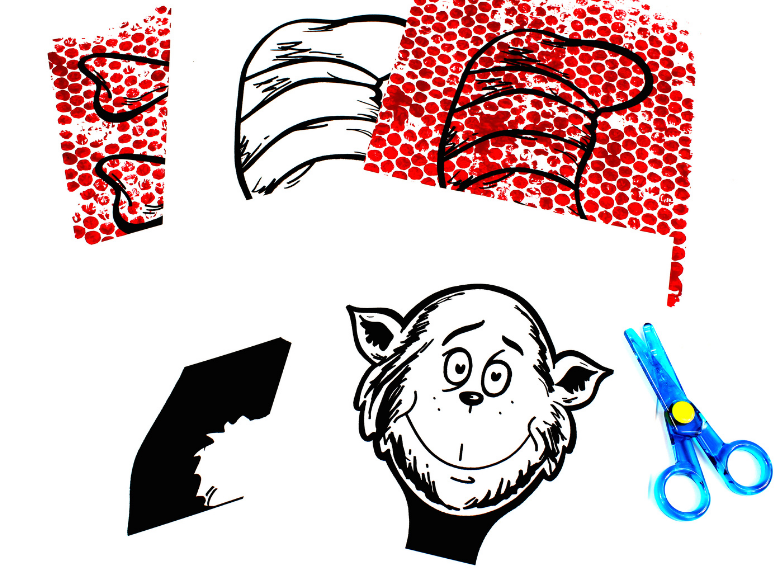
Open your cat in the hat template and print it out on the white cardstock with the red bubbles stamping.
Now, print out the template again onto regular white paper and print the head and chest onto white paper too.
STEP 7: Put your Cat in the Hat craft together!
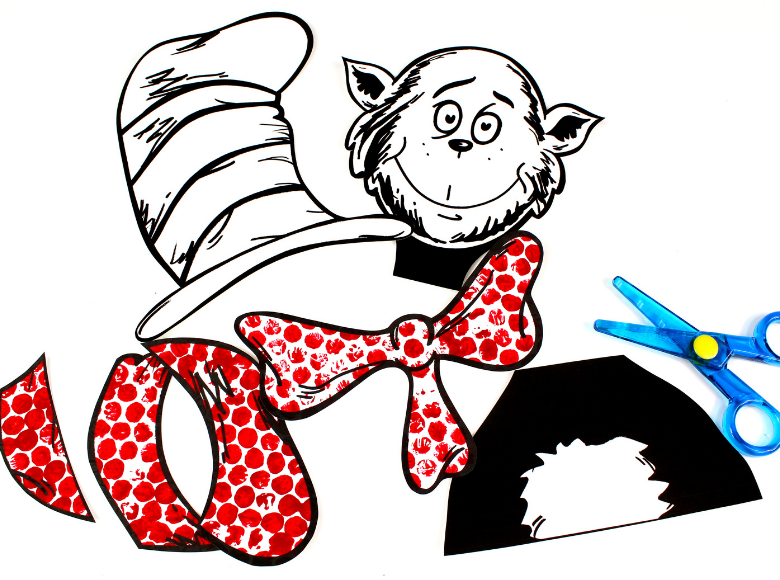
Using scissors, cut all the pieces out.

Put together all the pieces and glue them onto a bright colored paper. Use the images below as a guide.

And there you have it! Your cat in the hat paper craft is complete and ready to be hung with pride.
DOWNLOAD YOUR CAT IN THE HAT PRINTABLE BELOW
To download this Cat in the Hat printable template for free click on the link below and use the discount code:cat. For personal or classroom use only. Not for redistribution. All images are copyrighted. Thank you.
To download this Cat in the Hat printable template for free click on the link below and use the discount code:cat. For personal or classroom use only. Not for redistribution. All images are copyrighted. Thank you.
Have fun ready the cat in the hat book and making this Cat in The Hat craft. Enjoy!
After making your Cat in the Hat craft you might also want to check out our collection of Dr Seuss activities.


No comments