Who doesn't love the cute and enchanting unicorns? My kids sure do! (And me too, I'm a unicorn-fan, guilty as charged!) But I know we're not the only ones.
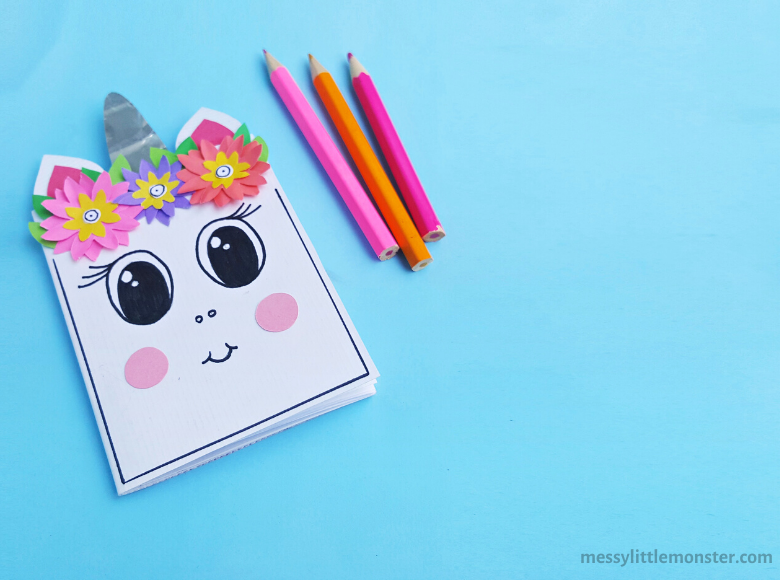
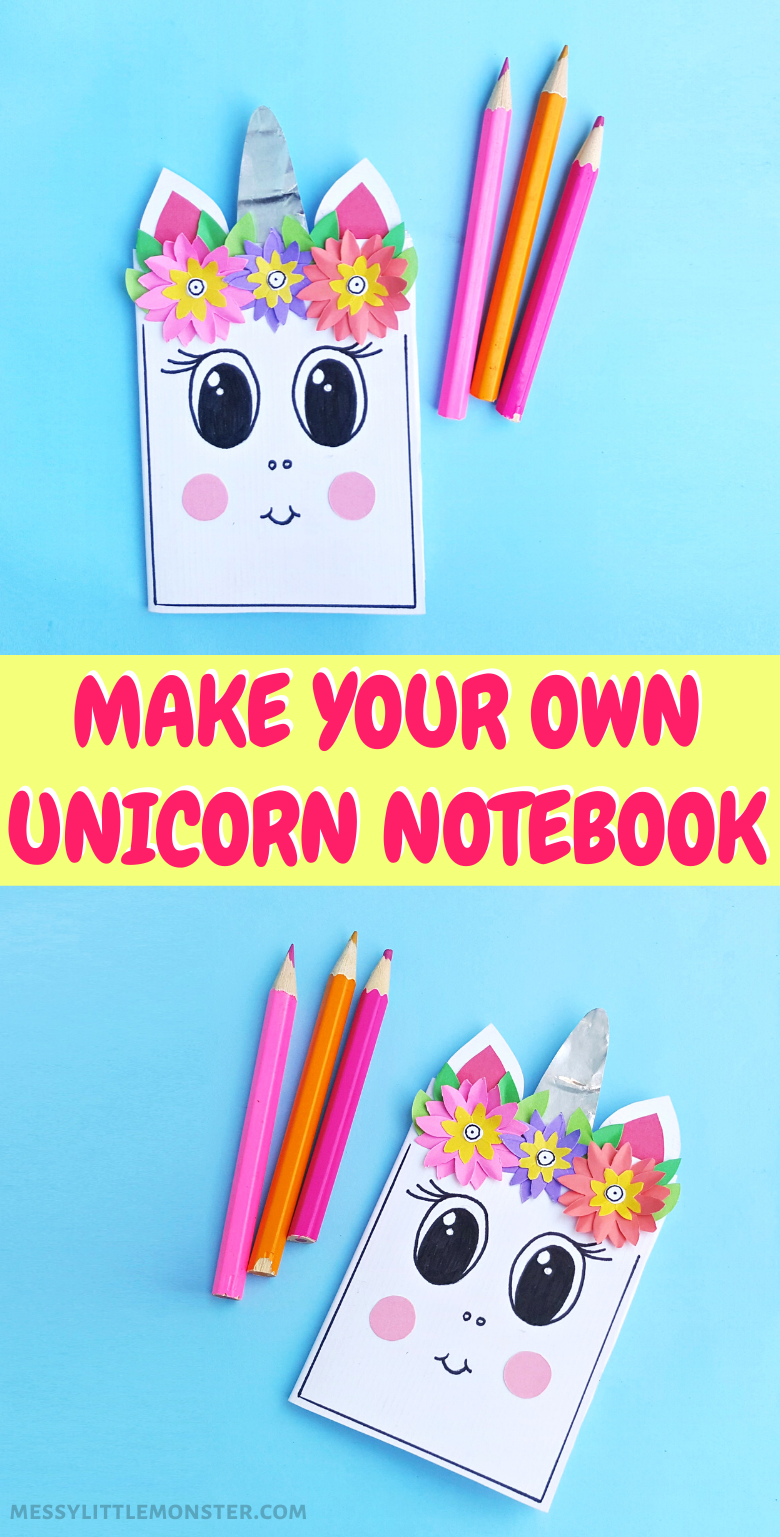
Magical unicorns are a weak spot for most kids and this little DIY notebook is ideal for any magical unicorn-lover out there.
Are you stacking up on unicorn crafts and activities? Take a look at some of our unicorn-faves!
- Paper Plate Unicorn Craft
- Cardboard Tube Unicorn Craft
- Unicorn Mask Craft
- Unicorn Bookmark Craft
- Unicorn Coloring Pages
DIY Notebook Unicorn Craft
DIY Notebook Unicorn Craft Supplies:
- Coloured craft papers
- Craft glue
- Scissors
- Pencil
- Black sharpie
- Stationary papers
- Stapler
DIY Notebook Instructions:
STEP 1: Pick your craft paper.
Once you've downloaded our printable (available at the bottom of the page), pick the colored craft paper and cardstock you've chosen for this notebook. Take a pencil and trace each pattern from our template on your chosen paper and cut out the shapes you've traced.
Our template includes the unicorn's ears, horns, blushing cheeks, and the flowers. I recommend using cardstock for both the ears and horns. For the flower and other extra decor items, I would use papercraft.
Our template includes the unicorn's ears, horns, blushing cheeks, and the flowers. I recommend using cardstock for both the ears and horns. For the flower and other extra decor items, I would use papercraft.
STEP 2: Create each unicorn piece.
To get a shiny and eye-catching horn, I loved using silver paper, but feel free to use any color and finish you like best. You just need to wrap the horn in it and glue it in place.
For the flowers, take the 3 parts and glue them together; make sure to place them from larger to smaller, placing the smallest flower on the top.
(see image below as a guide)
Time to get the notebook ready. First, get your white cardstock and the paper you've chosen to work with. It can be any paper, from basic white stationary papers or something fancier.
Pick the size you want the notebook to be and prep the papers according to that, keeping in mind the width should be twice the required size.
For example, for this notebook is 12 cm x 8 cm so I had to cut the papers into 12 cm x 16 cm.
STEP 3: Make your notebook!
Time to get the notebook ready. First, get your white cardstock and the paper you've chosen to work with. It can be any paper, from basic white stationary papers or something fancier.
Pick the size you want the notebook to be and prep the papers according to that, keeping in mind the width should be twice the required size.
For example, for this notebook is 12 cm x 8 cm so I had to cut the papers into 12 cm x 16 cm.
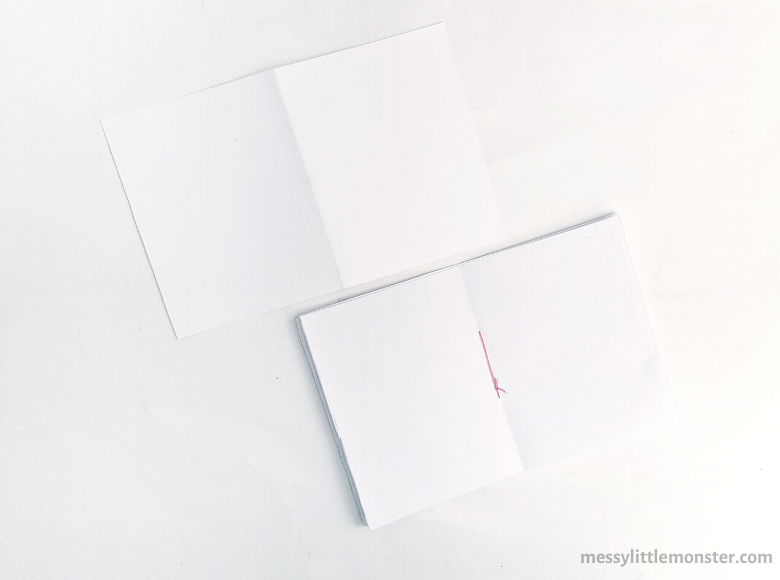
Once that's done, you just need to fold the papers. Fold the paper in half width ways to create the crease. You can either stitch or staple the middle line, whatever works best for you.
Now you need to fold the white cardstock paper into half along its width just like you did on the previous step with the stationary paper. This will be the notebook's cover.
STEP 4: Make your notebook cover.
STEP 5: Start putting it together.
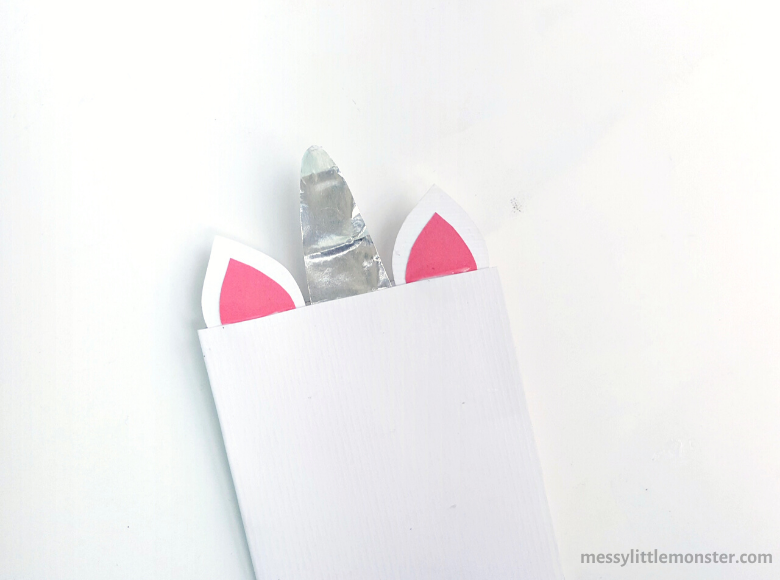
Taking the cover paper, turn it to its wrong side and place it on a table or any flat surface. Then, attach the ears and the horn on the top side of the cover. Make sure the coloured side of both the horn and the ears are facing the right side of the cover.
Place it on the top part of the notebook's cover. This way you'll be covering up the area where the ears and the horn overlapped.
Now fold the cover and that's how the front should look!
STEP 6: Glue your flowers.
STEP 7: Draw your unicorn's face.
Grab the stationary papers prepared in step 4. Unfold the cover and apply glue along the middle crease of the cover.
Glue the pages in place. Close the cover once you've glued the papers inside. Apply some pressure and allow it to dry.
How cute is this unicorn craft! I love the fact kids can use it and get creative by drawing on its pages, it makes the whole craft-time fun last longer.
And if you're homeschooling your little ones, I find having kid-friendly stationary things like notebooks, pencils, and other pretty school supplies kids are instantly drawn to, really helps to keep them engaged during the learning process.
So I hope you find this DIY notebook useful and have fun with your kids making it! Enjoy!
So I hope you find this DIY notebook useful and have fun with your kids making it! Enjoy!
To download this unicorn craft for free click on the link below and use the discount code:unicorn. For personal or classroom use only. Not for redistribution. All images are copyrighted. Thank you.


No comments