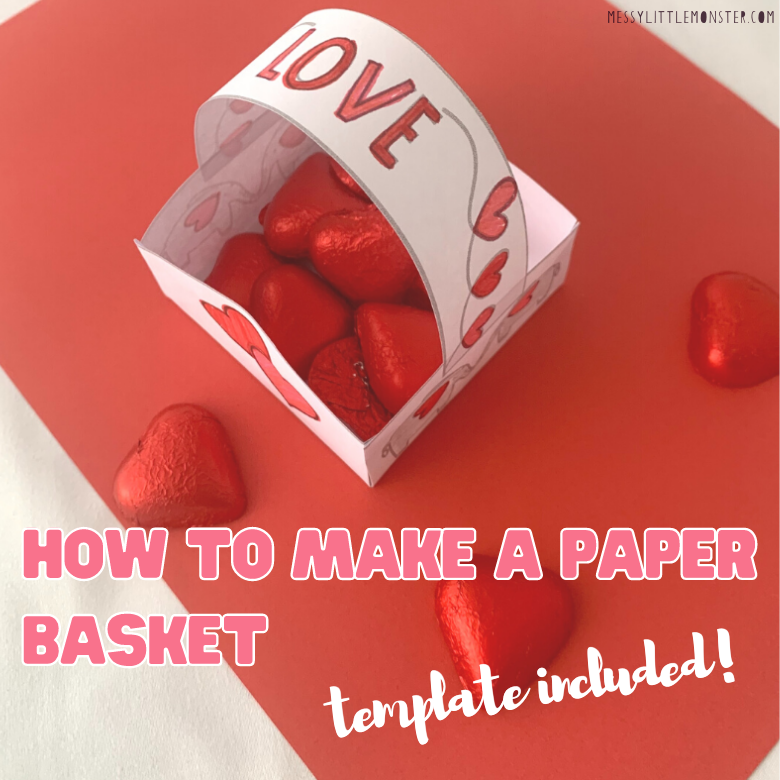
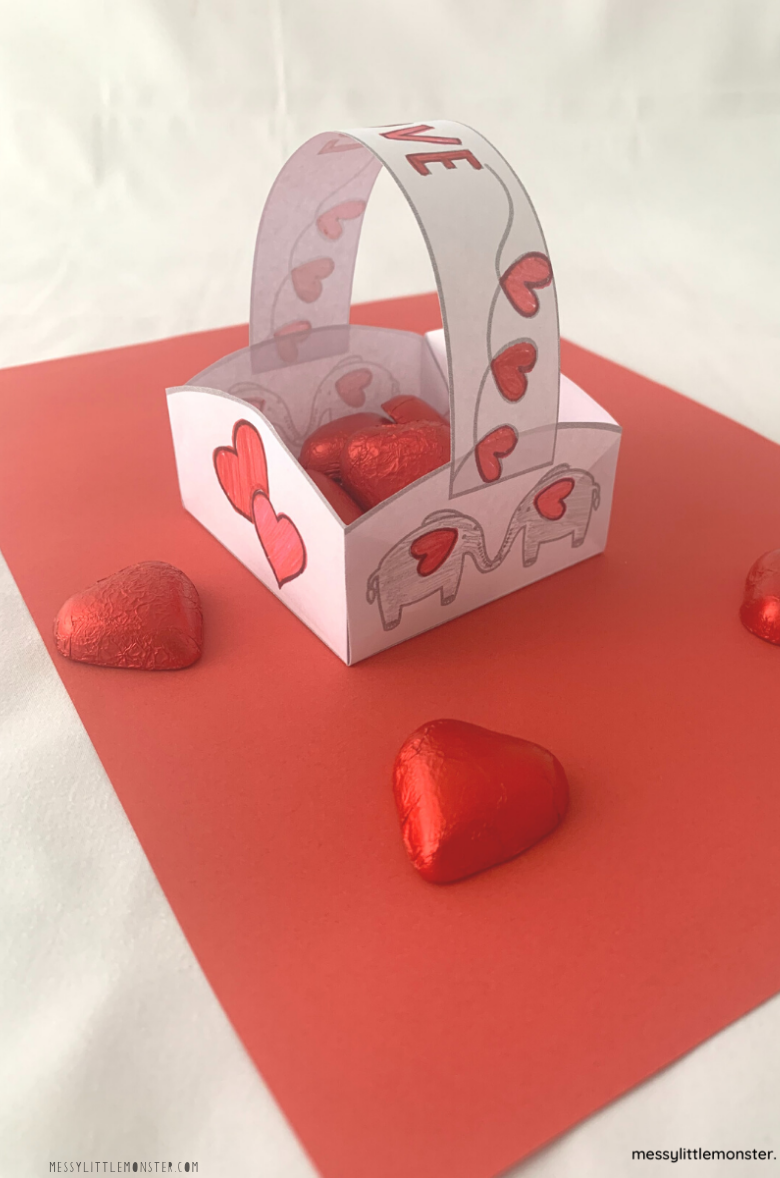
If you're wondering how to make a Valentine's Day paper basket, search no further! In this post, we'll take you step-by-step through How to Make a Paper Basket (Template Included), so you can nail it on your very first try. Read on!
Finding a no-mess Valentine's Day-themed project that all kids of any age can make is a bit tricky (especially the no-mess part!).
That's why we've added a free paper basket template to make things way easier but just as fun.
Thanks to our ready-to-print paper basket template, this charming little basket is the perfect craft project to involve your kiddos in Valentine's Day in a fun way.
Using only paper and markers, your love bugs can put this paper basket together in just a few simple steps and make the loveliest Valentine gift for their little friends!
Don't celebrate Valentine's Day?! Not a problems these little baskets would be great to fill with little gifts or treats anytime of the year, we have even added a blank template for you to add your own design.
If you love this paper basket craft, check out some of our other basket craft ideas!
How to Make a Paper Basket - Template Included!
Paper Basket Craft - Supplies:
- Paper basket template
- Colored markers and pens
- Scissors
- Tape or glue
How to make a paper basket with our paper basket template - Directions:
STEP 1: Print paper basket template.
You'll find different versions of the paper basket template in the download below. One features love birds, another hearts, one with an elephant couple, and another with hearts and sun. There is even a blank one for your own design!
So scroll on down to grab your free paper basket templates, get your supplies ready and let's jump into it!
Once you have the file, print it out and cut the basket's shape out using the grey lines as guides.
STEP 2: Colour paper basket.
Take your pencils and markers in various colours and encourage the kids to colour the template's designs. You can add different extra details like glitter, sequins, or decoration you want!
STEP 3: Fold paper basket shape.
Using the lines and instructions printed on the templates, fold the inner grey lines, making sure to fold the triangular part inwards. Then, secure the basket with tape or glue.
STEP 4: Add basket handle.
Attach the ends of the rectangular shape on the inside of the basket using sticky tape.
Now your little paper basket is all ready to go! Your little one can use it to hand out candy around his classroom or to his closest friends. It's a great way of handing out small gifts to loved ones too.
To download this Paper Basket template for free click on the link below and use the discount code:basket. For personal or classroom use only. Not for redistribution. All images are copyrighted. Thank you.
We hope you and your little ones enjoy learning how to make a paper basket and that you find the printable paper basket template useful. Enjoy!


No comments