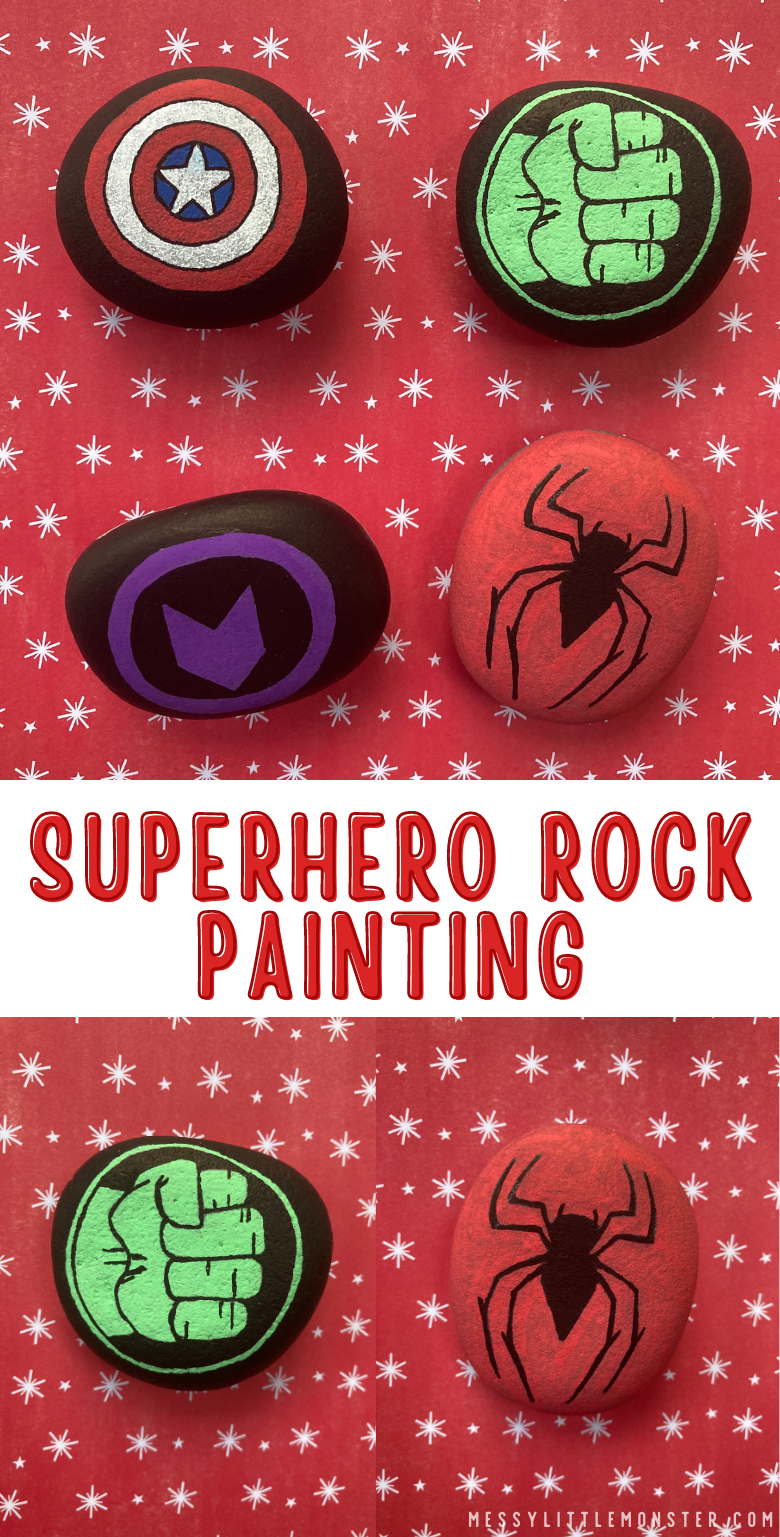
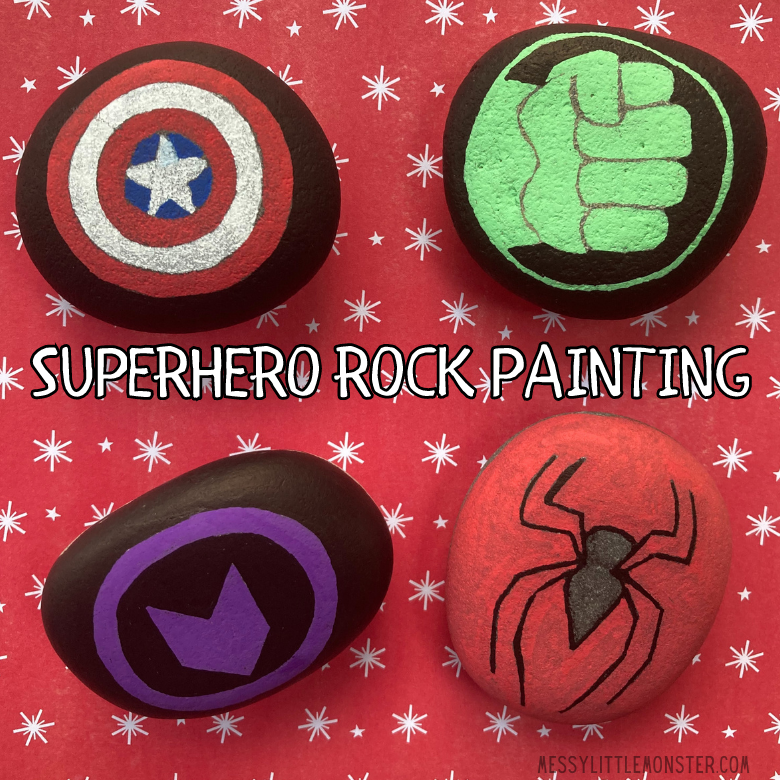
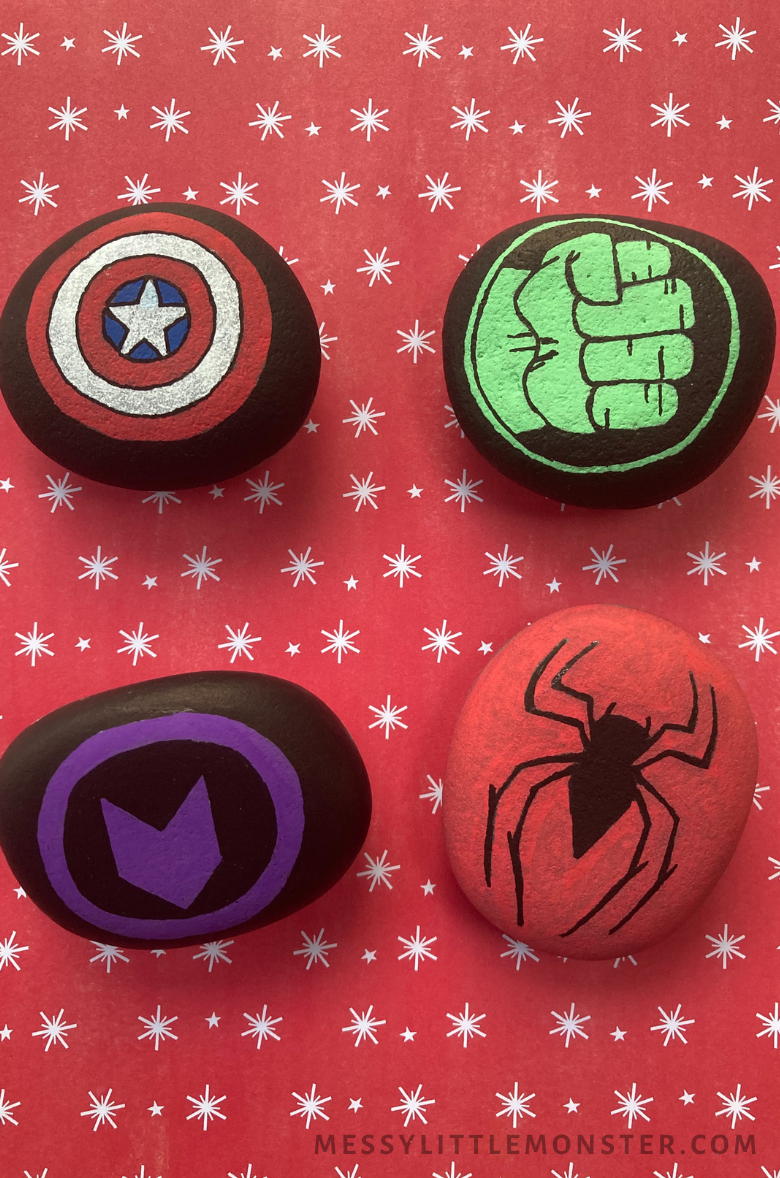
Get your little ones ready to save the day just like their favourite Marvels heroes with this Superhero Rock Painting Craft!
This superhero rock painting craft will capture any kid's imagination while helping little ones connect with nature and work on their fine motor skills!
My kids are massive fans of the Marvel universe and love rock painting (what little one doesn't, right?), so I decided to surprise them and add a fun spin to our traditional rock painting and made it Marvel-themed.
If your kids are just as obsessed with anything-and-everything superhero-themed as mine, have a look at these awesome superhero activities!
And if you want to keep exploring rock painting, try these cute Rock Painting Ideas.
Superhero Rock Painting
Superhero Rock Painting - Supplies:
- Rocks
- Pencil with eraser
- Pens
- Acrylic paint or paint pens
- Paint brushes
- Sealant
- Glue
Superhero Rock Painting - Instructions:
STEP 1: Prep your rocks.
After you have all the rocks you want to use for this craft, make sure to clean them, so they're free of any dirt or oil. This step will ensure your ' design will adhere nicely.
Once they are dry follow the directions below to make your own set of superhero rocks.
Captain America Rock Painting:
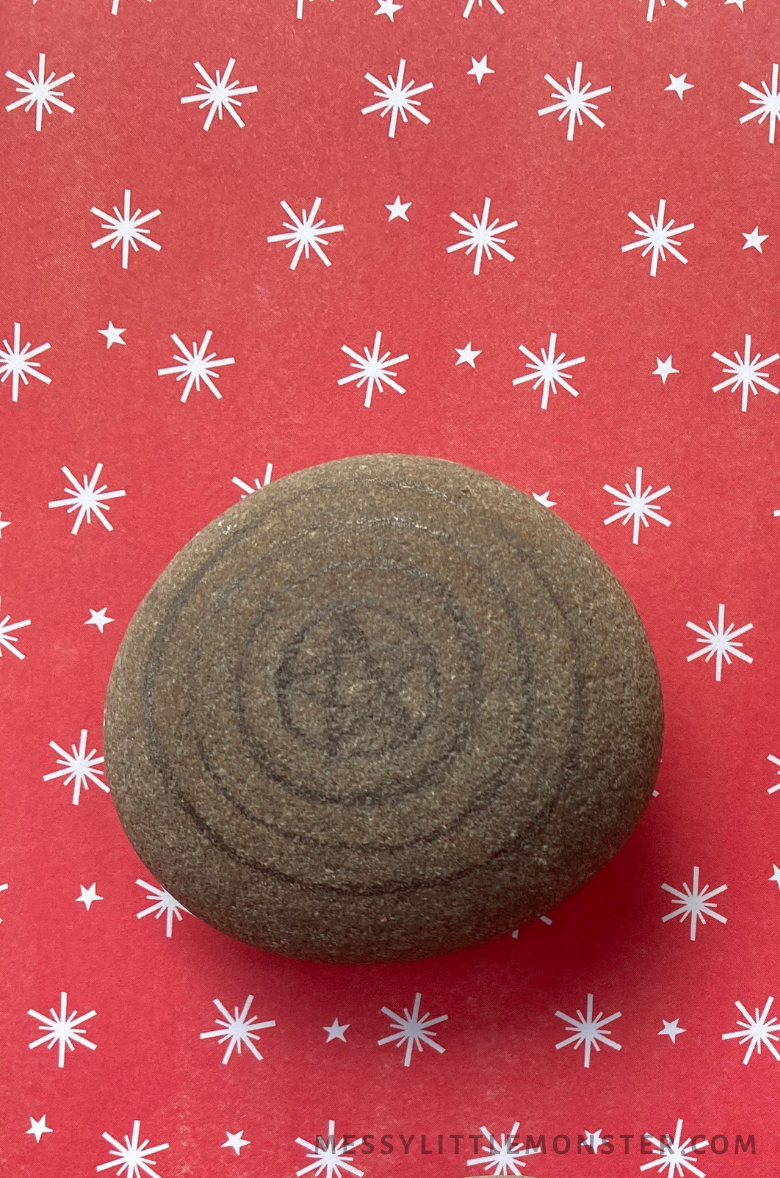
Take a pencil and start drawing a star in the centre of your rock, adding a circle around it and then three small circles equally spaced out.
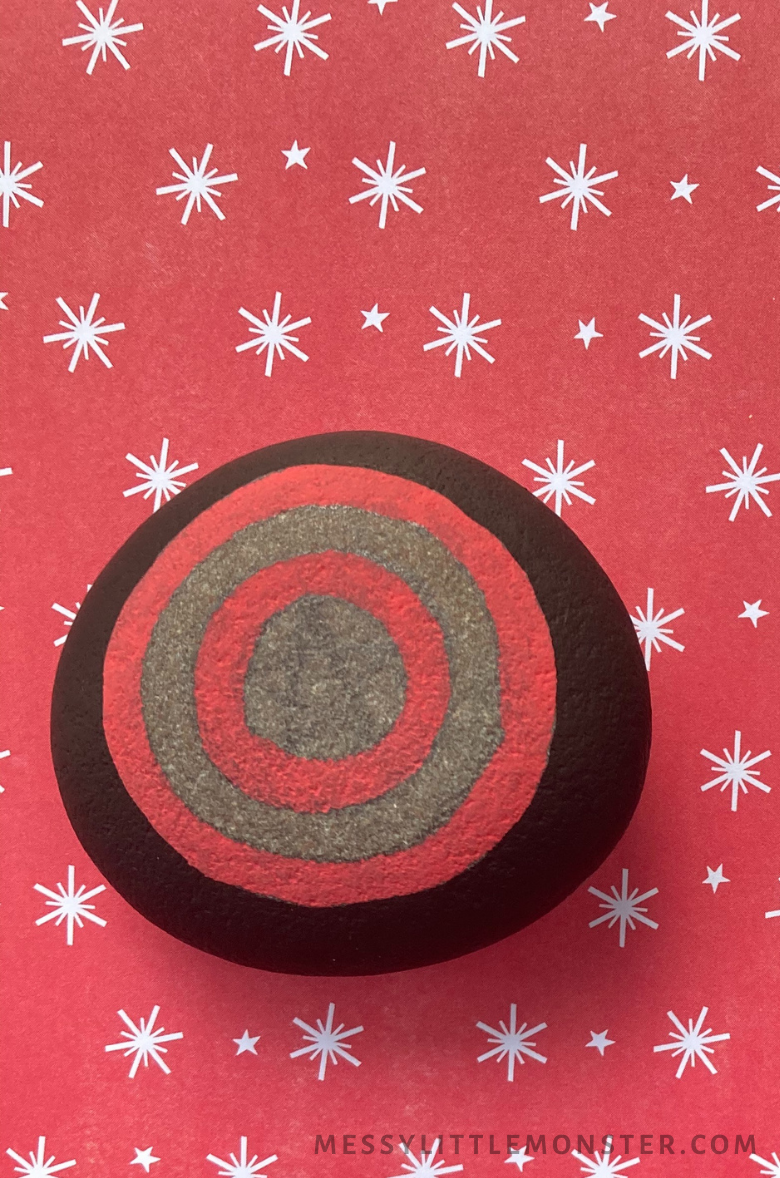
Now get out your paints or paint pens. Fill in the empty space outside of the last circle with black and the outer circle with a red shade.
Don't paint the circle next to it for now. Go straight to the circle after that and fill it with red.
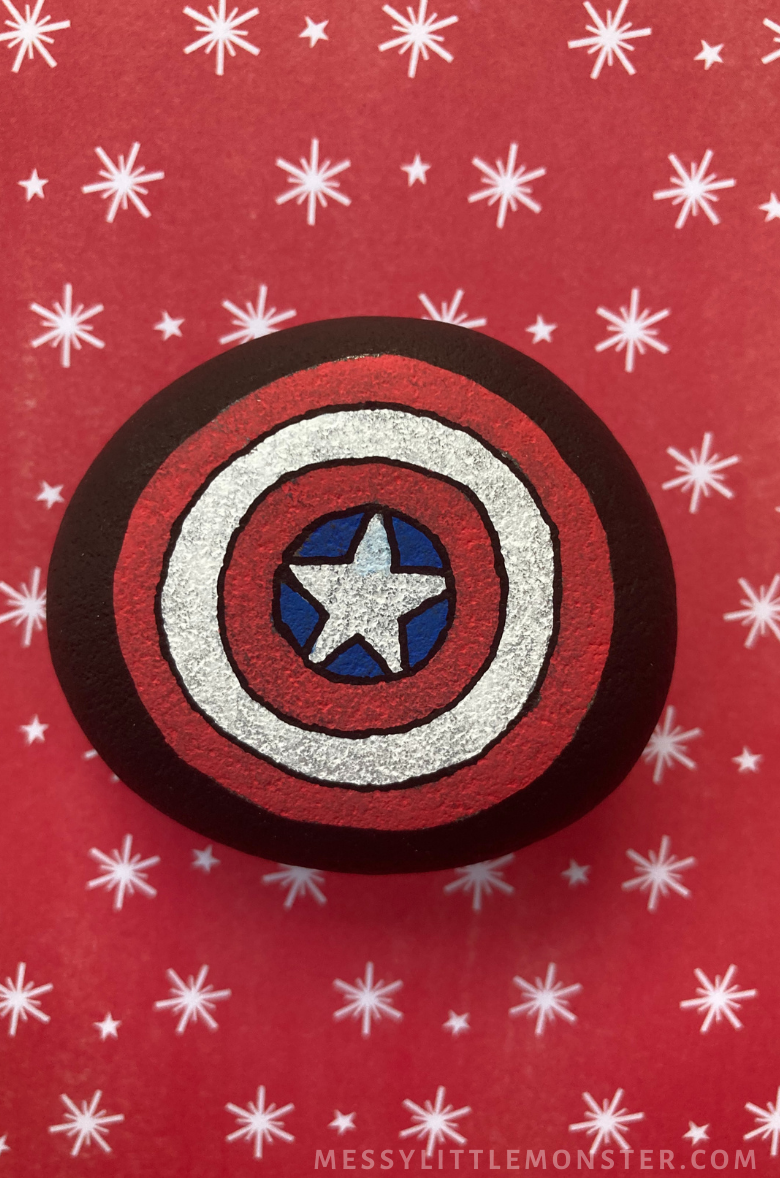
Paint the circle between the two red circles and the star with white paint. Then, taking blue paint, start filling the spaces around the star.
Once dry outline those areas with a black marker or black paint pen.
Using sealant, seal the rock design you just created to give it a pro finish!
Hawkeye Rock Painting:
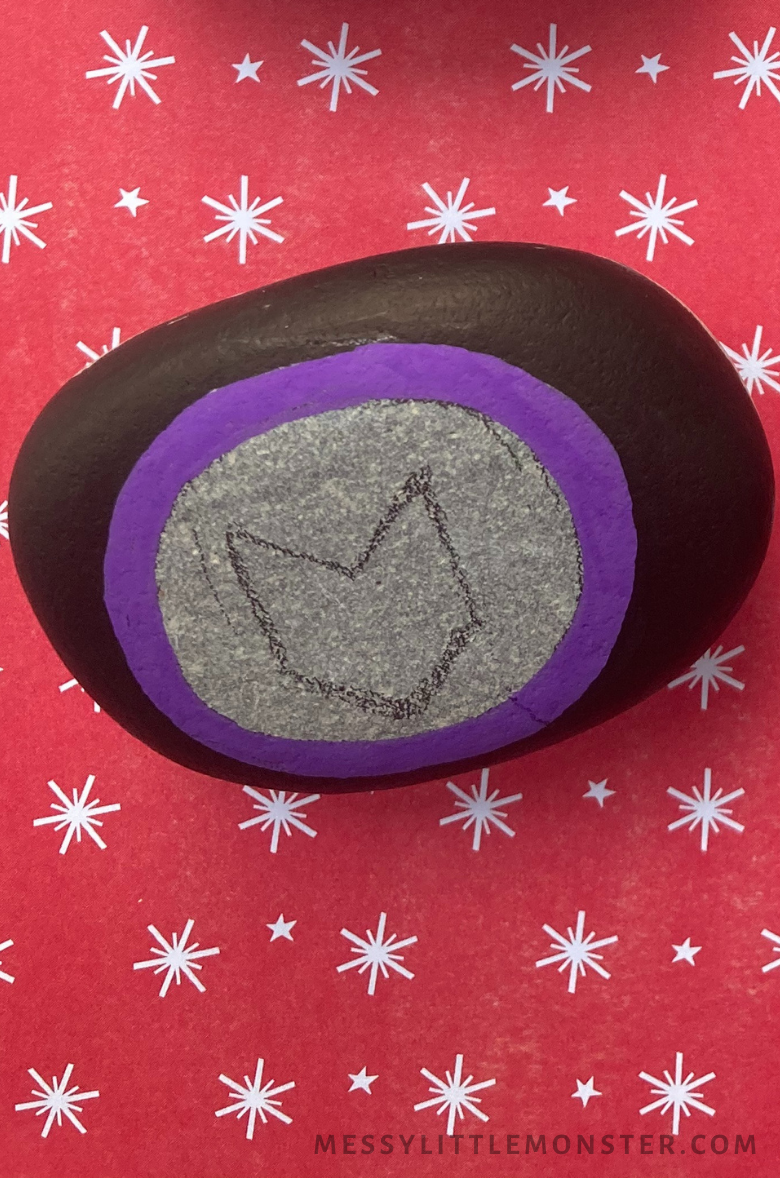
Have the rocks ready, then draw a big circle around the outer edge of the rock and add a smaller one inside.
Then, add the hawkeye symbol right in the centre with a point on one end and an inverted point on the other end.
Using black paint or a black paint pen, fill in around the outside of the circle. Then paint the first circle with purple paint.
Contyinue using your purple paint to fill the hawkeye symbol.
As a final step, cover the area around the hawkeye symbol with black paint and seal the rock with sealant.
Spiderman Rock Painting:
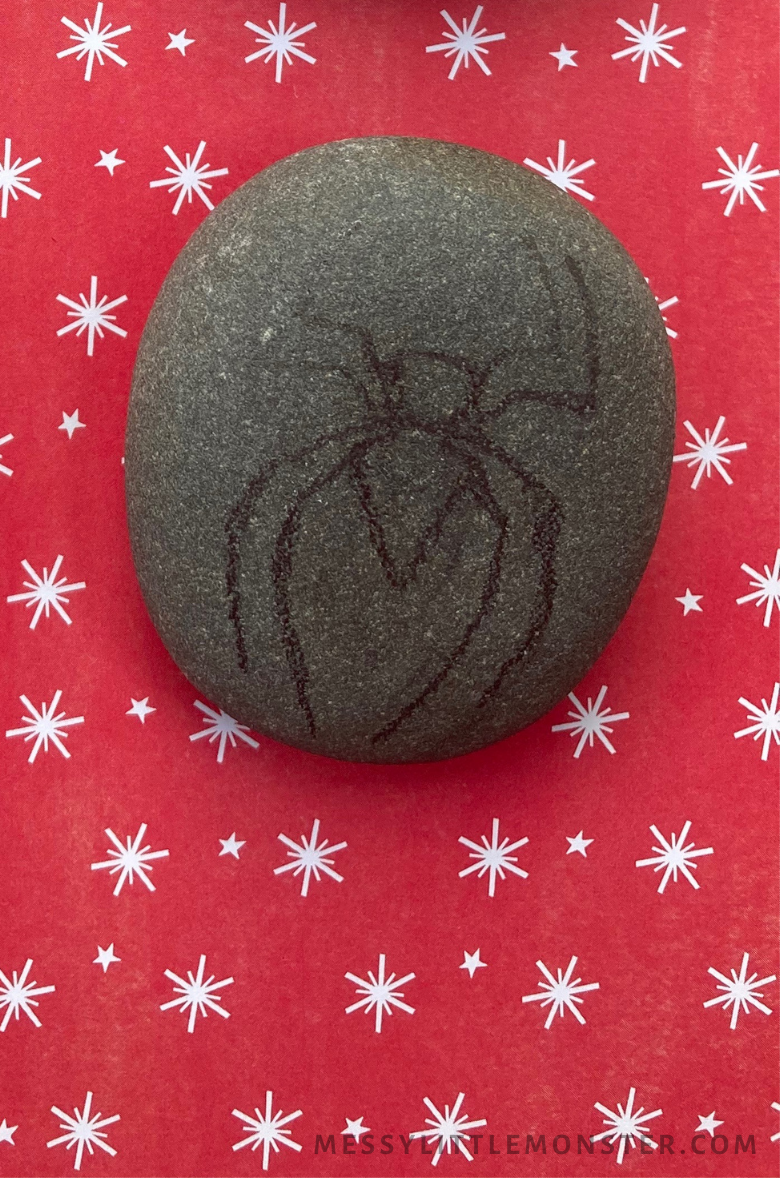
After cleaning your rock, start by drawing a spider. Don't stress about it, a rough sketch will do just fine for now; we'll clean it up later.
Then, outline your drawing with black paint or a black paint pen and colour all the area around it with red paint.
Hulk Rock Painting:
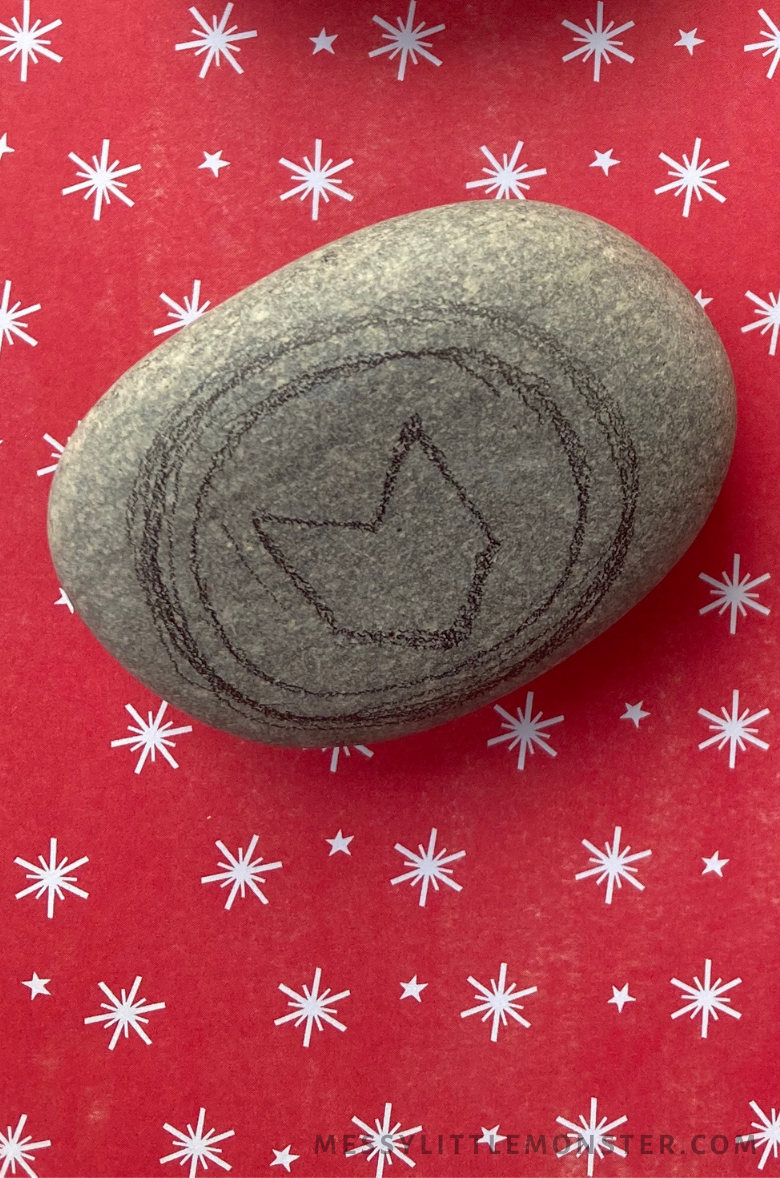
After you've prepped your rock, draw a big circle with a pencil, and inside of it, draw a rough outline of a clenched fist. The easiest way to do this is by breaking down each section.
First, draw an oval-shape in the center of the outlined circle and then manipulate the oval shape to look more like a fist with fingers on one side.
Using your pencil, draw a wavy line at the hand's base to mark the start of the wrist.
On the pointer finger, draw a straight line across it to differentiate the thumb on top of it. Then, draw a downward swooping line to create the thumb's underside.
Use the picture below as a reference!
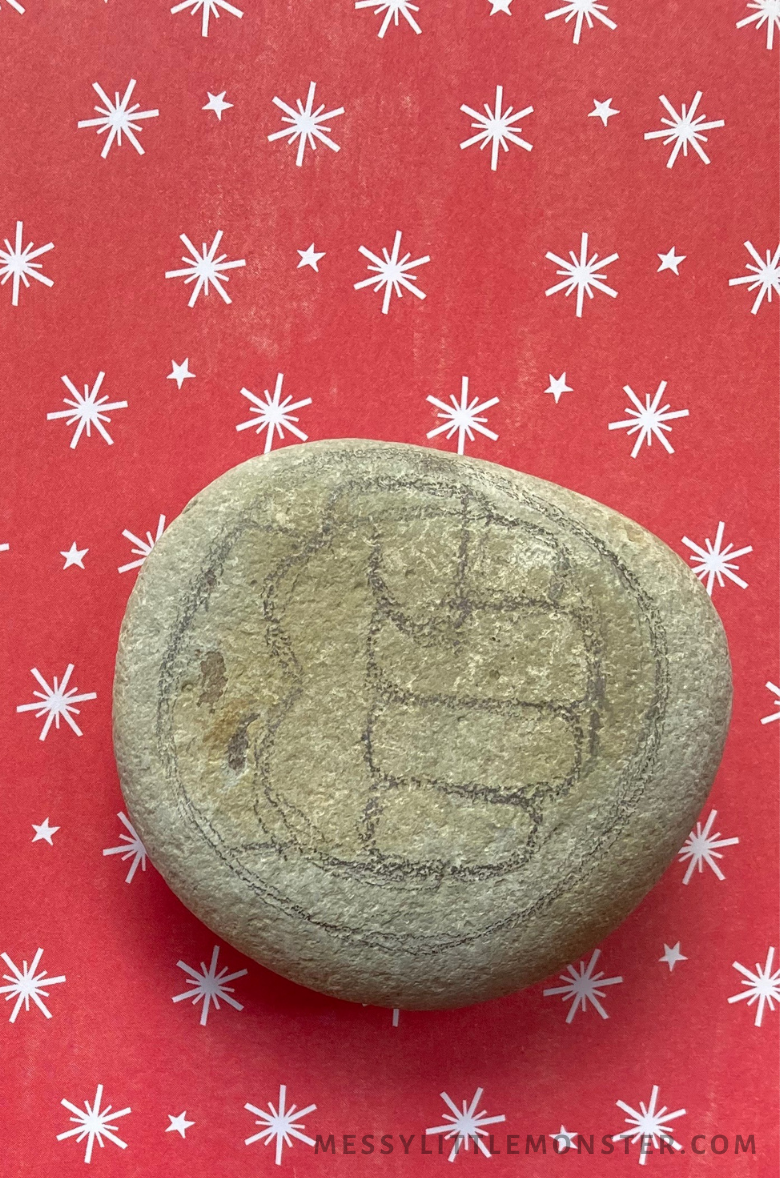
Fill with black paint or a black paint pen any space outside of the central circle. Then paint a green line around the outside of the logo.

Fill the clenched fist with the same green paint and leave it to dry. Remember to leave the spaces you want to outline after empty and come back to outline them with black paint or a black paint pen later.
Fill in space around the hand with black paint and if you wish add more details around the knuckles.
Finish your Hulk rock by giving it a layer of sealant.






No comments