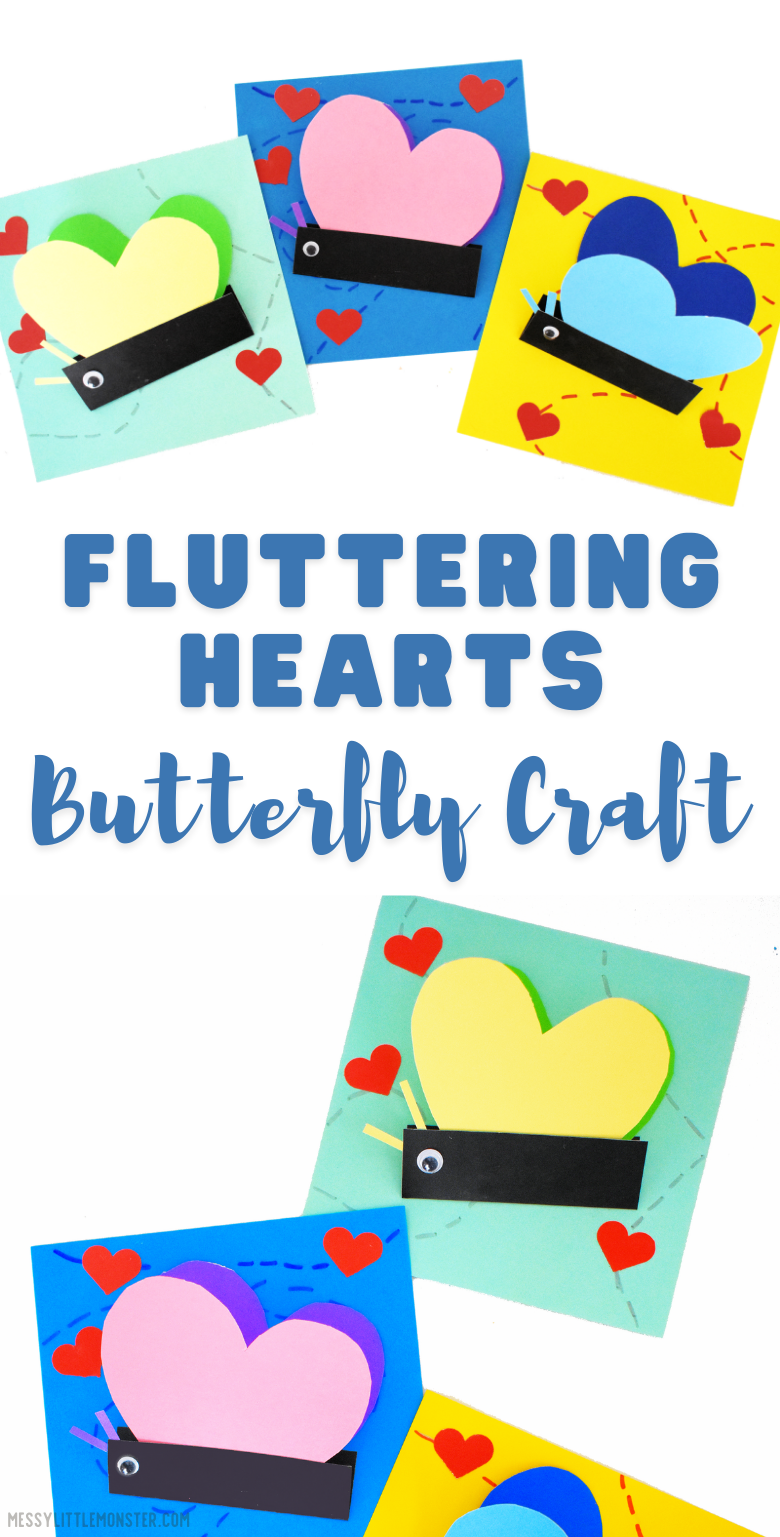
Paper Butterfly Craft - (Butterfly Template included)
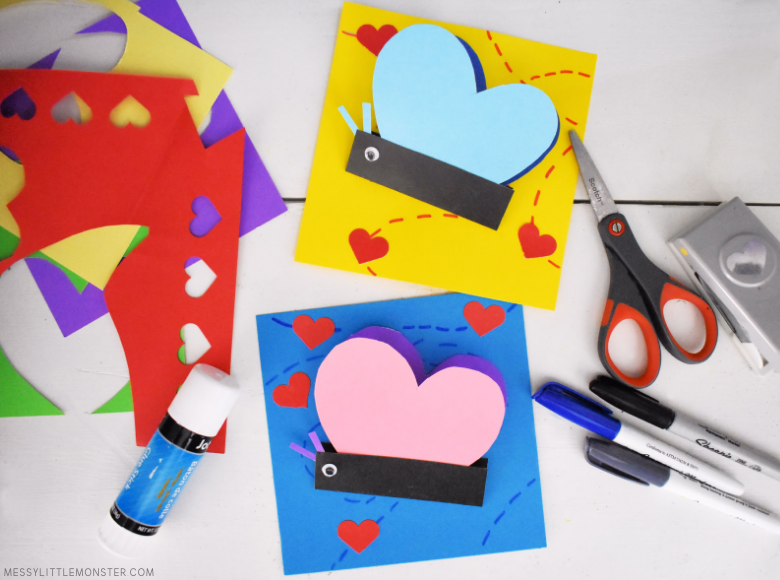
Fluttering Paper Butterfly Craft - Supplies needed:
- Fluttering Butterfly Template
- Cardstock - black, assorted colors
- Small googly eyes
- Markers - assorted colors
- Glue stick
- Scissors
- Heart paper punch (optional)
Fluttering Butterfly Craft - Directions:
STEP 1: Print out the butterfly template.
To start, the first thing you have to do is to scroll down to the bottom of the directions and get our free butterfly craft template. Print it out and cut out each shape.
STEP 2: Make a paper butterfly.
Take the shapes from the butterfly template and trace two heart shapes onto the coloured cardstock. You can use any colour of your choice. These hearts will become butterfly wings.
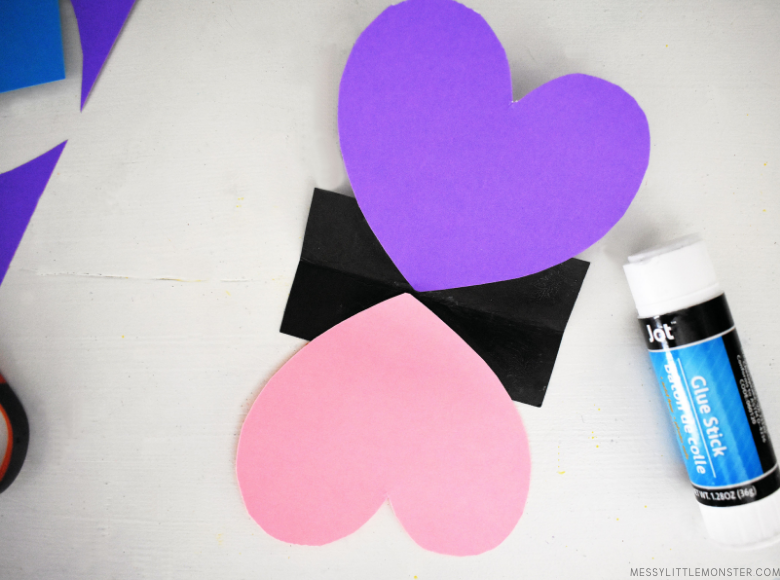
To make the middle of your paper butterfly trace the small rectangle shape onto black cardstock. Fold the rectangle of black cardstock in half once and unfold it.
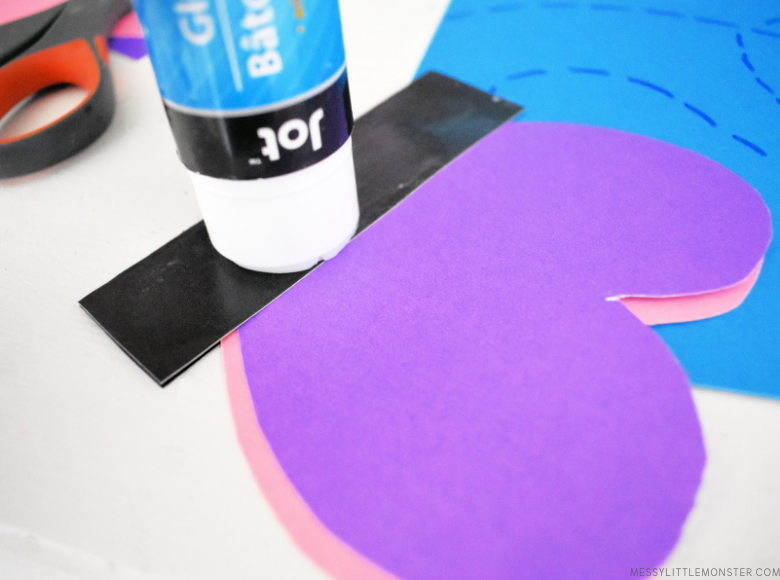
Take the two heart-shaped cutouts (the butterfly wings) and using glue, attach each cutout to the folded black rectangle. Attach one cutout on each side as shown below.
STEP 3: Create the background.
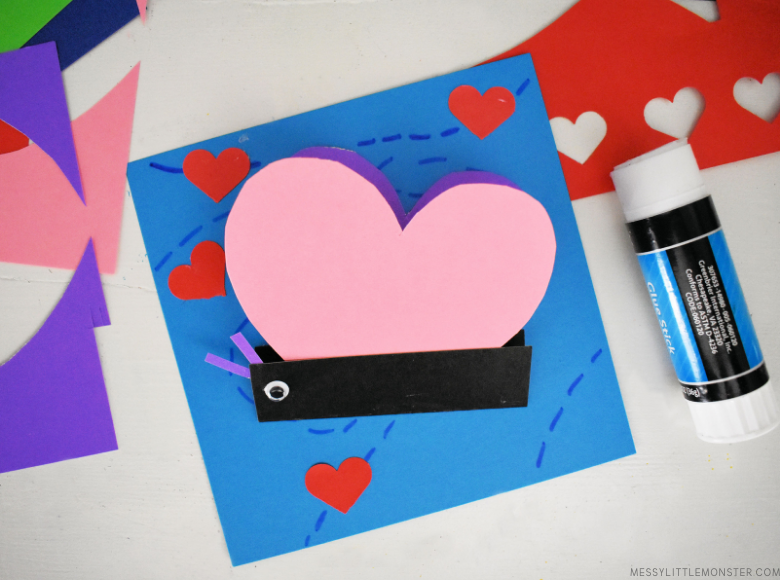
Trace around the large square template onto coloured cardstock and cut it out. You can use any clour of your choice. Then use a marker to draw a dotted line to represent where the butterfly has flown.
STEP 4: Glue the paper butterfly craft to the background
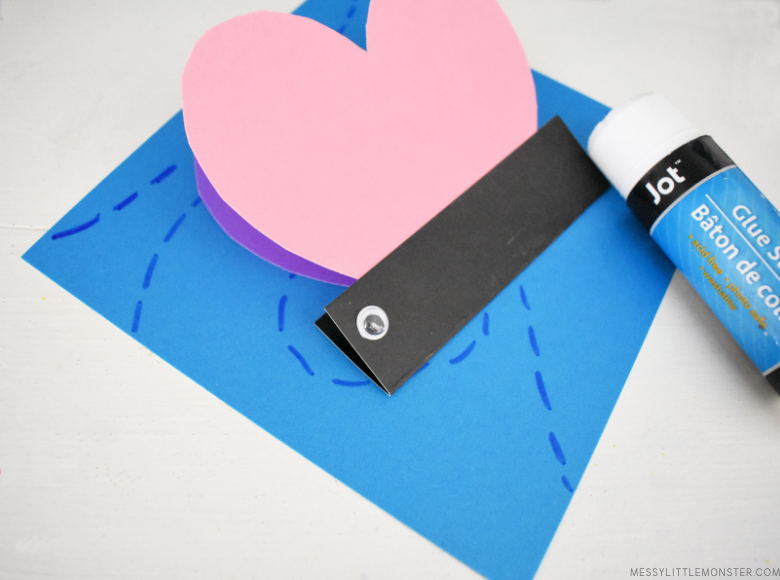
You now need to glue the black rectangle with the butterfly wings onto the square where you've drawn your design.
Only add glue to the black rectangle to make sure the butterfly's wings look like they're fluttering.
TOP TIP: If you are planning to turn this paper butterfly craft into a card, write a message inside the first butterfly wing so that when the wing is opened your message is revealed.
STEP 5: Add the final touches to your paper butterfly craft.
Cut a thin strip of coloured cardstock and attach it as an antenna.
Finally, as an optional extra cut out tiny hearts using the template or a paper punch and glue them around the butterfly.









No comments