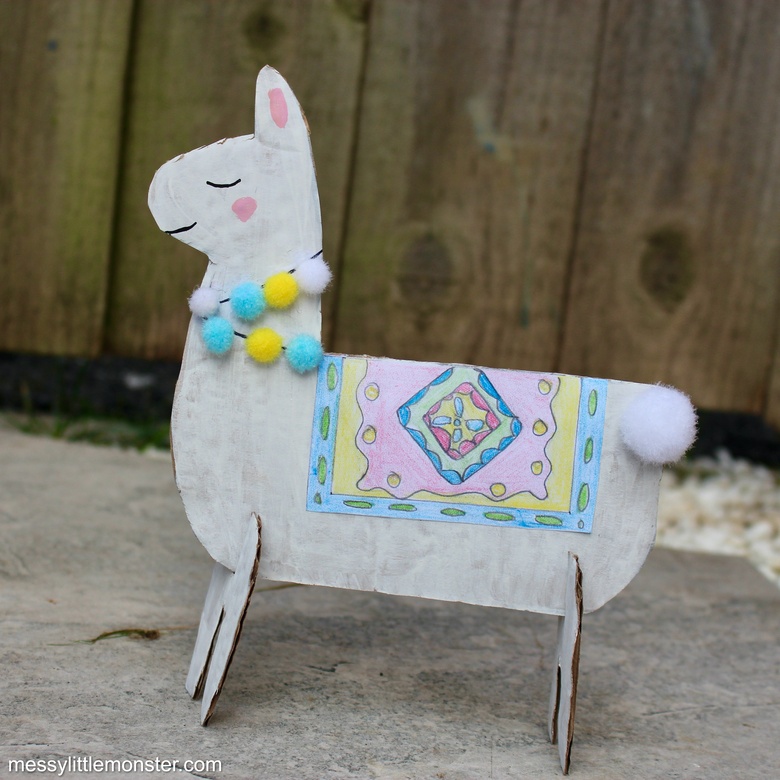
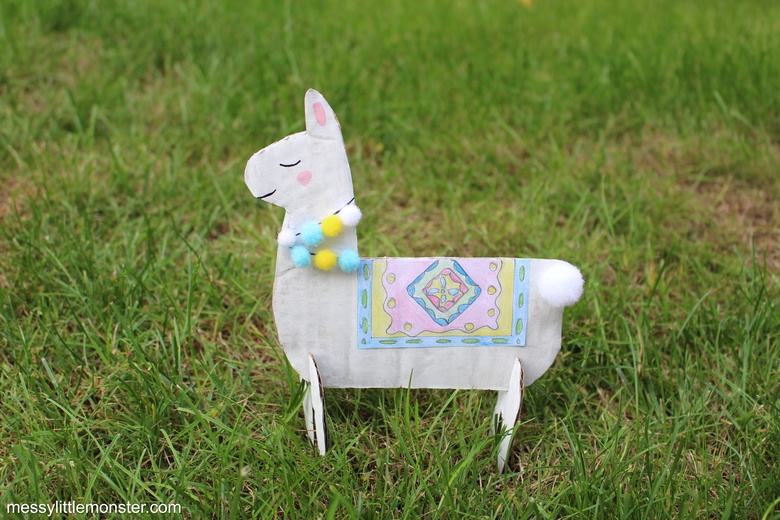
Turn a piece of cardboard into an adorable 3D llama. This 3D cardboard llama craft not only looks adorable, but it also stands up by itself! Just follow the simple steps below to make a llama craft (or a whole family of them) of your own! Or why not take this cardboard box craft even further and follow the steps, but vary them slightly, to make a different animal of your choice!


As an Amazon Associate, I earn from qualifying purchases. This post may contain affiliate links.
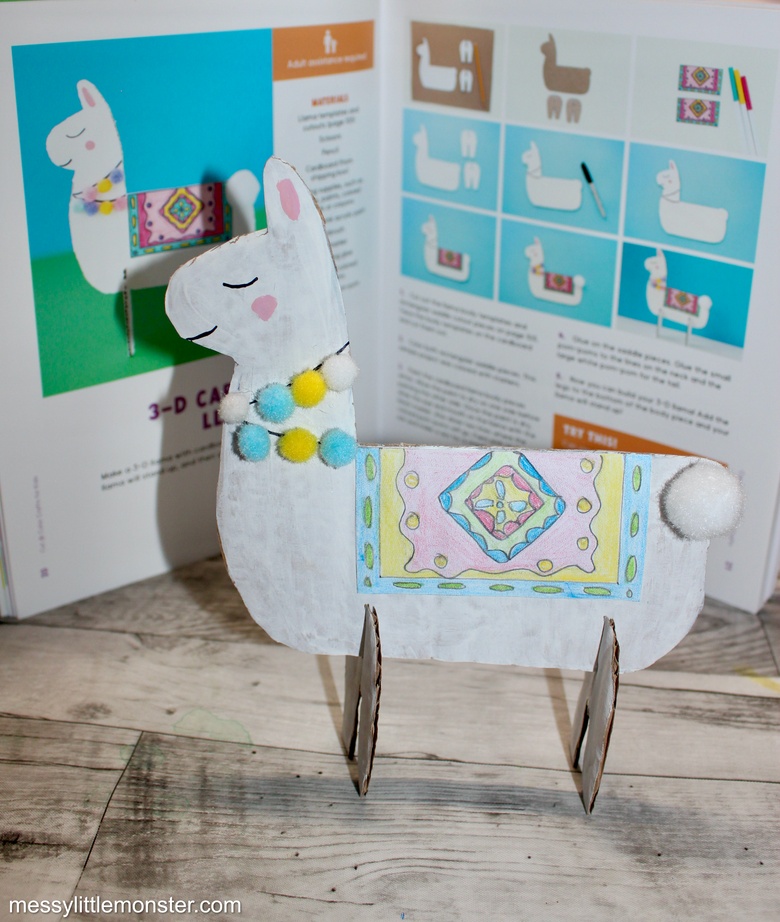
This cute 3D cardboard craft is from my friend Kimberly Mcleod's new book, 'Cut and Color Crafts for Kids'. Her book is full of beautiful crafts that can be made using recycled materials and there are templates included for each craft at the back of the book.
If your kids are into crafts, you must check Kimberly's book out! Don't forget we have a new book out too, Fun Painting Projects for Kids, which is perfect for little artists.
Cardboard Llama Craft
3D Llama Craft - Supplies
- Llama Template (the template we used can be found in the back of the book, 'Cut and Colour Crafts for kids' or alternatively you can draw your own template using the shapes shown as a guide)
- Cardboard (from a shipping box, or similar)
- Scissors
- White and pink paint
- Paintbrush
- Markers or Coloured Pencils
- Glue
- Small coloured pom poms
- 1 larger white pom pom
Llama Cardboard Craft - Instructions
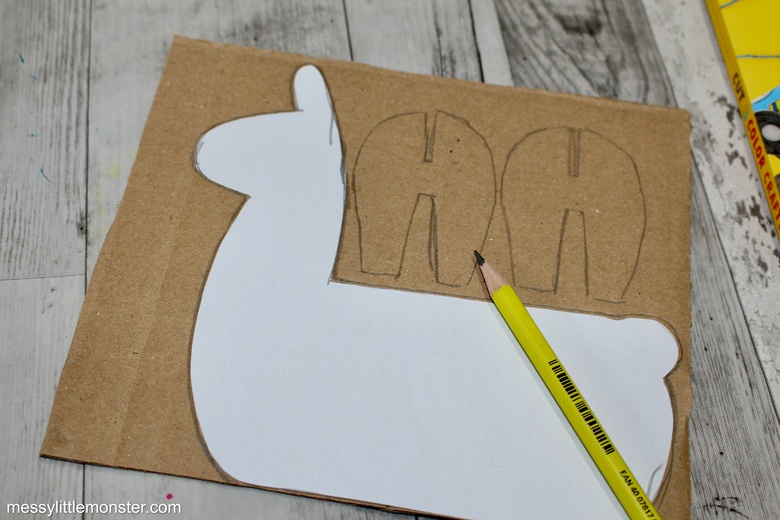
STEP 1: Draw the llama template on cardboard
If you have the book 'Cut and Color Crafts for Kids' start by cutting out the templates at the back of the book and then trace them onto cardboard. Alternatively, draw a llama body and two sets of legs onto your cardboard using the image below as a guide. The two sets of legs need to be the same and will need a slot at the top so they can be attached to the body.
STEP 2: Paint your cardboard llama
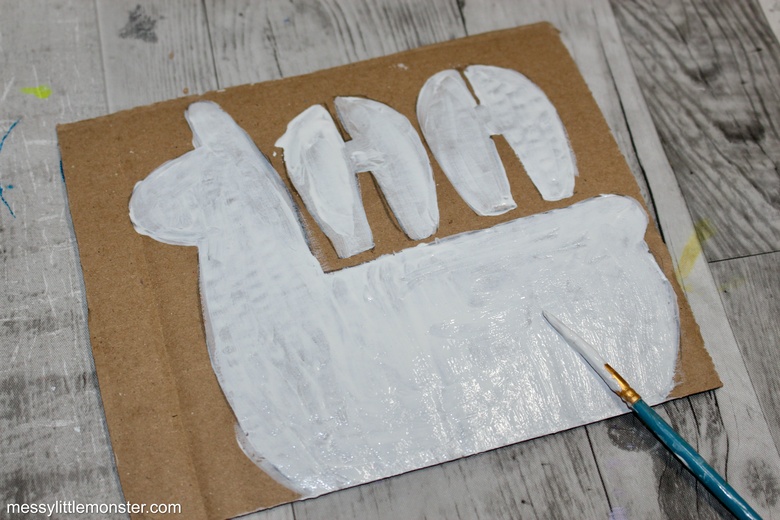
Paint the cardboard Llama pieces white. Once dry turn the cardboard over and paint the other side.
STEP 3: Add a saddle to your llama craft
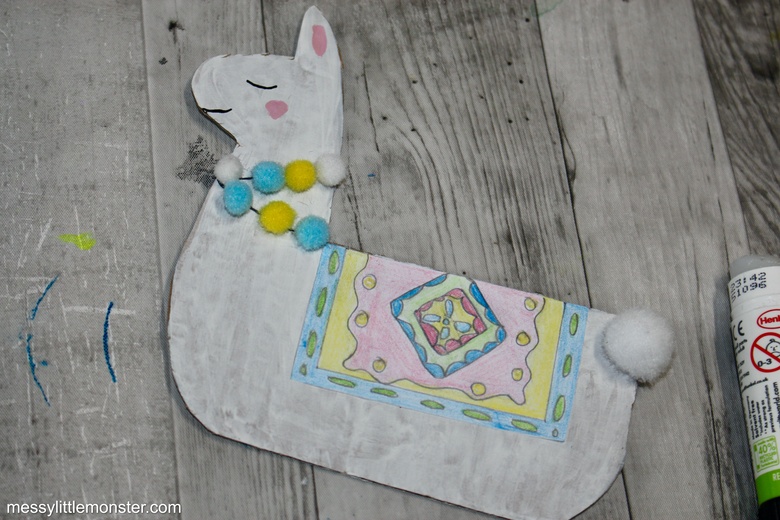
Now it is time to cut out, colour and glue on your saddle pieces. You will need to colour two rectangular saddle cutout pieces. You can use the ones on the template in the book or you can design your own.
STEP 4: Add details to your llama craft
Use a black marker to draw details on your llama. Draw an eye and a mouth on each side of the llama and then draw two lines where the coloured pom poms will go. Use pink paint to give the llama a rosy cheek and for inside the ear.
Glue the small pom-poms to the black lines on your llama's neck and the large white pom-pom for the tail.
STEP 5: Build your 3D llama
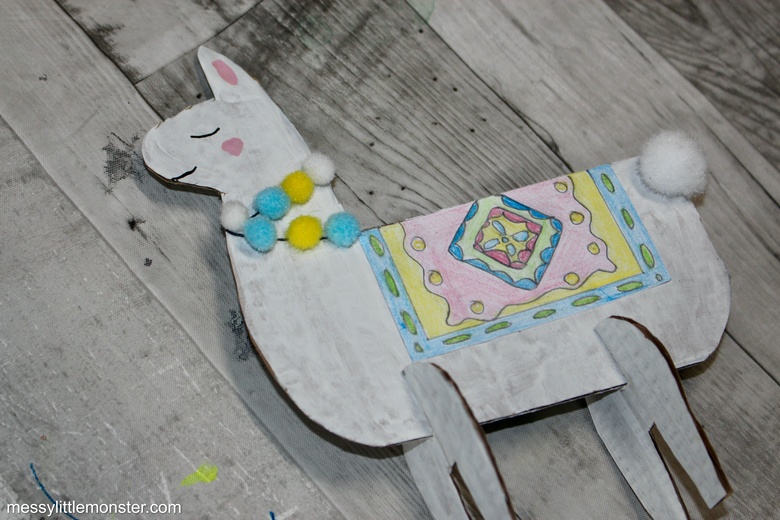
Now it is time to build your 3D cardboard llama craft! Slot the llama's legs onto the bottom of the llama body and your llama will stand up.
Now all that is left to do is find the perfect spot to display your new 3D cardboard llama craft.

Have fun using your imagination and getting creative by trying out different colours and designs. This is such a fun recycled craft for kids to make.







.png)


No comments