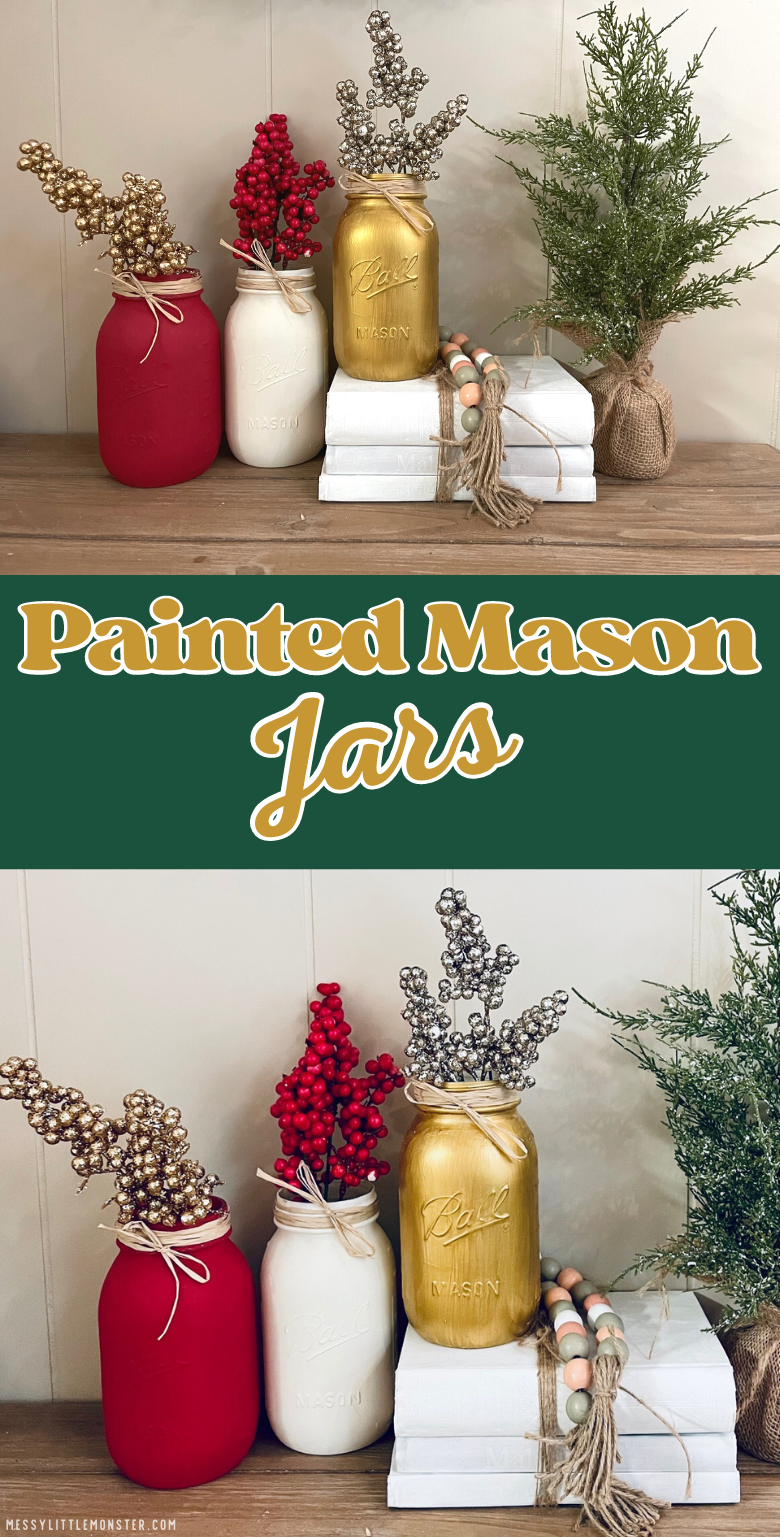
Painted Mason Jars are quick and easy to make and a great way to brighten up a room. In this step-by-step tutorial, we’ll show you how to paint mason jars in an easy and budget-friendly way.
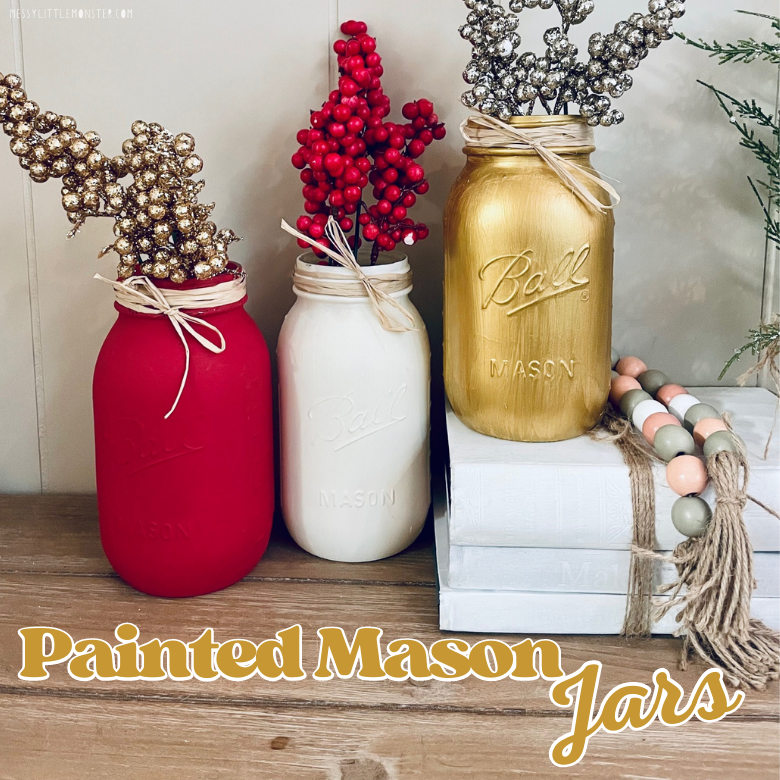
If you’re looking for a fun Christmas craft for the kids or perhaps a creative way to prepare for the Christmas season ahead of us yourself, then this is the perfect project!
You will have an absolute blast customising these mason jars with just a few budget-friendly materials.
This painted mason jar art project is perfect for Christmas time due to the colours used, but switch up the colours and this home decor project is great for any time of the year.
We have used both chalk paint and acrylic metallic paint to make these painted mason jars, which give these jars a lovely eye-catching effect.
This is a great art project suitable for all ages, even young children will love painting the jars and giving these away to their friends or family members, but they look professional enough to be an adult craft too!
If you have a Christmas party planned for the little ones, this craft can be a wonderful activity to encourage group work. Or even better, get a group of friends together and have an adult Christmas craft session!
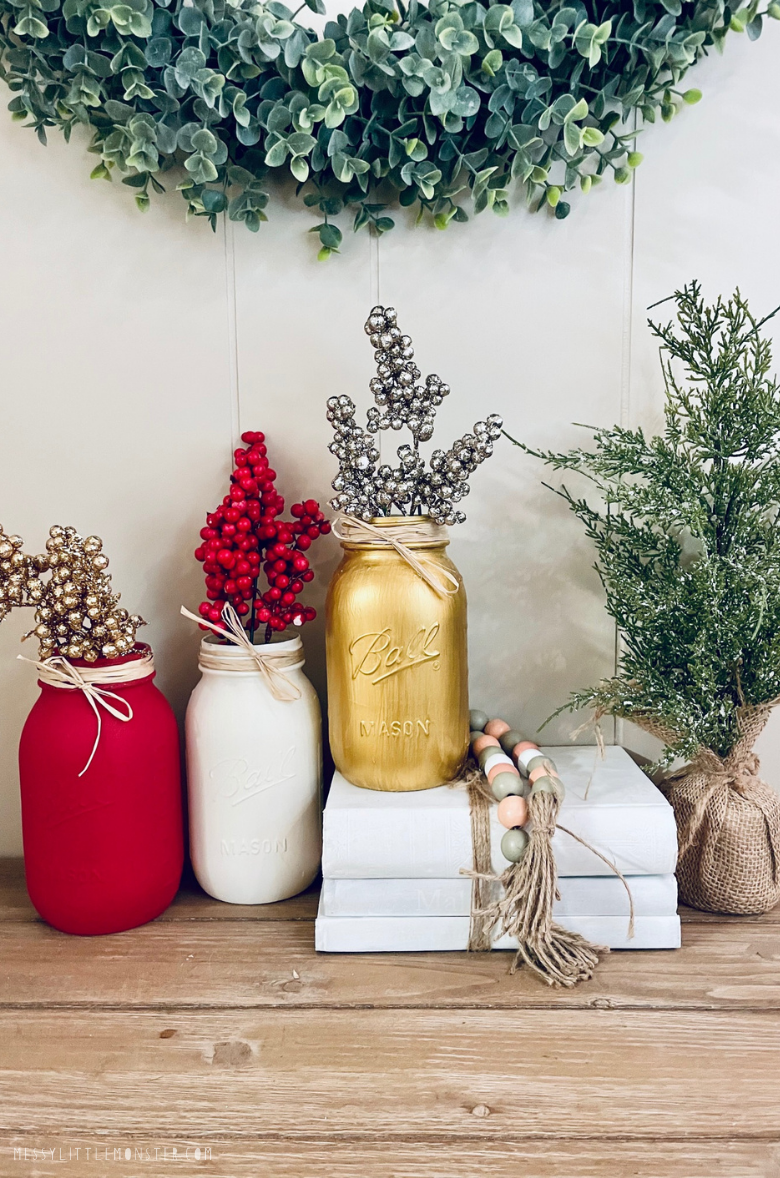
If you’re on the lookout for more awesome painted mason jar crafts, don’t forget to check these ones out!
Painted Maison Jars
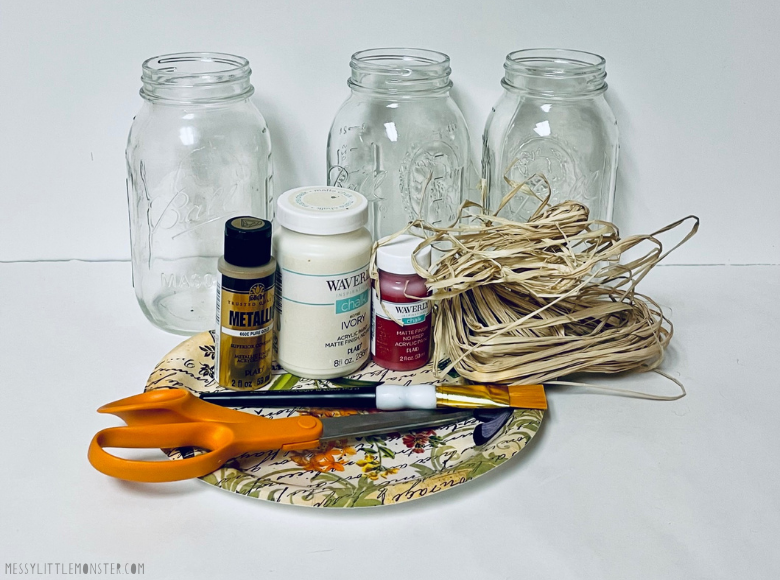
Painted Mason Jars - Supplies:
- 3 x 16-ounce mason jars
- Waverly off-white and red chalk paint
- Metallic Gold Acrylic Paint
- Paint Brushes
- Raffia
- Rubbing alcohol (optional for cleaning jars)
How to Paint Mason Jars
Step 1: Gather your supplies and prep your mason jars:
Gather up all your supplies and cover your work surface. You will need 3 mason jars to make this Christmas-themed trio of jars.
Before you can begin making your mason jar craft, you’ll need to prep your jars first. Make sure to cleanse the jars and let them dry. As an extra step to ensure the paint sticks perfectly, clean the surface with rubbing alcohol, then wash it away with hot water and let it dry. This will remove all dust and oil/grease from the surface.
STEP 2: Paint your mason jars
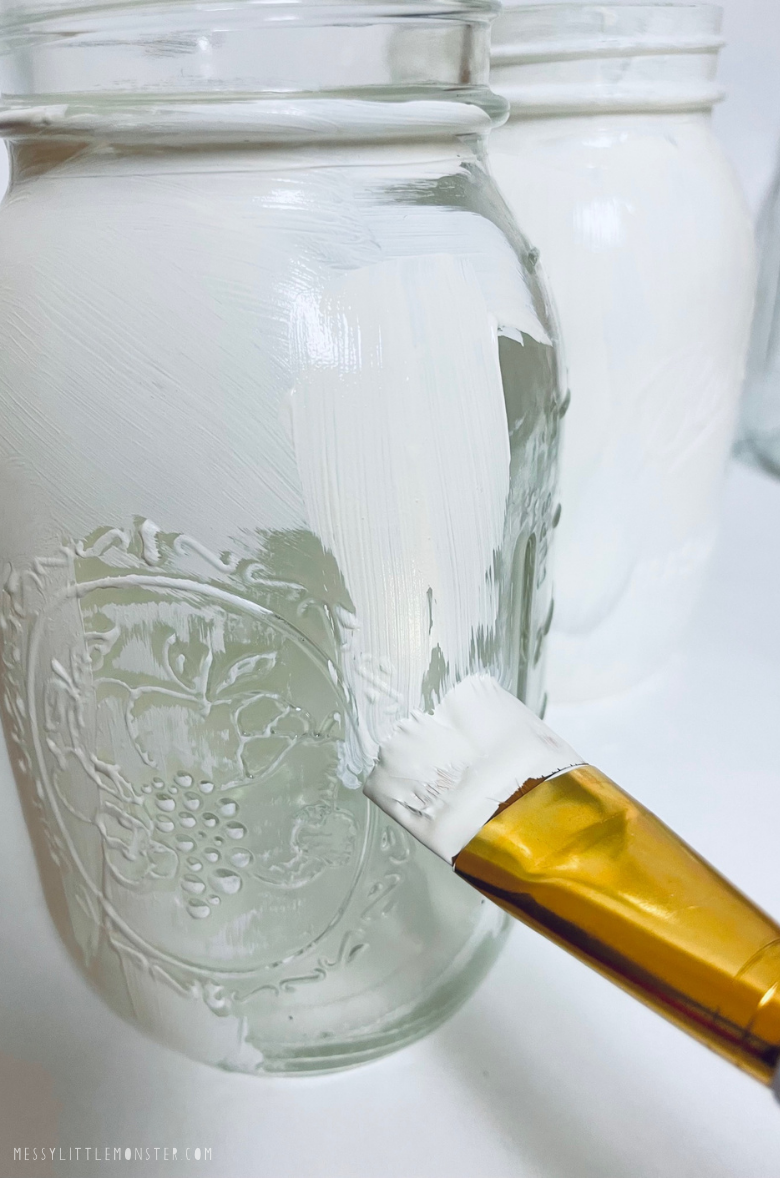
Paint 2 mason jars white:
Prepare your white chalk paint and then use it to paint 2 of your 3 mason jars. We’ve used an off-white shade from Waverly. Paint 3 layers of white paint onto your jars and then let them dry.
Paint 1 mason jar red:
While the 2 white jars dry, take the other jar and paint it red. Give it two coats of red chalk paint and let it dry.

Add metallic details to 1 white mason jar
Go back to your white mason jars. Once you’re sure these are completely dry, take one jar and give it a coat of golden metallic paint.
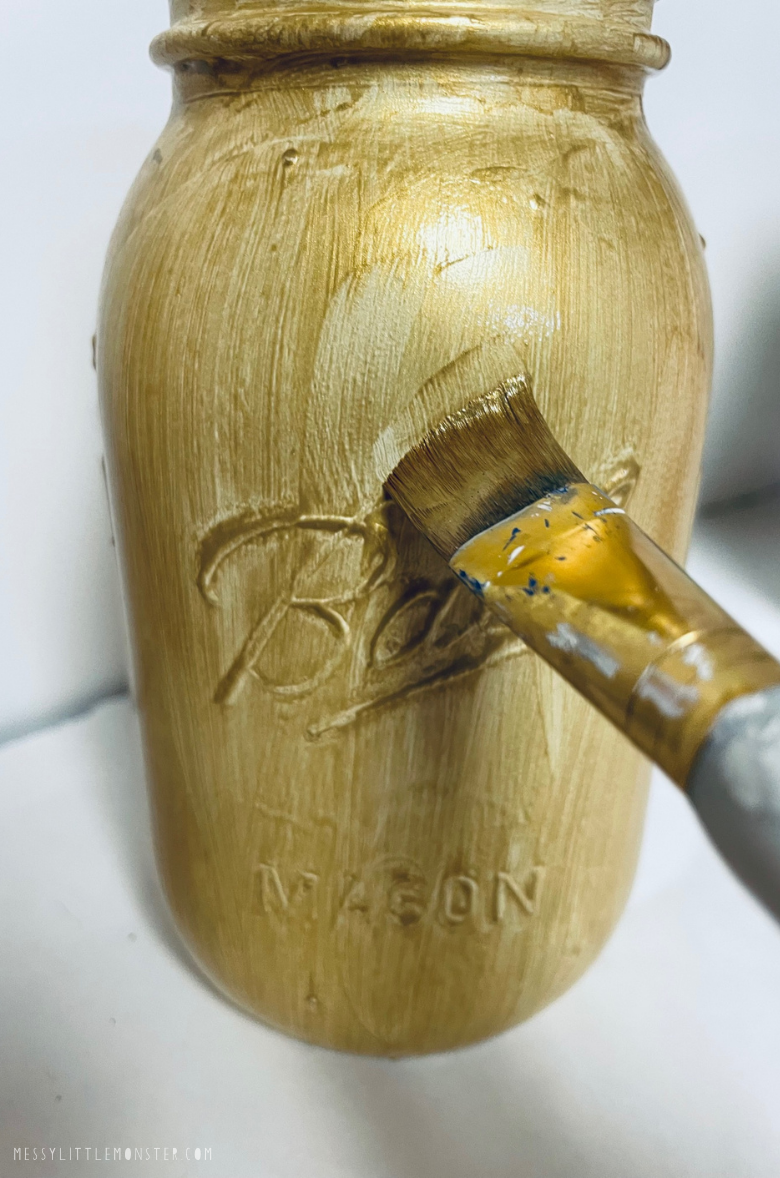
STEP 3: Add the finishing touches to your mason jars
Now, wait for all the jars to air dry before giving them their final touches.

Once the paint on your mason jars are dry and ready, take a piece of raffia and wrap it around the top of each of your mason jars and make a cute bow.
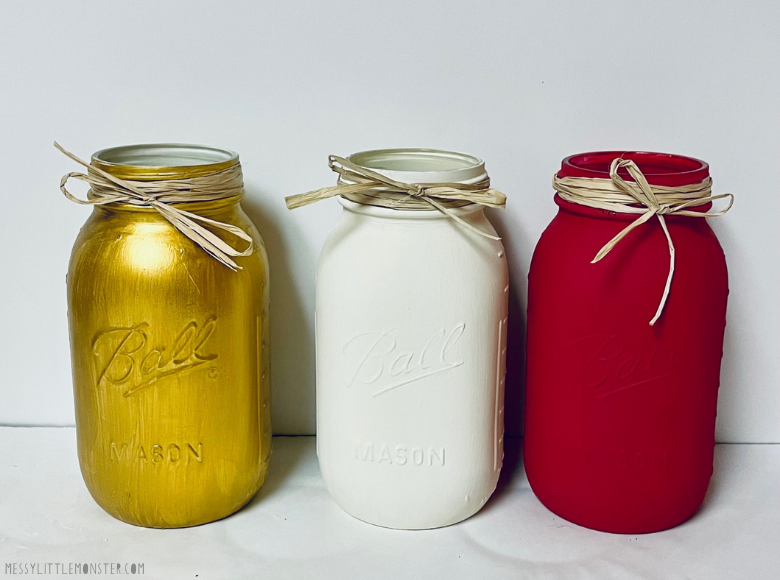
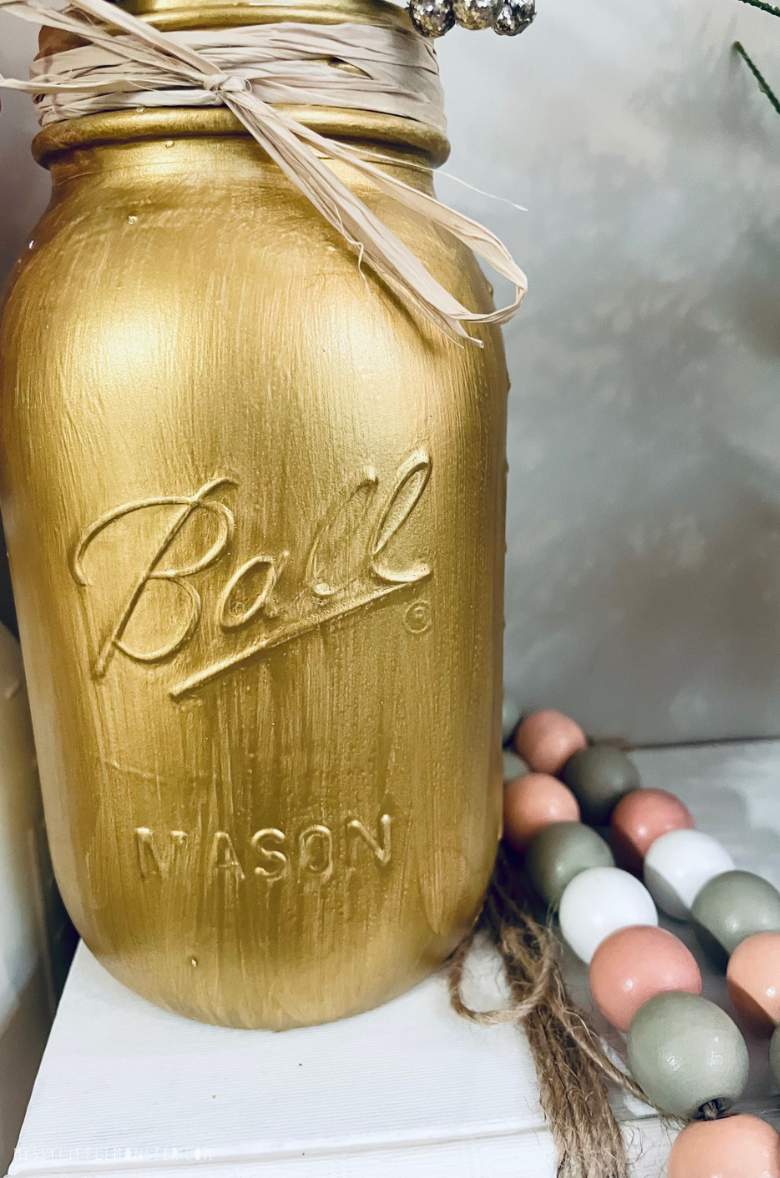
Then place a few Christmas twigs or decorations into each mason jar.
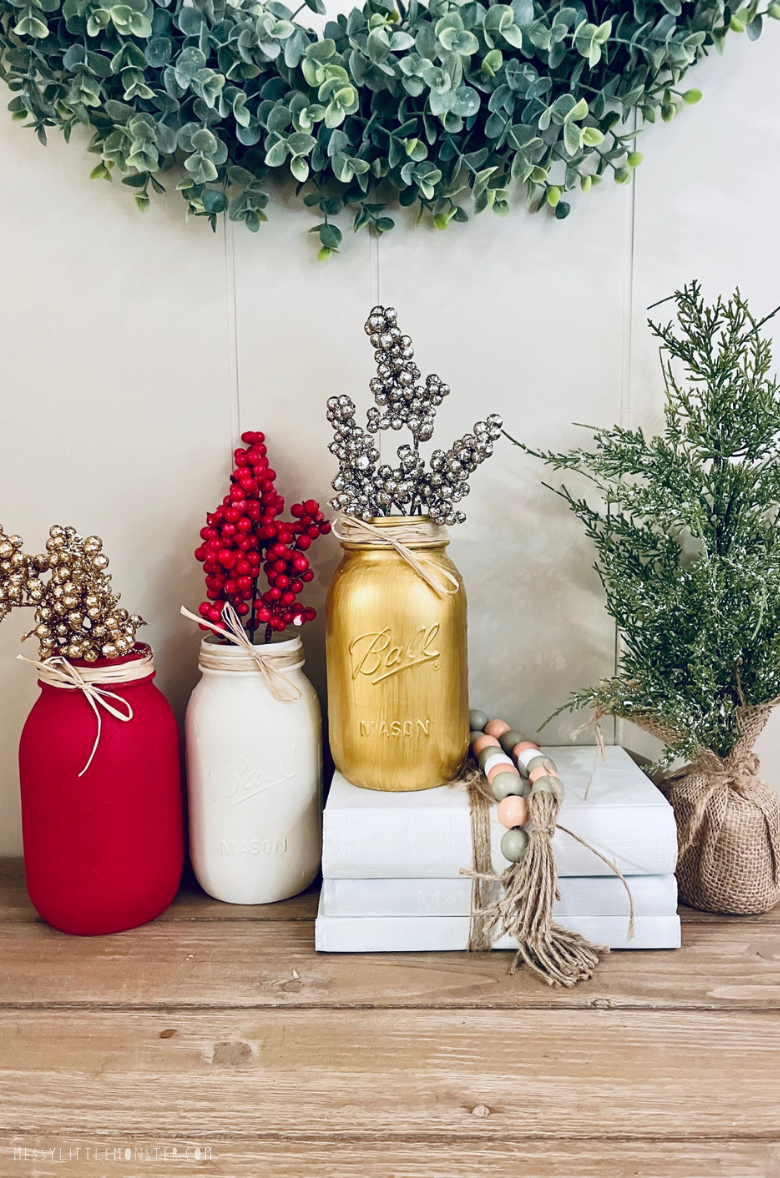
And that’s pretty much it, your painted mason jars are now complete. Super duper easy right? I know! You can add extra decorations like glitter and ribbon or even make cute tags for your jars. Whilst these painted mason jars are Christmas-themed, once you know how to paint mason jars you can make decorations for every holiday and season.


No comments