We love painting and love easy painting ideas even more! This easy tree painting for kids uses a fun painting technique that kids are sure to enjoy. There are several colour options to choose from, but whichever you choose this tree art project is sure to look amazing!
Over the years we have tried out so many fun and easy painting ideas and we have found that children always love trying out new techniques, especially when they are as easy and effective as the painting idea we are sharing today.
Today's easy tree painting involves creating a background with paint sticks and then painting on trees using cardboard (or a ruler) that has been dipped into black paint.
The use of paint sticks for the background means that there is no waiting around for the background to dry before moving on to painting the trees in the foreground. This is great if you want to be able to complete your tree painting in one art session.
If you want to try out some more fun and easy painting ideas for kids check out the ideas below:
Alternatively, get a copy of our book, ' Fun Painting Ideas for Kids', which is full of 60 painting projects for kids to enjoy.
If you want to keep to the tree theme check out our list of terrific tree crafts and art projects!
Easy Tree Painting for Kids
Tree Art Project - Supplies
- Thin white cardstock
- A small plate (to draw around)
- Pencil
- Scissors
- Paint sticks (in various colours)
- Black and white acrylic paint (or children's paint)
- Small piece of cardboard or a small ruler
- Paintbrush
Black Tree Painting - Directions
STEP 1: Cut out a circle
The first step of this tree craft is to cut your thin white cardstock into a circle. To create a perfect circle place a small plate on top of your cardstock, draw around it, and then cut it out.
STEP 2: Create the background
Now it is time to add some colour to your circle of cardstock to create the background for your trees.
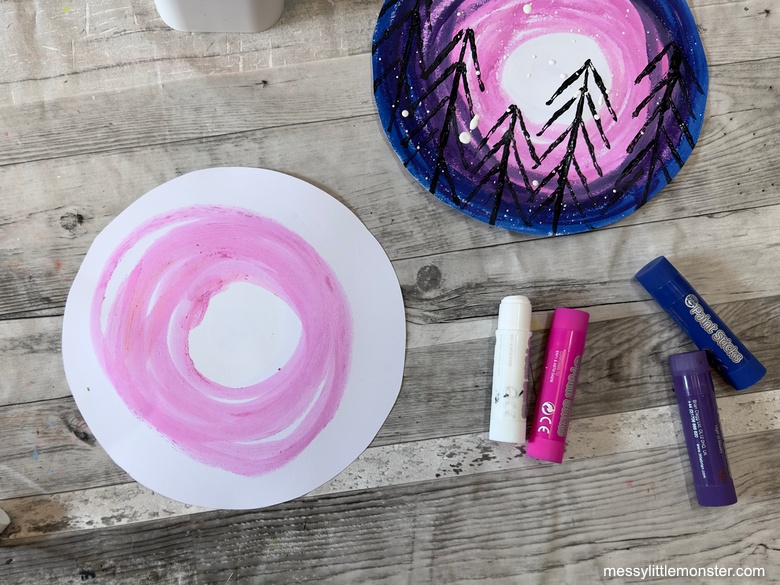
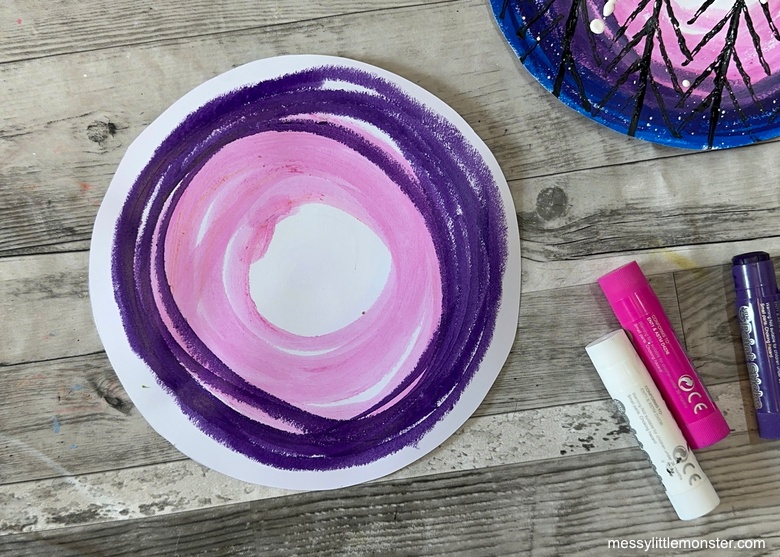
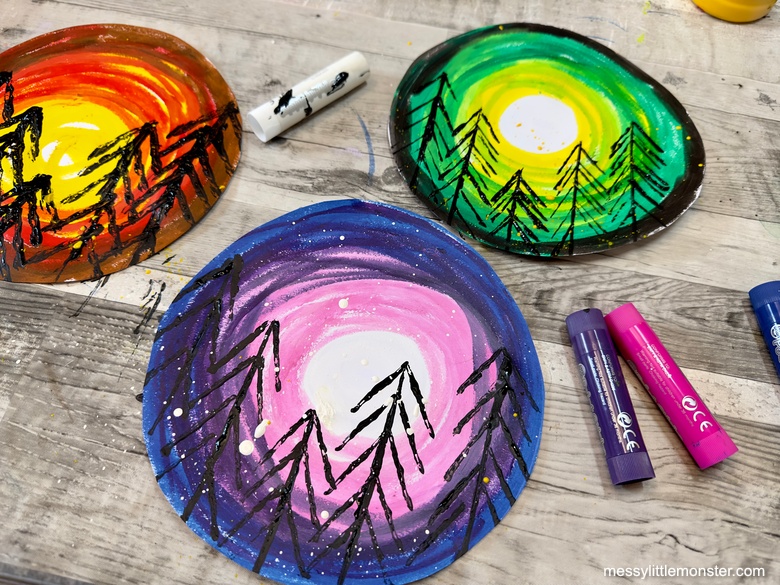
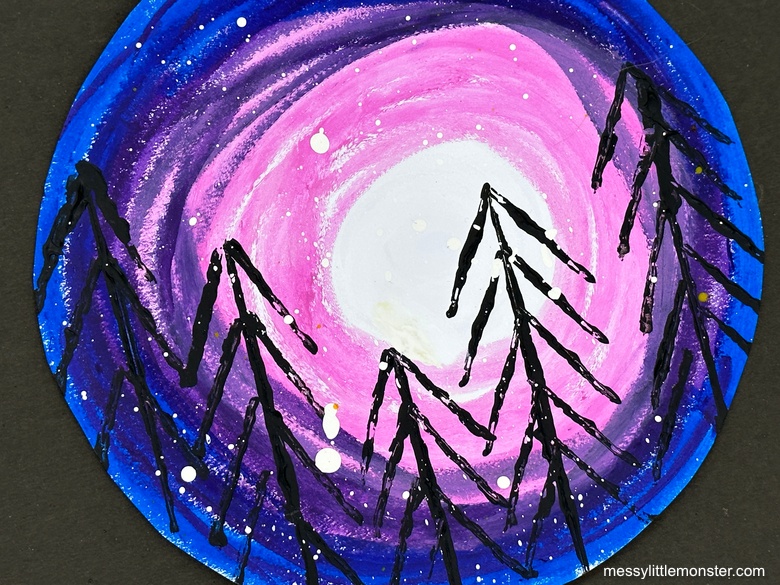
Choose about 4 paint stick colours that you think will work well together, on the example below we used white, pink, purple and dark blue. You are going to use the paint sticks to create several circles that gradually get larger.
Start by using one of your paint sticks to create a full circle in the centre of your cardstock (white is a good choice if you want it to look like a moon). Then go around the first circle with a second colour, followed by a third and fourth colour until your white cardstock is completely covered in colour.
Paint sticks are a great option to choose for the background as they dry really fast, this means that you don't need to wait for them to dry before moving on to painting the trees. However, if you don't have paint sticks you can paint your background using regular paints and then wait for them to dry.
STEP 3: Paint trees
For painting the trees we are going to use a really easy painting technique. You will need to cut a piece of cardboard into a small rectangle, this will then be used as a stamp to create your tree painting.
Spread out a thin layer of black paint onto a paper plate or paint pallet. Then dip your piece of cardboard into the black paint and then onto your background.
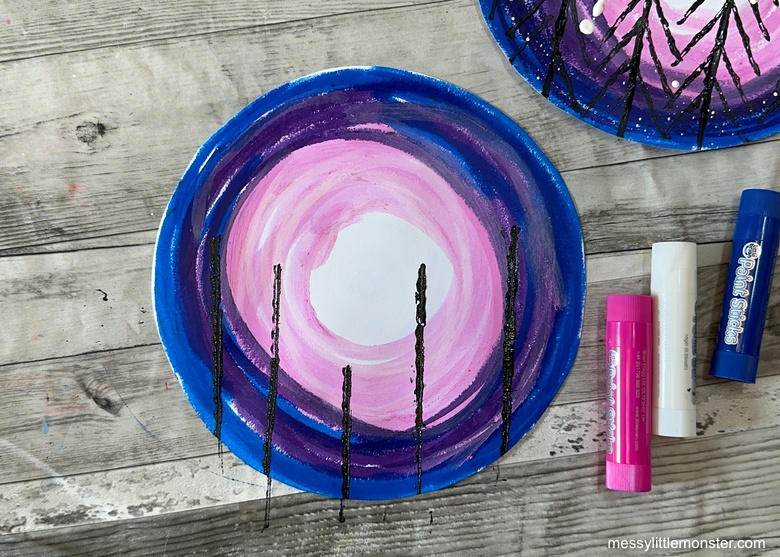
Start by painting the trunks of the trees. You can do this by using your paint-covered cardboard to create several vertical lines.
Then add the branches to your trees by using your cardboard stamp to create lots of smaller lines coming from the vertical lines. (see the image below)
Experiment with using different thicknesses of cardboard as your stamp as the effect can vary slightly.
As an alternative to printing with a small piece of cardboard you could experiment with using the end of a small ruler as your stamp as we did for our green version of this tree art project.
STEP 4: Splatter paint (optional)
Your easy tree painting is now complete, but if you wish you could add a few splashes of paint as a finishing touch.
Kids always seem to love splattering paint and it can look really effective. To add splatters simply dip your paintbrush into white paint (or any colour of your choice) and then hold your brush over your tree painting and tap the paintbrush firmly against your finger.
How fantastic does this tree painting look! Have fun trying out different colour backgrounds, you could even make trees for each season!
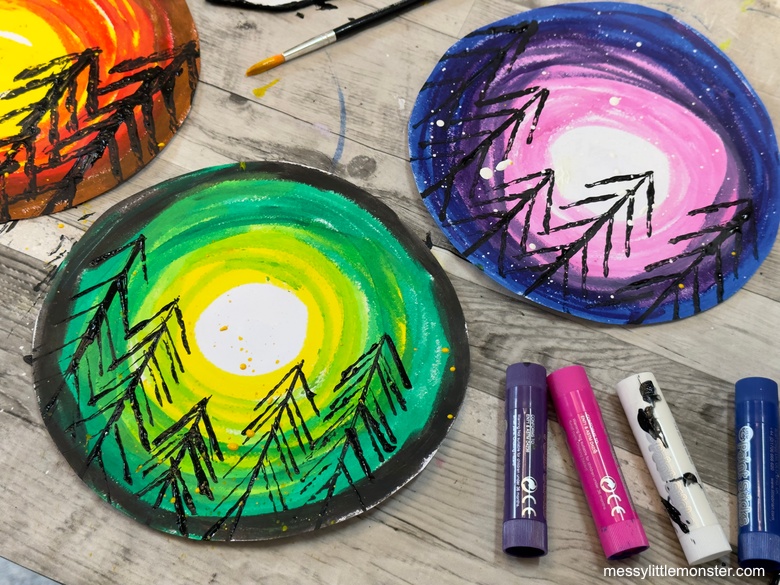
The pink, purple and blue background with white paint splattered on it has a real winter feel about it. It looks great against a black background as it makes the colours really pop.
We also make a version of this tree painting in greens and yellow, complete with yellow splatters that has a bit of a spooky feel. It could be fun to create a version like this close to Halloween!
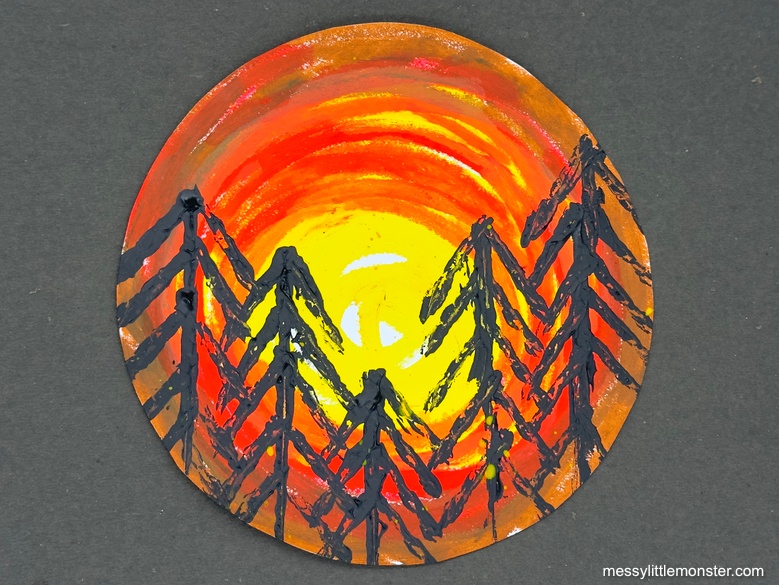
Our third version was created using yellow and red paint sticks and it has a sunset feel to it.
There are so many different colour combinations to try so have fun experimenting.
If you enjoy this tree art project you might also like to browse through our list of more tree art projects.
We hope that you have a lot of fun with this easy tree painting for kids. It is such a fun and easy painting idea that kids are sure to love!


.jpeg)
.png)






.png)


No comments