Have fun and get creative with this DIY scratch art for kids. Learn how to make scratch art paper on a paper plate and then have fun adding your own unique patterns and pictures to your homemade scratch art paper.
Kids will love making their own homemade scratch art and the results look amazing. This isn't the first time we have had a go at making our own scratch art paper, we have made it several times and it is always good fun.
Scratch-art always seems to have the wow factor with kids, I think maybe it's the excitement of seeing which colours are hidden behind the black paint.
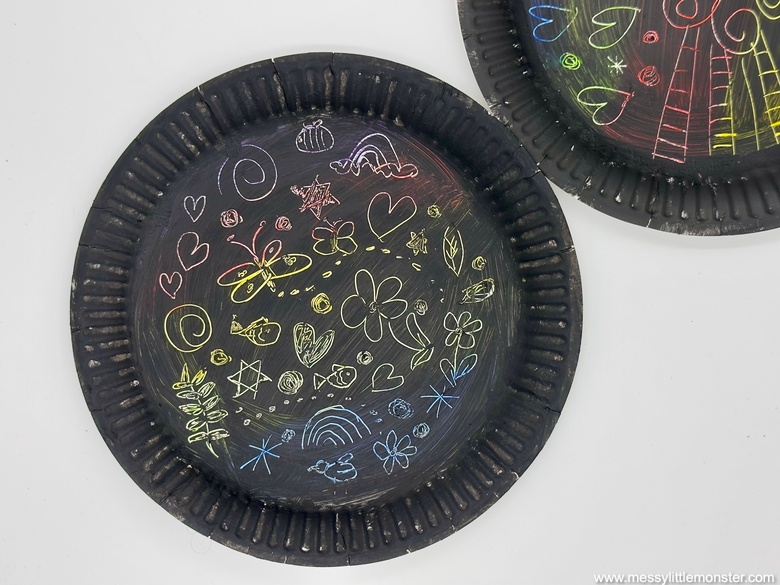
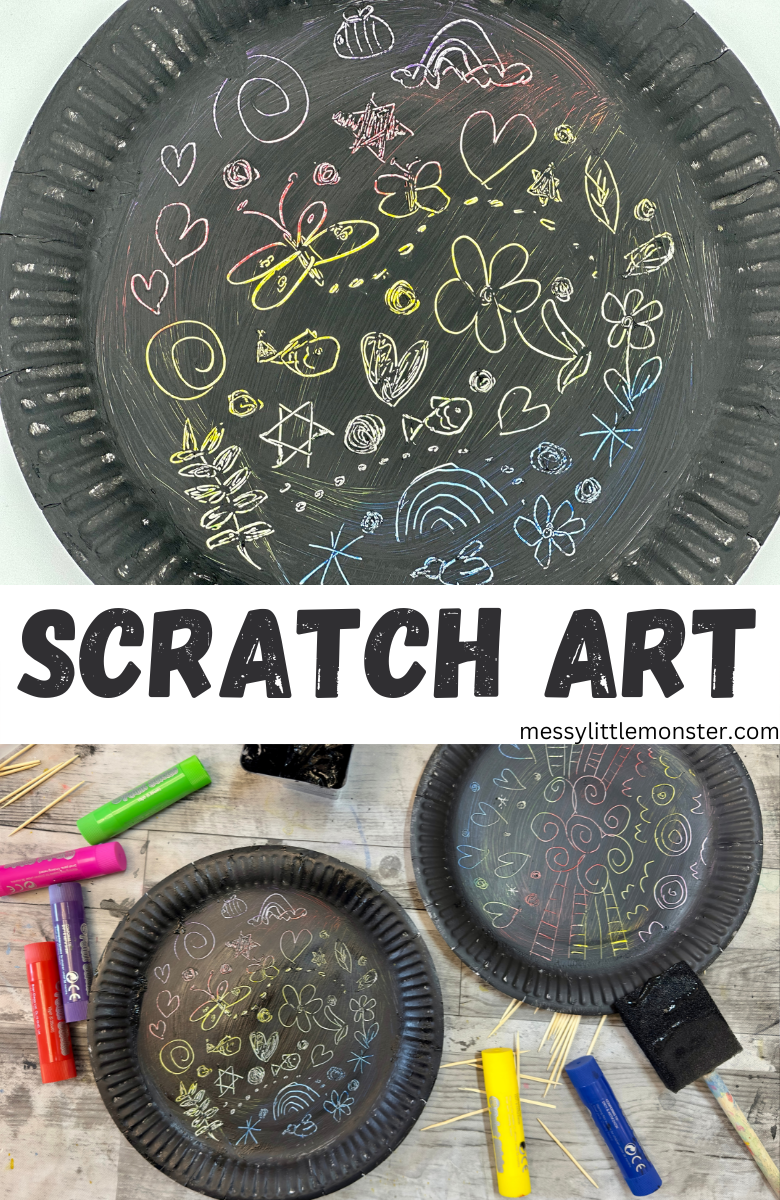
Today's DIY scratch art for kids involves creating scratch art paper on a paper plate. A paper plate is a great surface for creating scratch art as the card the paper plate is made from is nice and thick and the bumpy edge of the paper plate frames the scratch art perfectly.
Of course, you could create your scratch art paper on cardstock instead like we did on our fish diy scratch art or even cardboard like we used for our dinosaur diy scratch art.
When it comes to adding designs to your homemade scratch art paper there is no right or wrong way to do it. You could scratch out lots of small pictures or patterns across your scratch art paper, or alternatively you could use the full piece of scratch art paper for one picture or scene.
DIY Scratch Art for Kids on a Paper Plate
Scratch Art for Kids - Supplies
- White paper plate
- Paint sticks (or you could alternatively use oil pastels)
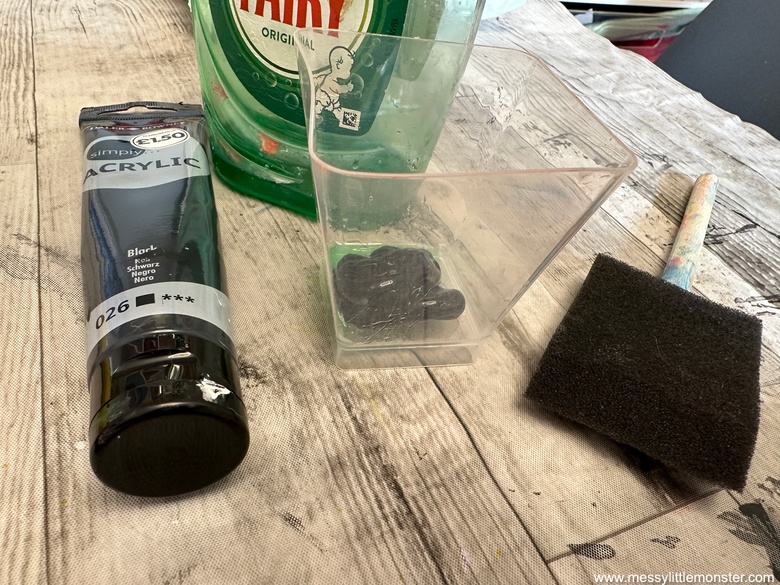
- Black acrylic paint
- Dish soap (washing up liquid)
- Foam paintbrush
- Toothpick
How to Make Scratch Art
STEP 1: Prepare your scratch art paper
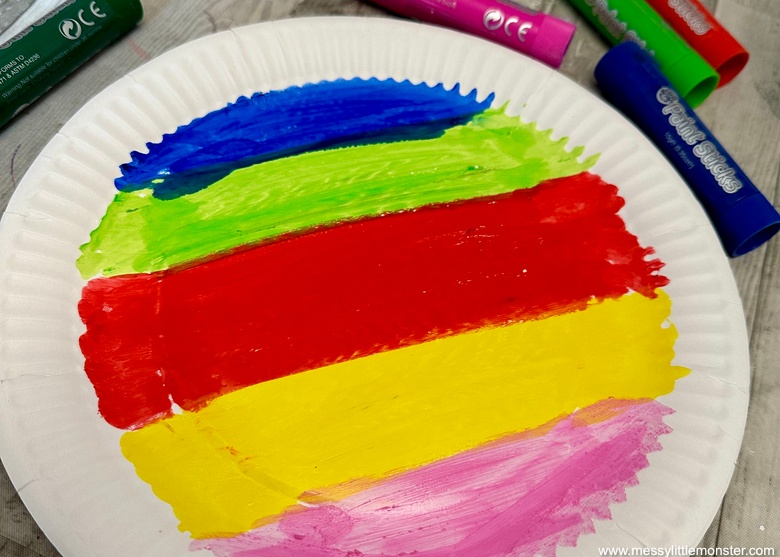
To make your scratch art paper start by using brightly coloured paint sticks (or oil pastels) to fill the centre of the paper plate. Make sure that you completely fill the area with colour so that there is no white left. You can colour in lines as shown in the image below or colour small sections in different colours.
STEP 2: Paint your paper plate
Now it is time to paint over the colours on the paper plate using black acrylic paint mixed with a few drops of dish soap.
Using a sponge paint brush add a thick layer of paint over the coloured area. You may wish to add a second layer of paint depending on coverage.
STEP 3: Scratch patterns into the paint
Once you are happy with the coverage of your black paint you can begin to draw pictures or patterns on your scratch art paper using a toothpick. You can do this when the black paint it wet or dry, it is easier to draw in the paint when it is wet, but it is slightly messier than waiting for the paint to dry.
Kids will love the excitement of wondering which colour will be revealed each time they scratch the black paint.
You can scratch patterns that will fill the area or scratch lots of smaller pattens and images.
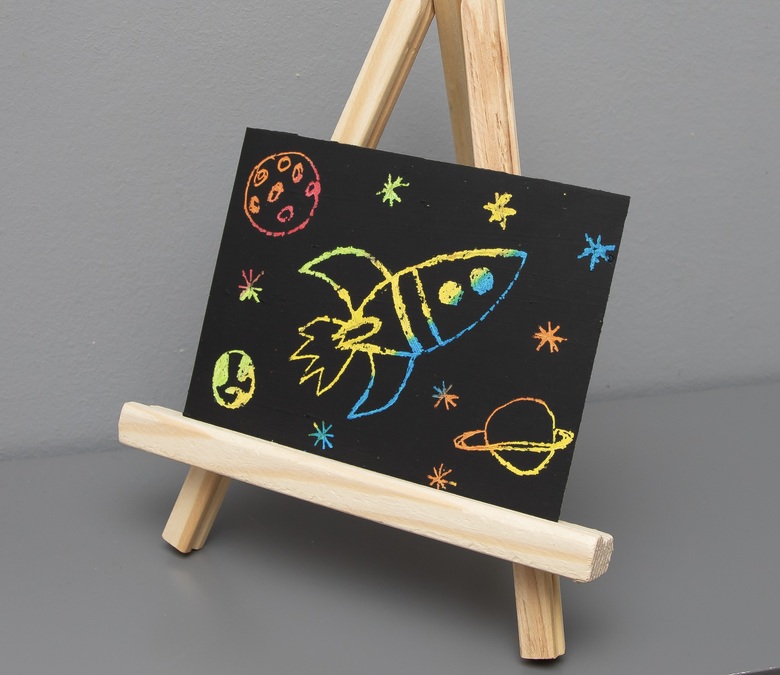
We did another version of scratch art in our book 'Fun painting projects for Kids'. In our book we created mini scenes on small pieces of cardstock. If you are interested in finding out more about our scratch art mini scenes or about the rest of the 60 painting projects for kids in our book do check it out!
We hope that you have a lot of fun creating your own DIY scratch art for kids. It is such a fun painting activity that can really encourage creativity.


%20(1).png)






No comments