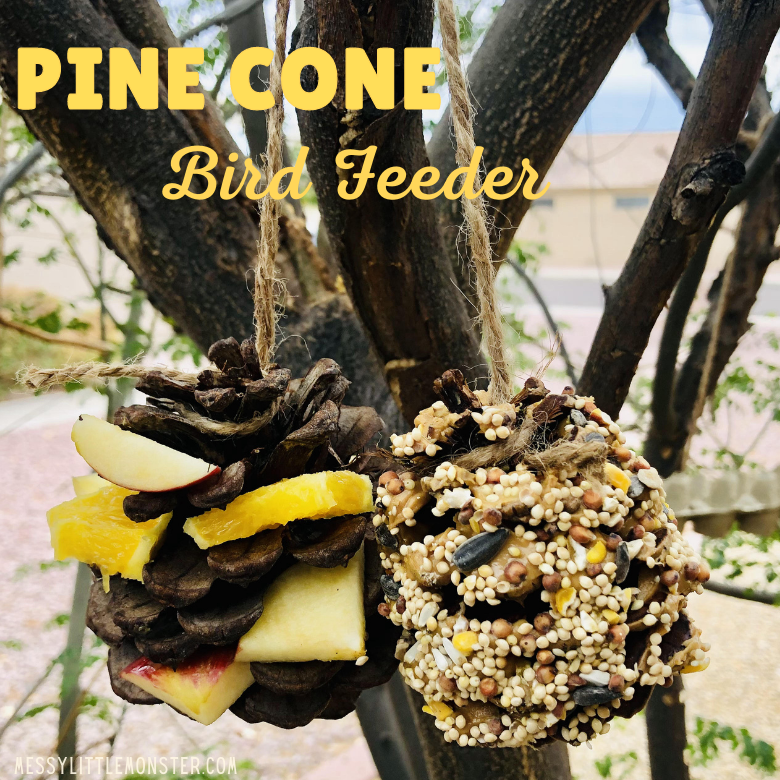
Another day, another fun craft project!
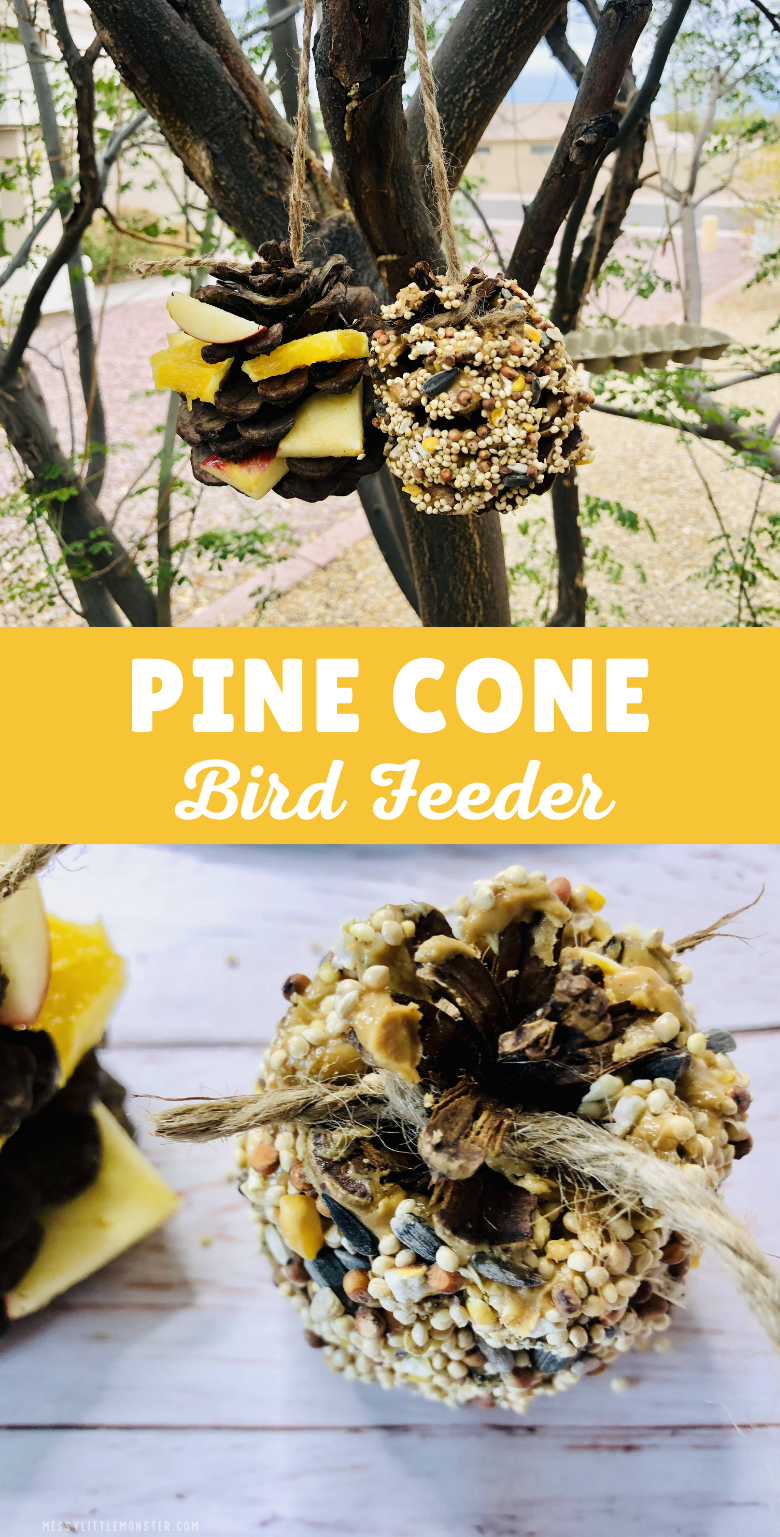
With just a pine cone and some yummy food for the birds, this adorable pine cone bird feeder is one of the easiest bird feeders we've ever done, so (of course) we wanted to share it with you all!
Make and hang several of these pinecone bird feeders to create an attention-grabbing spot in your yard that birds will love visiting every morning!
If your kids are bird lovers like mine and you’re interested in making more lovely diy bird feeders, check out some of our favourite ones!
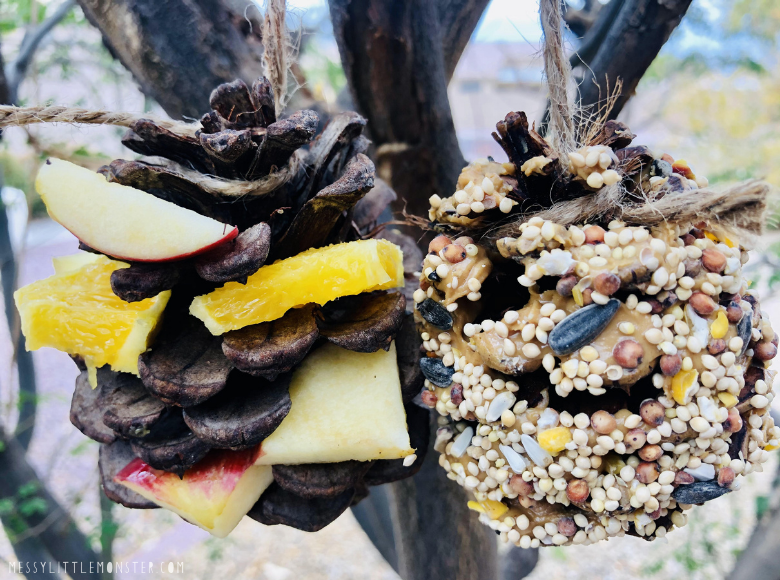
Pine Cone Bird Feeder
Pine Cone Bird Feeder - Supply List:
- 2 Pine Cones
- Jute Cord
- Peanut Butter
- Bird Seed
- Fresh Fruit
- Dry Fruit
- Whole Grain Cereal
- Spoon or Small Spatula
Pine Cone Bird Feeder - Instructions:
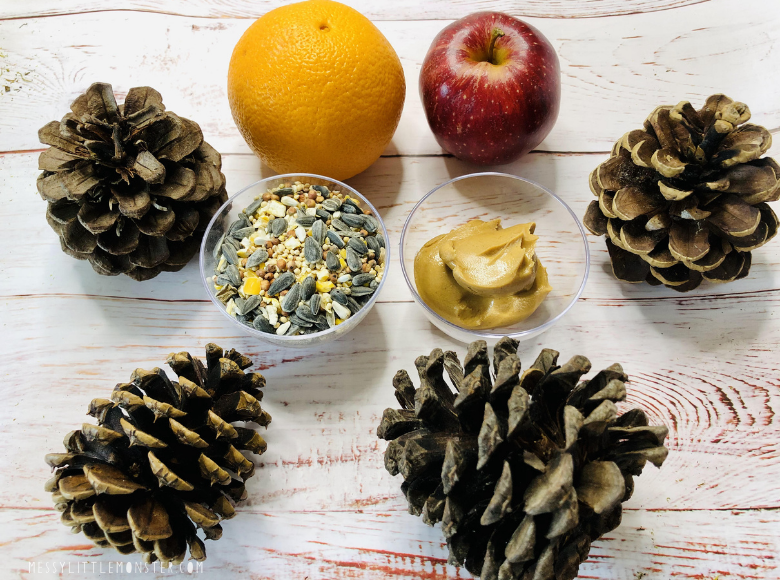
STEP 1 - Gather your ingredients and supplies:
Start by gathering and preparing your supplies and ingredients.
Add your birdseed to a small bowl. Make sure the bowl is shallow but large enough for your pine cone to fit, lying on its side.
Prepare your dry or fresh fruit by cutting it into small pieces with a knife.
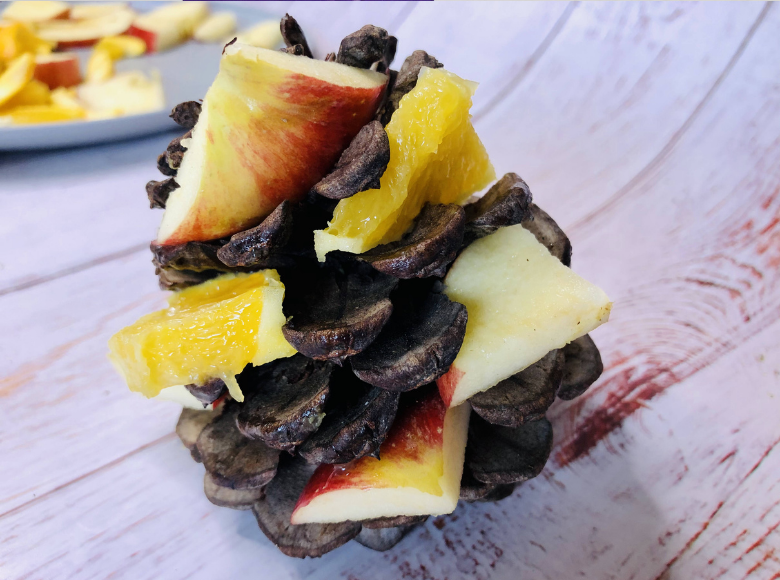
STEP 2 - Add fruit to the pinecones
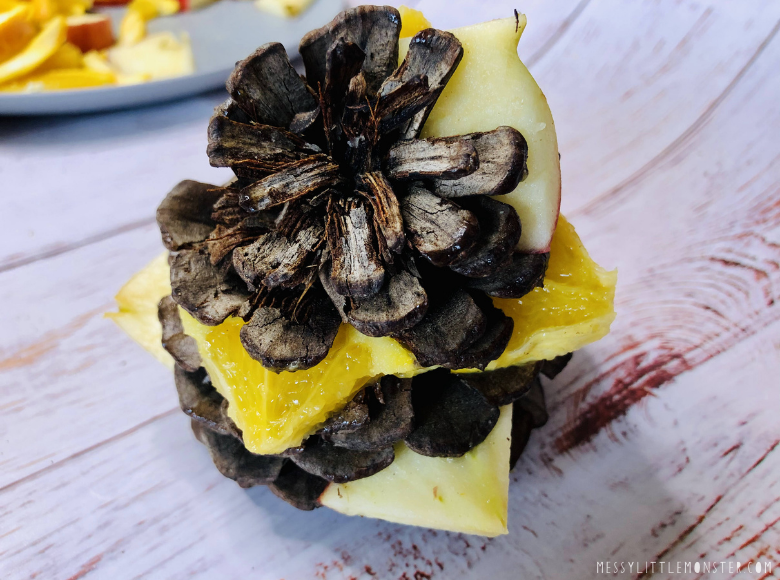
Take your pre-cut fruit and tuck it into the prongs of your pine cone. Make sure to press them in tightly to keep them secure.

STEP 3 - Cover the pinecone with peanut butter and seeds:
Grab the peanut butter and use a spatula or spoon to spread it on the pine cones. Add peanut butter to the areas of your pine cone you want to be covered in bird seeds.
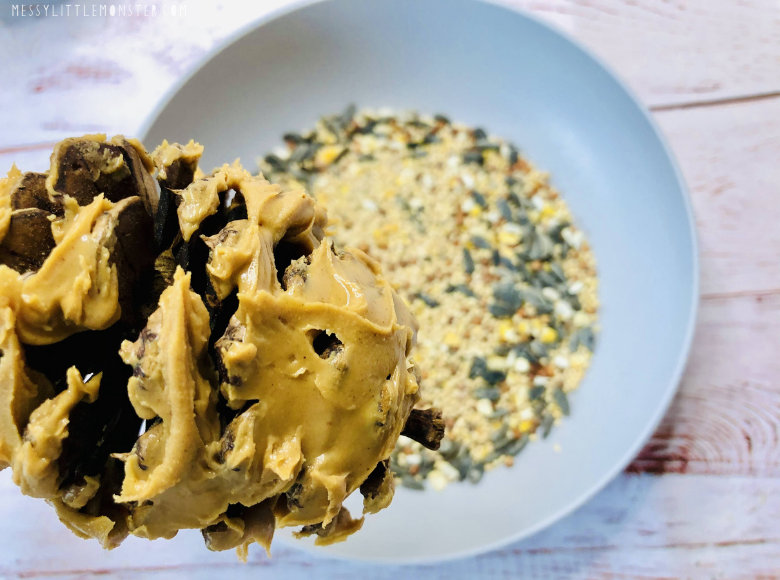
Now, take the pine cone and cover it with bird seeds by rolling it in the seeds. You can add cereal too. Press it onto the areas where peanut butter is peeking through to secure it.

STEP 4 - Make loops for hanging the pine cones:
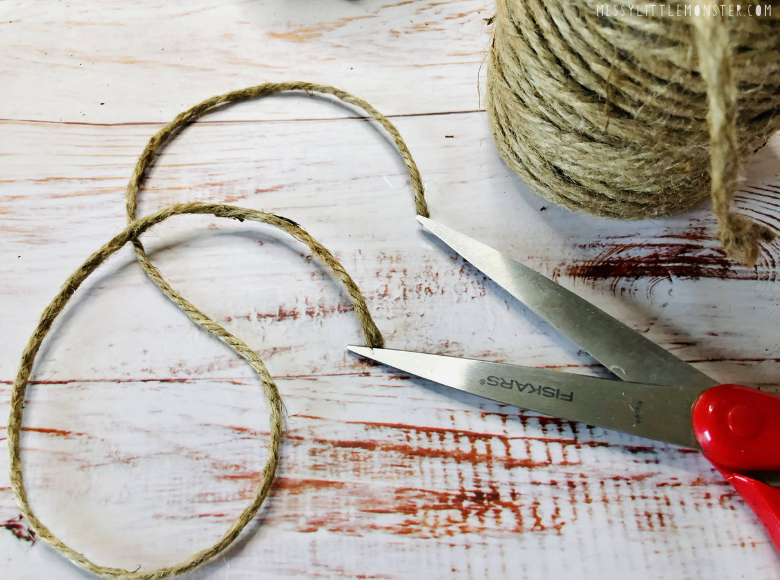
Take the jute cord and cut a 12-inch piece for each pine cone. Tie a piece to the top of each pine cone creating a loop.
STEP 5 - Hang up your pine cone bird feeders
Your pine cone bird feeders are now ready to be hung up for the birds! Invite your little ones to find the perfect spot for the bird feeder and then watch as the birds enjoy their yummy homemade treats!





No comments