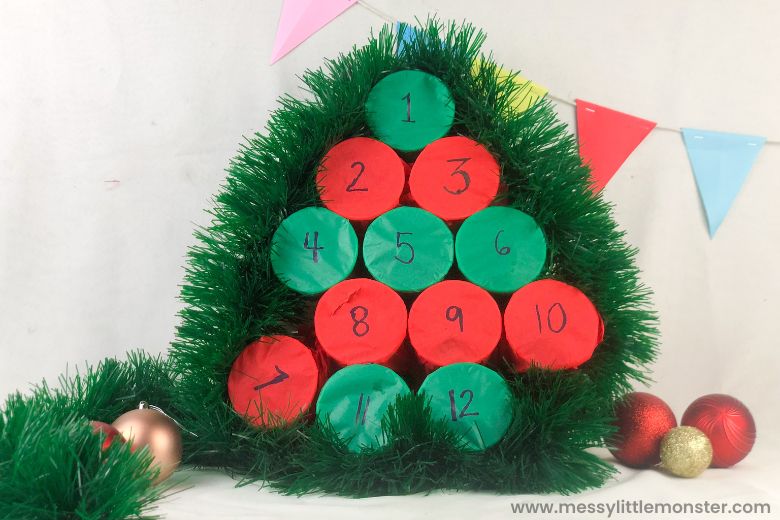
One of my favorite traditions of the Christmas holiday is making a DIY advent calendar. This year, make your own 12 day advent calendar! This Christmas countdown features 12 cups full of candy that kids can break each day as Christmas gets closer. It's so simple to put together too! Kids of all ages are sure to enjoy this 12 day advent calendar. Follow the step-by-step directions below to discover how to make your own advent calendar.
Here are some of our other favorite advent calendar ideas - this nativity countdown calendar, this Christmas book advent calendar, this Santa's beard countdown printable, and this Christmas activity countdown.
This 12 day advent calendar is such a fun idea that I'm excited to utilize this year. It will be so fun to punch out each cup to get special treats each morning as Christmas gets closer. This diy advent calendar can be modified to your preferences, too. You can add more cups to do a full countdown the entire month, add different treats to each cup, or use things other than candy such as stickers.
No matter what method you choose, we hope you enjoy this 12 day advent calendar idea. Each morning or evening as you open your advent calendar, you could pair it with reading a Christmas story or doing a Christmas craft with your kids. The 12 day countdown is sure to be special.
Why not add a few fun Christmas activities for kids to your Christmas countdown too!
Scroll down below to get started on your very own DIY advent calendar!
DIY Advent Calendar
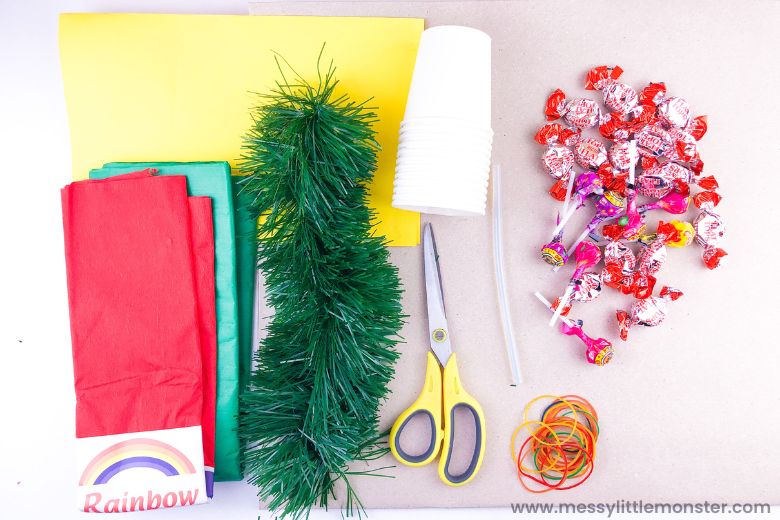
12 day advent calendar - supplies
- japenese/crepe paper - red and green colours
- christmas garland
- scissors
- marker
- small paper cups
- assorted candy
- glue stick
- glue gun
- rubber bands
- construction paper - yellow
- cardboard
How to make your own advent calendar
STEP ONE: Gather your supplies
Before you begin, gather up the supplies for your DIY advent calendar. I find Christmas crafts like this are easier when you have everything you need ahead of time.
While this is a craft for a 12 day countdown to Christmas, you can also opt to use 24 cups instead if you'd like to go for the full month of December.
STEP TWO: Prepare paper cups
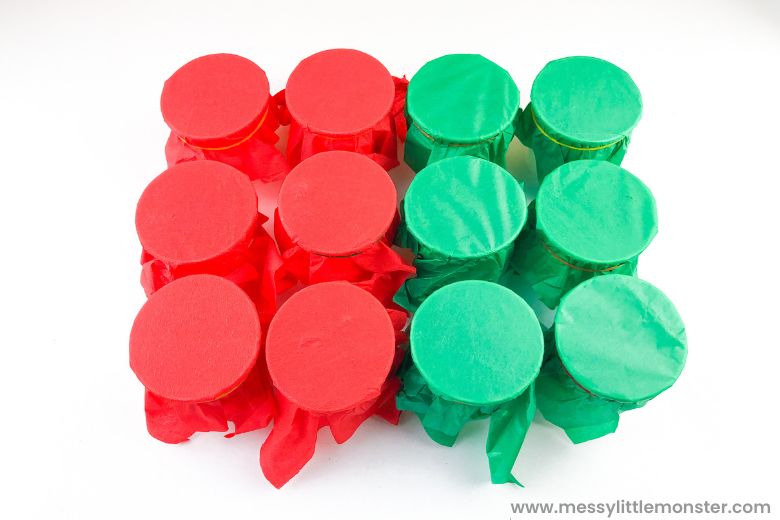
To get started, fill each of the cups you'll be using with assorted candies (or other small treats).
After you fill each cup, cover it with crepe paper and keep it in place using a rubber band around each cup. Make sure to alternate between the red and green colour crepe paper.
STEP THREE: Arrange paper cups
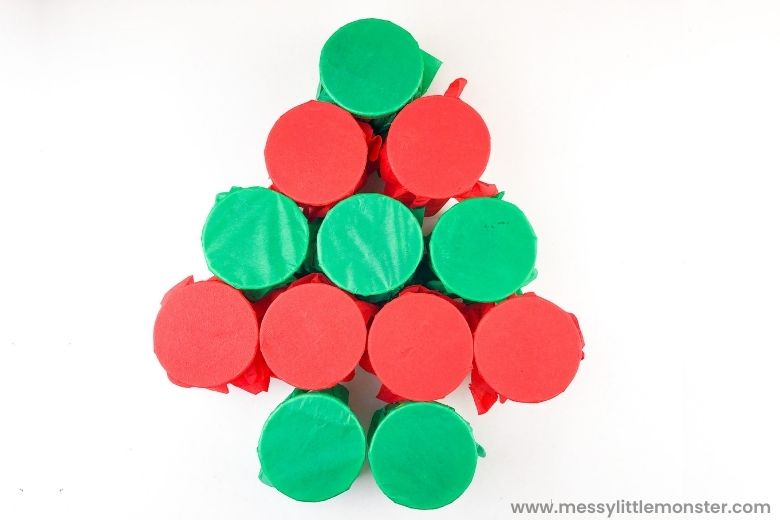
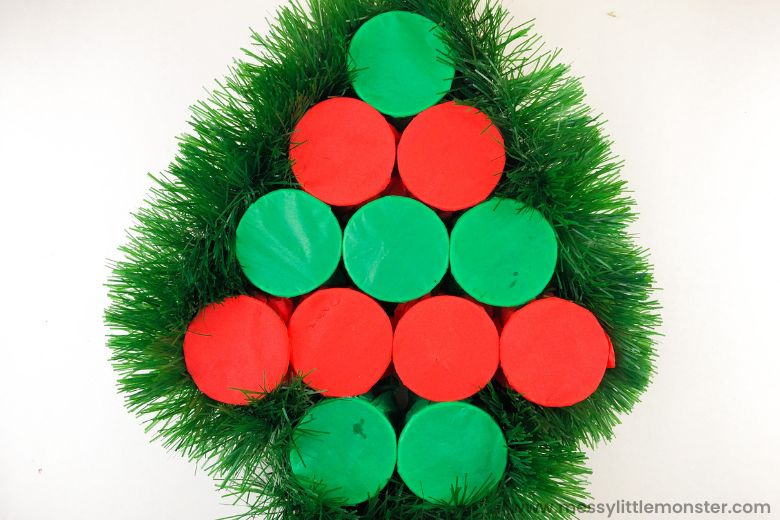
Next, arrange the cups on the cardboard into a tree shape as shown below. You'll start with two at the bottom for the trunk of the tree and then a triangle shape above. Alternate between colours for each row.
Once you're satisfied with the result, use your glue gun to glue the cups to the cardboard as well as each other and then cut off the excess cardboard.
STEP FOUR: Add the final details
To finish up your DIY advent calendar, you'll now add the garland around the outside edges of the cups with a glue gun.
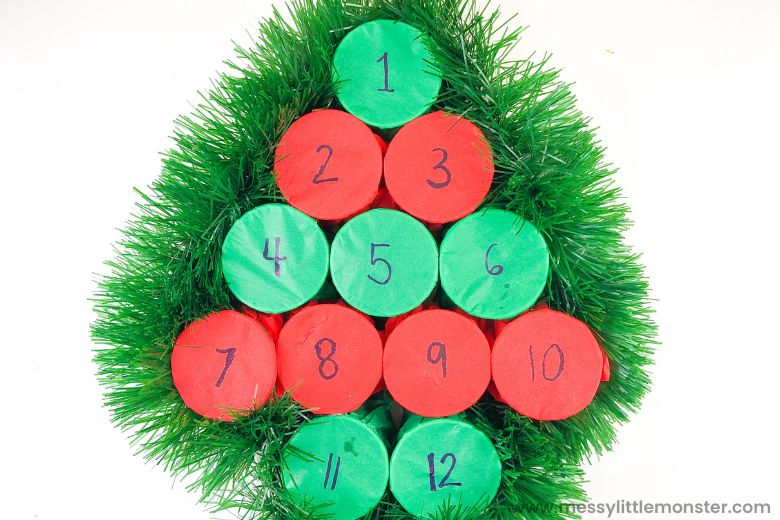
The last step is to write the numbers on the top of each cup. You can either do this so the numbers are in order, or you can mix the numbers up so they are in various places on your advent calendar.
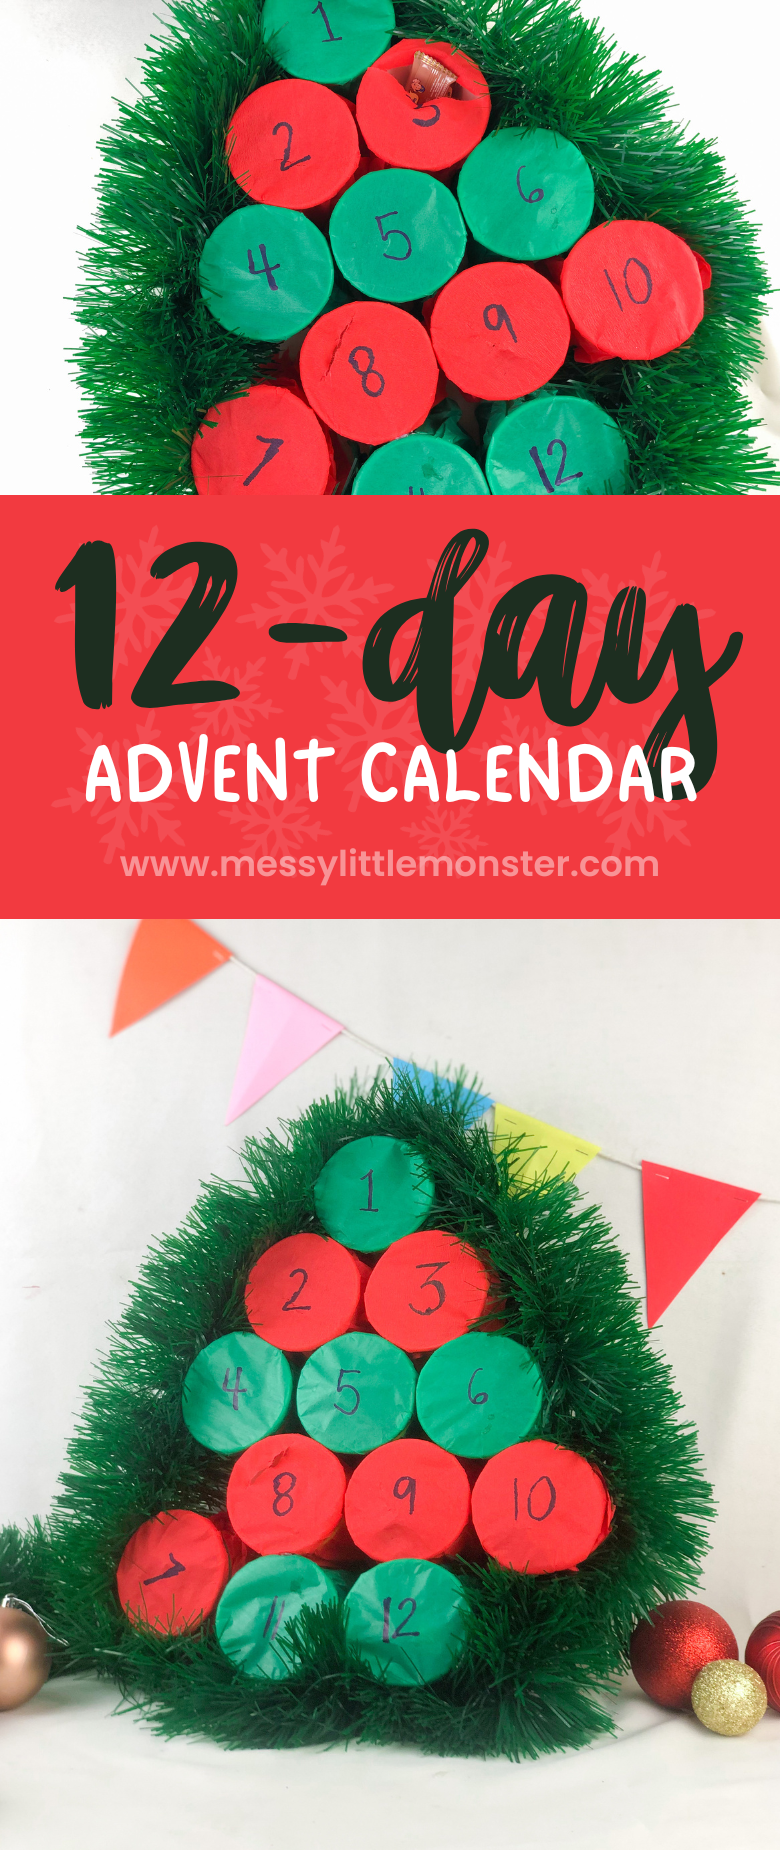
That's it! You're all done! How cute is this 12 day advent calendar?!
We hope you enjoy learning how to make your own advent calendar for your kids. It's such a fun way to gear up for Christmas! Kids of all ages are sure to love this DIY advent calendar.






No comments