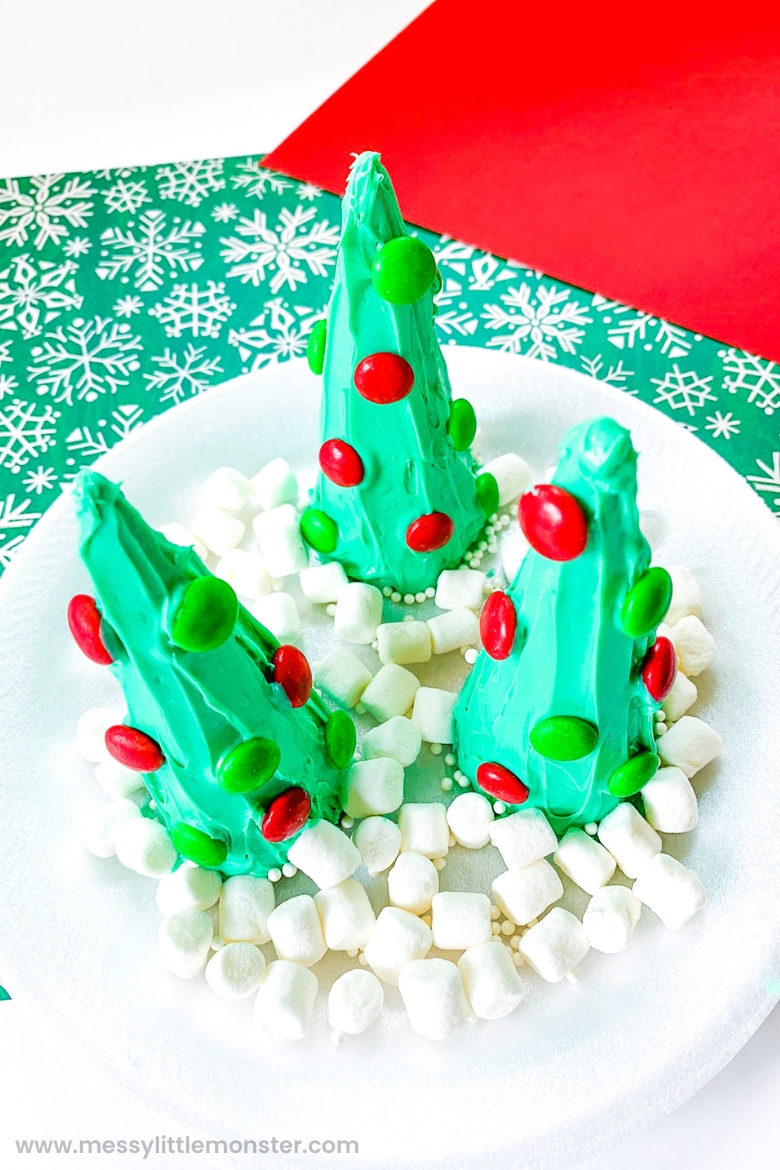
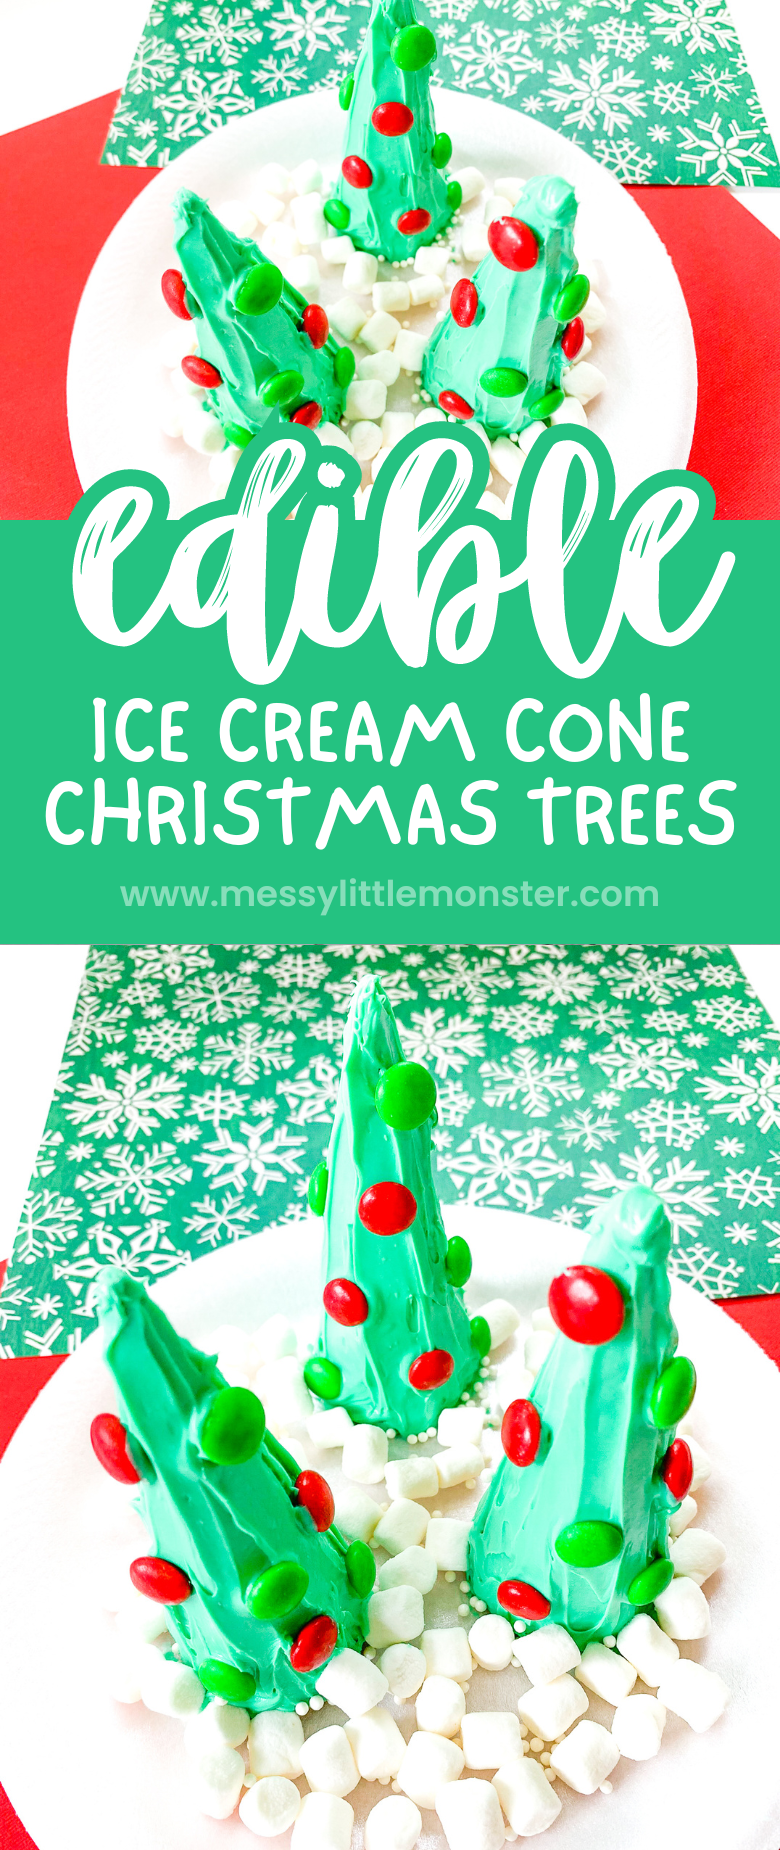
Making an ice cream cone Christmas tree is the perfect Christmas activity for toddlers, preschoolers, and older kids to enjoy. You'll love how simple and fun these ice cream cone trees are! All you need are a few simple ingredients and you're ready to go. Kids will be begging to do this again next year. Follow the step-by-step directions below to make your very own edible Christmas tree using ice cream cones!
Edible Christmas tree crafts are so much fun! Try out this candy Christmas tree activity and these Christmas tree pancakes!
The holiday season is a busy time of year for many of us. Christmas can be especially busy with everything there is to do. An edible Christmas tree activity like this can help keep hands busy when we need a spare minute. These ice cream cone Christmas trees are great for Christmas parties, displaying at a dessert table during the holidays, and more.
You can also make a fun yearly tradition out of making ice cream cone trees together. Is there anything that can be more fun than ice cream cone Christmas tree decorating right before Santa comes? You can decorate these in a variety of ways so everyone is sure to have fun. Set out some ice cream cones, icing, and decorating options, and get ready to have some fun. It's sure to be an event kids will remember.
Ready to make your own ice cream cone Christmas tree! Scroll down below for full directions.
Ice cream cone Christmas tree
Edible Christmas tree ingredients
- sugar cone ice cream cones
- M&M candies
- 16oz white icing
- green food colouring
- plastic spoon
- plastic knife
- plate
- marshmallows (optional)
- sprinkles (optional)
How to make ice cream cone trees
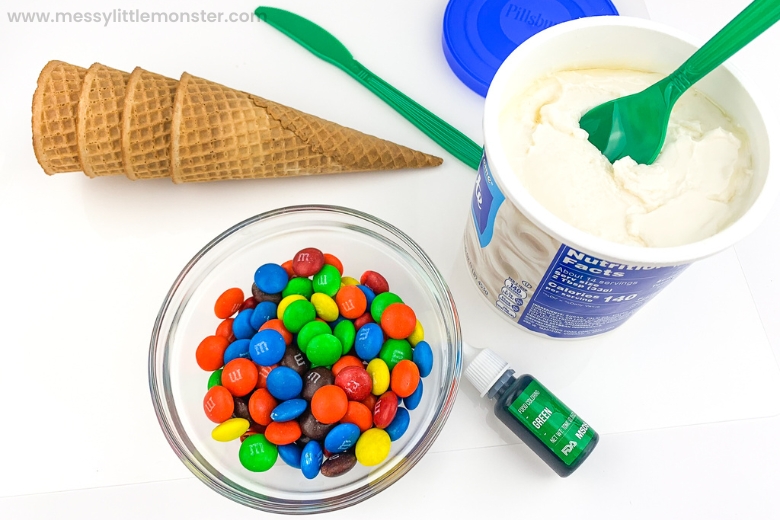
STEP ONE: Gather your ingredients
Before you get started making your edible Christmas tree, you'll want to make sure you have all your ingredients ready to go. This makes the activity a lot easier to complete if you already know where everything is.
For best results, use gel food colouring as it will result in a bright colour without sacrificing the quality of the icing.
STEP TWO: Prep your Christmas trees
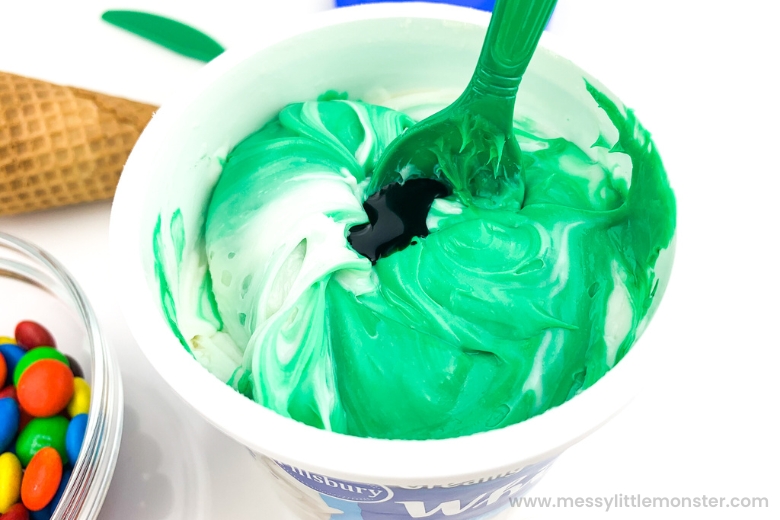
The first step is to add about 20-30 drops of food colouring to the icing and stir until well combined. If you'd like a darker colour, you can add more food colouring. Just be careful not to add too much as it has the potential to affect the taste.
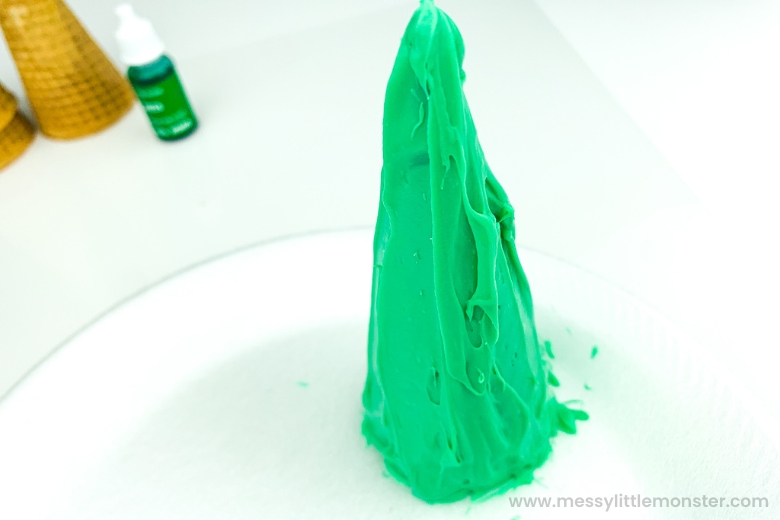
Next, invite your child to help you add icing to each of the cones. Coat them top to bottom until you're happy with the result. Make sure you apply it thick enough so that it's easy to add your candies to them.
As you finish frosting each cone, set it on a plate so that it's standing up.
STEP THREE: Decorate ice cream cone Christmas tree
Once each of your ice cream cone trees is frosted, it's time to decorate! Add M&M candies around each cone until you're happy with the result.
Optionally, add some marshmallows and white sprinkles to the bottom of the plate to resemble snow. Now you can display or eat your yummy ice cream cone Christmas tree!
Variation ideas for ice cream cone trees
- Use a star tip with a piping bag to create a more 3D look to your Christmas trees
- Add powdered sugar or coconut to the trees to resemble snow on the tree
- Use twizzlers to resemble garland on your Christmas tree
- Try gumdrops, sprinkles, skittles, or a star-shaped candy
Tips for ice cream cone Christmas tree decorating
- Be careful with the green icing! You want to make it thick enough but too much will turn into a big mess.
- Store in an airtight container for 2-3 days if you want to make them ahead of time or have some left over for later.
- Don't leave these sitting out for too long. Cold icing will keep these intact best.
We hope you have lots of fun with this ice cream cone Christmas tree decorating activity! We know kids of all ages will love this fun edible Christmas tree. No matter if it's being kept as an ice cream cone Christmas tree decoration or you're going to eat it, it's sure to be a lot of fun to make. We hope you and your family have a very Merry Christmas this year!






No comments